Поиск избранных фотографий в Windows 10
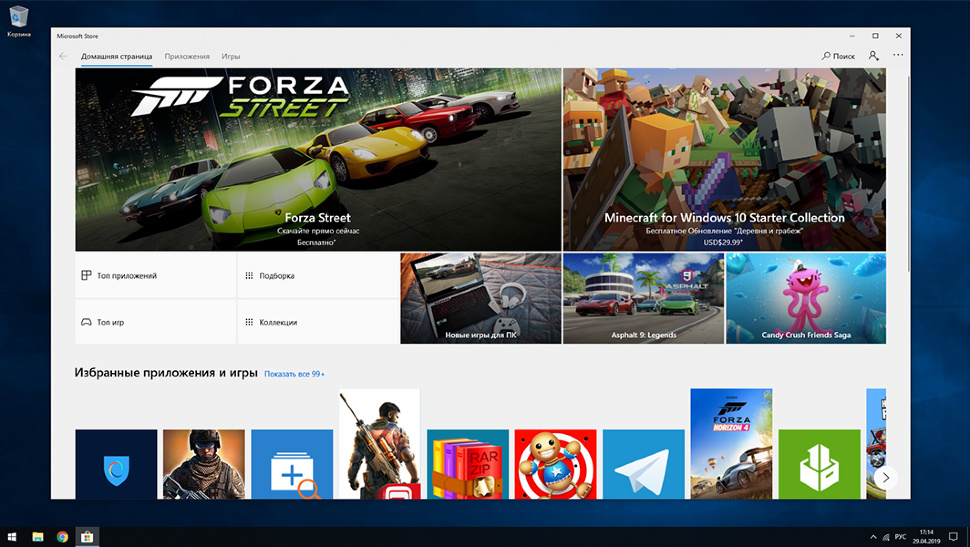
Важно! Посмотреть избранные фото в Windows 10 можно только в приложении «Фотографии», которое является предустановленным во всех редакциях операционной системы. Если вы когда-то его удалили, то перед выполнением описанных в статье действий произведите его повторную инсталляцию. Сделать это можно через стандартный магазин приложений Microsoft Store. На нашем сайте есть отдельная статья, в которой об этом рассказывается подробно.
Подробнее: Установка приложения «Фотографии» в Windows 10

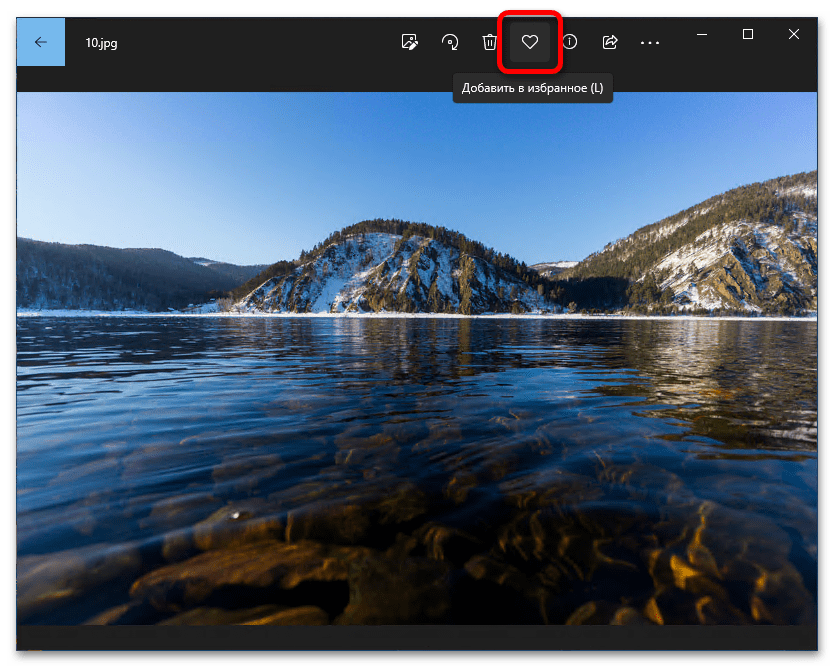
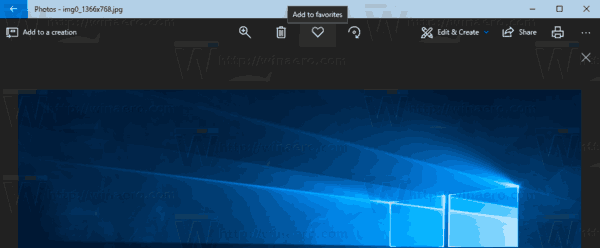
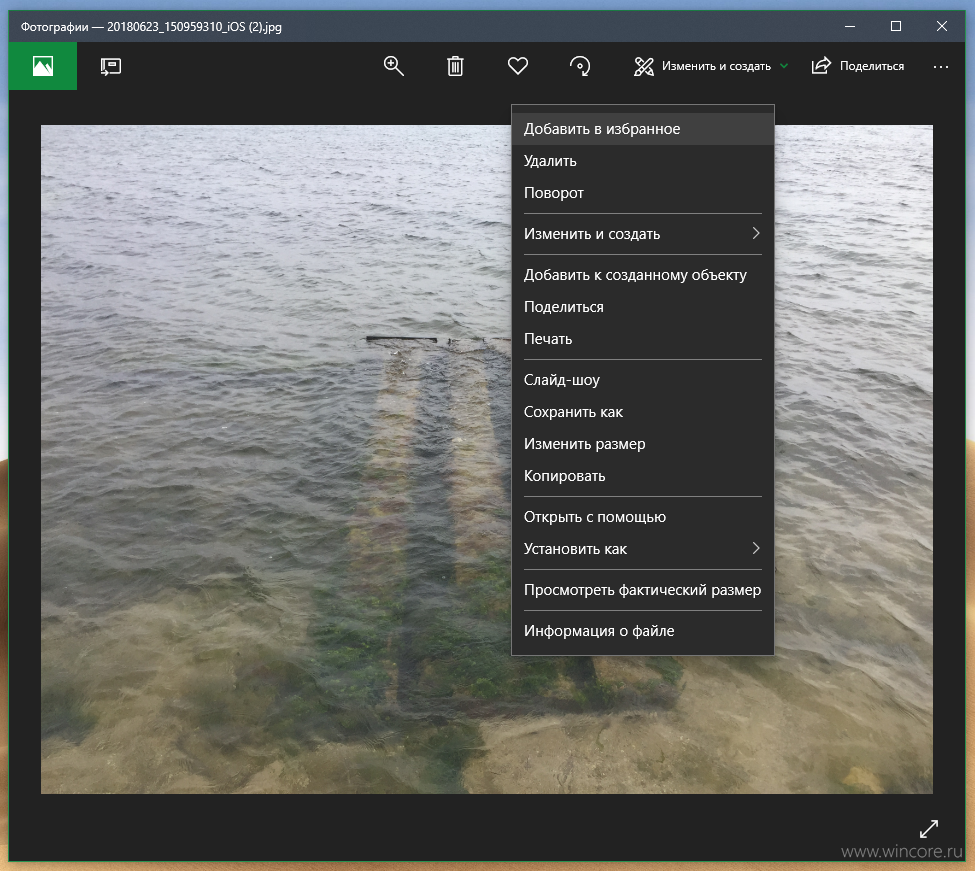
По умолчанию в избранном нет никаких фотографий, поэтому предварительно вам их нужно туда добавить. Для этого во время просмотра фото воспользуйтесь специальной кнопкой в виде сердца, расположенной в верхней части интерфейса программы «Фотографии».
Если вы знаете, что в приложении уже есть избранные фото, их можно посмотреть следующим образом:
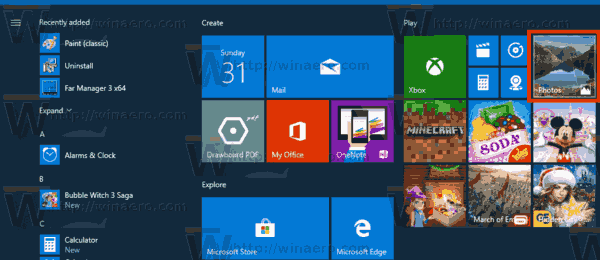
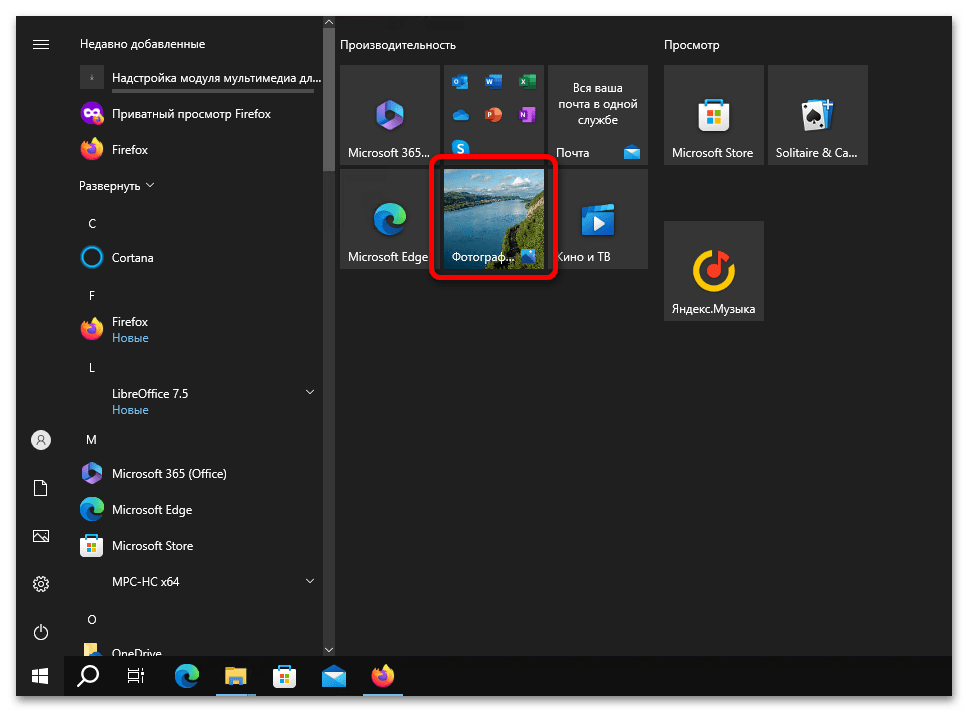
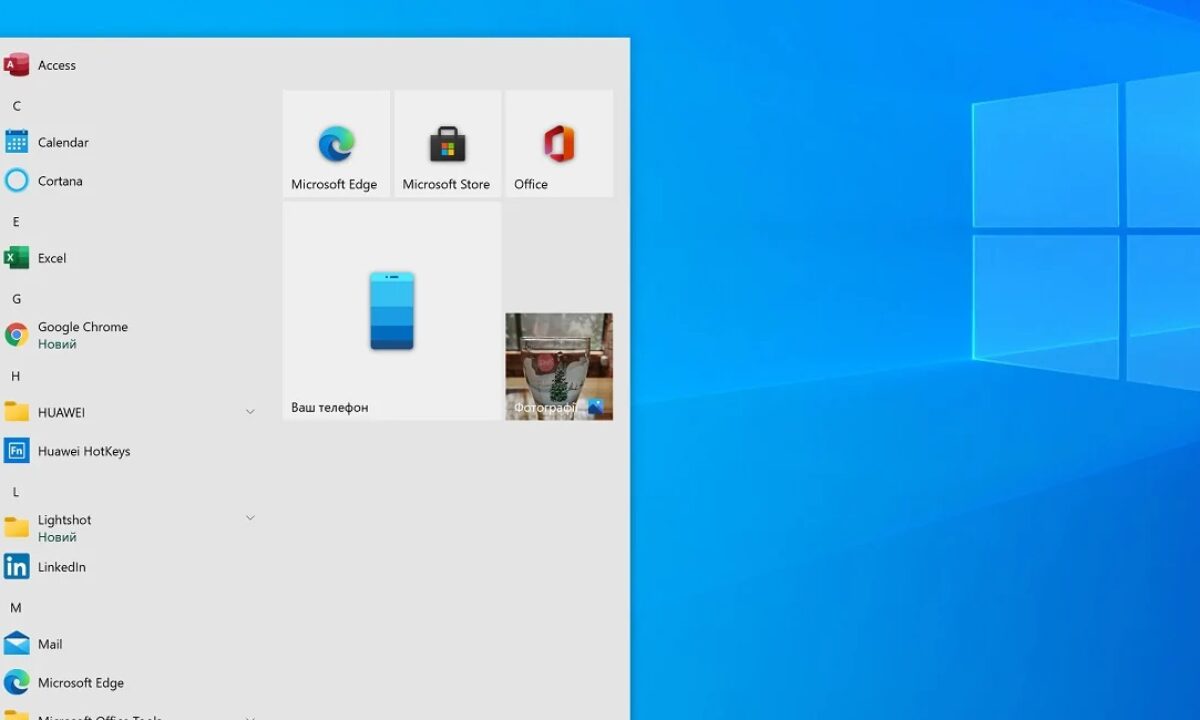
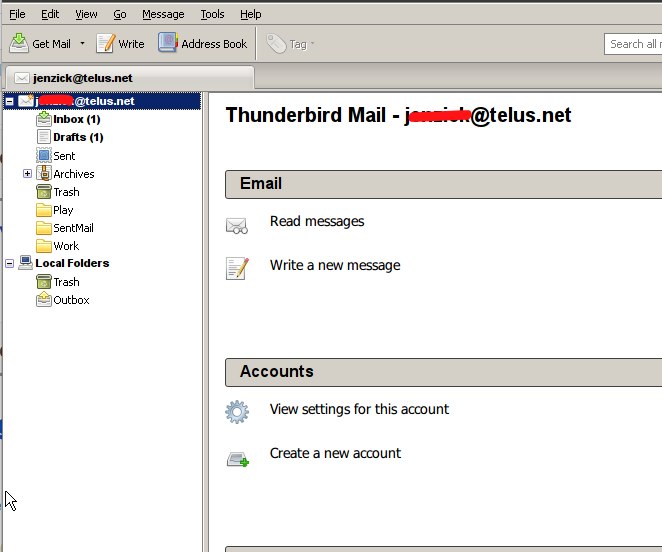
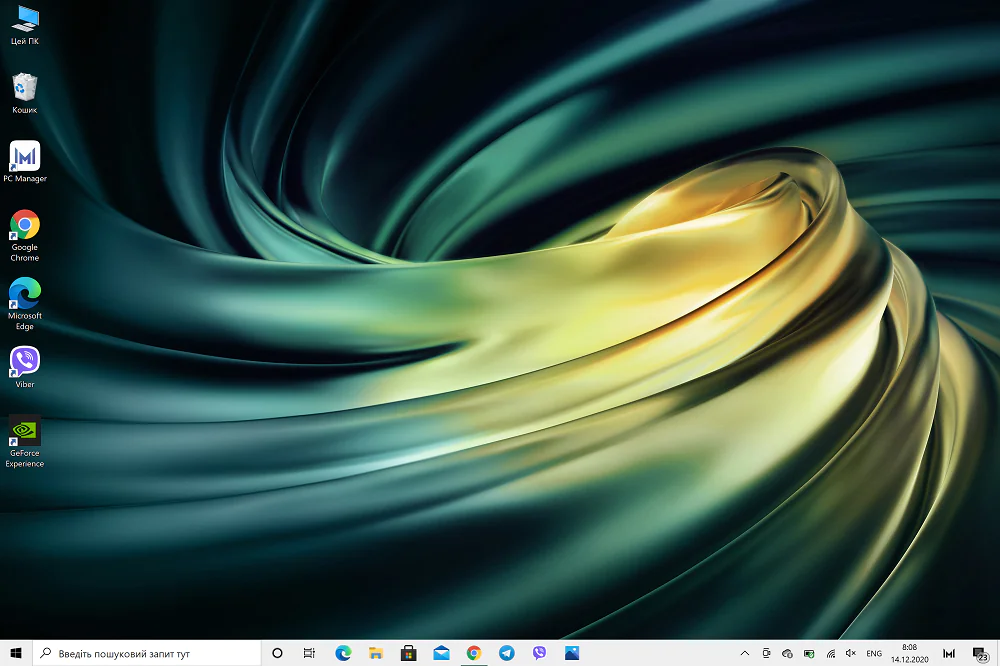
- Откройте «Фотографии» любым доступным способом. Например, сделать это можно через меню «Пуск». По умолчанию необходимая плитка расположена на панели быстрого запуска, как показано на изображении ниже, а также в основном меню приложений.

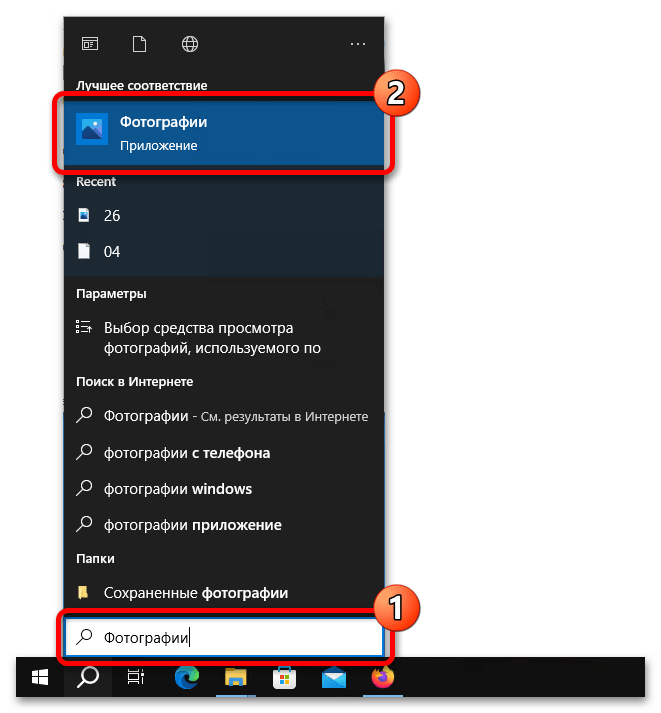
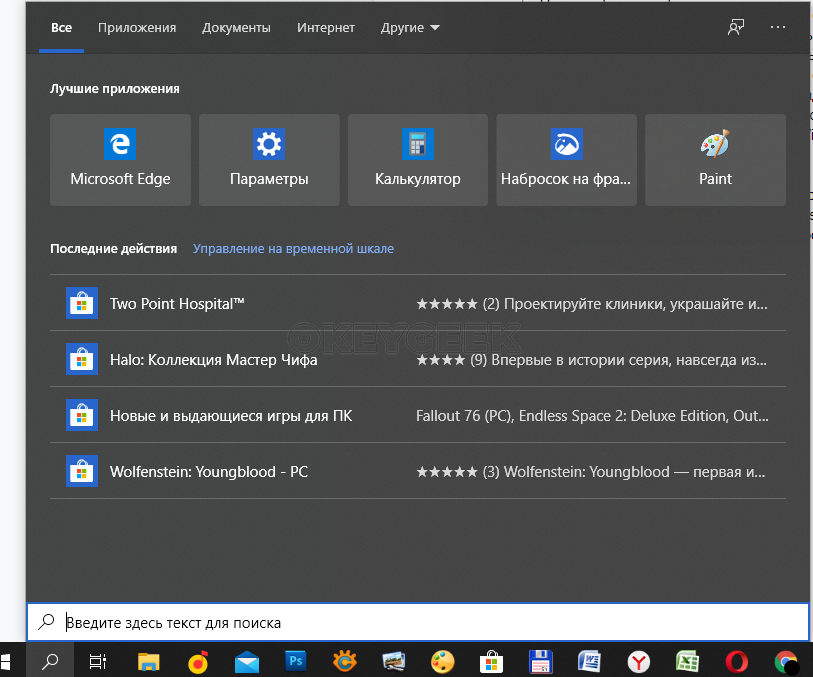
Если в меню «Пуск» программы не оказалось, тогда воспользуйтесь поиском по системе. Для этого установите курсор мыши в соответствующее поле на панели задач, после чего введите запрос «Фотографии». В результатах поиска щелкните по одноименному значку.
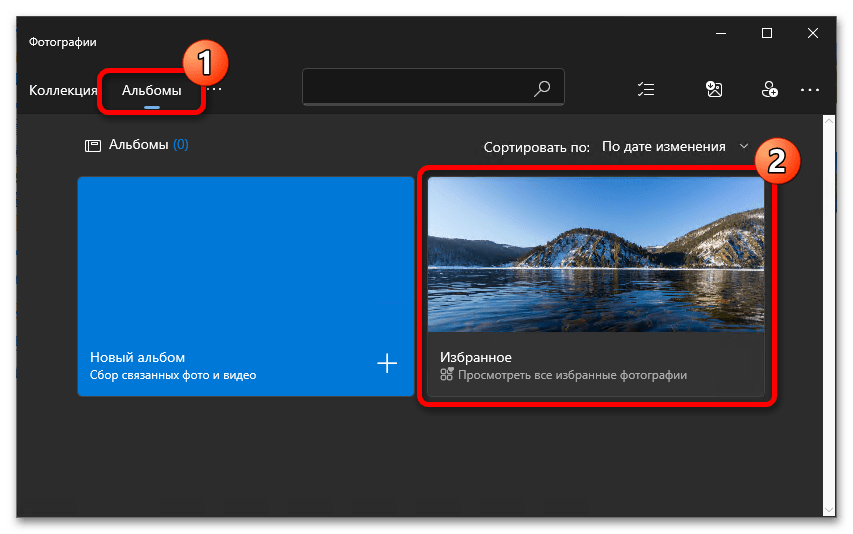
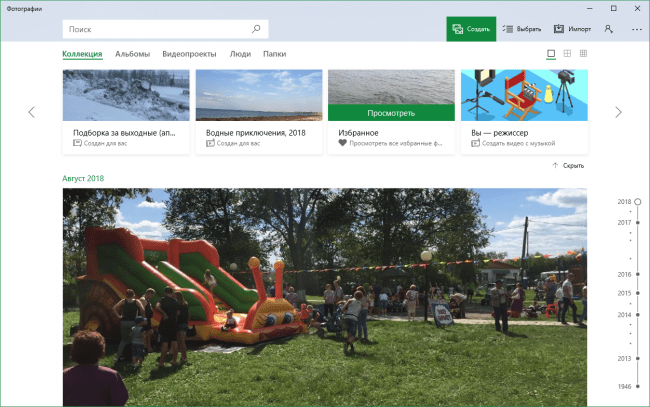
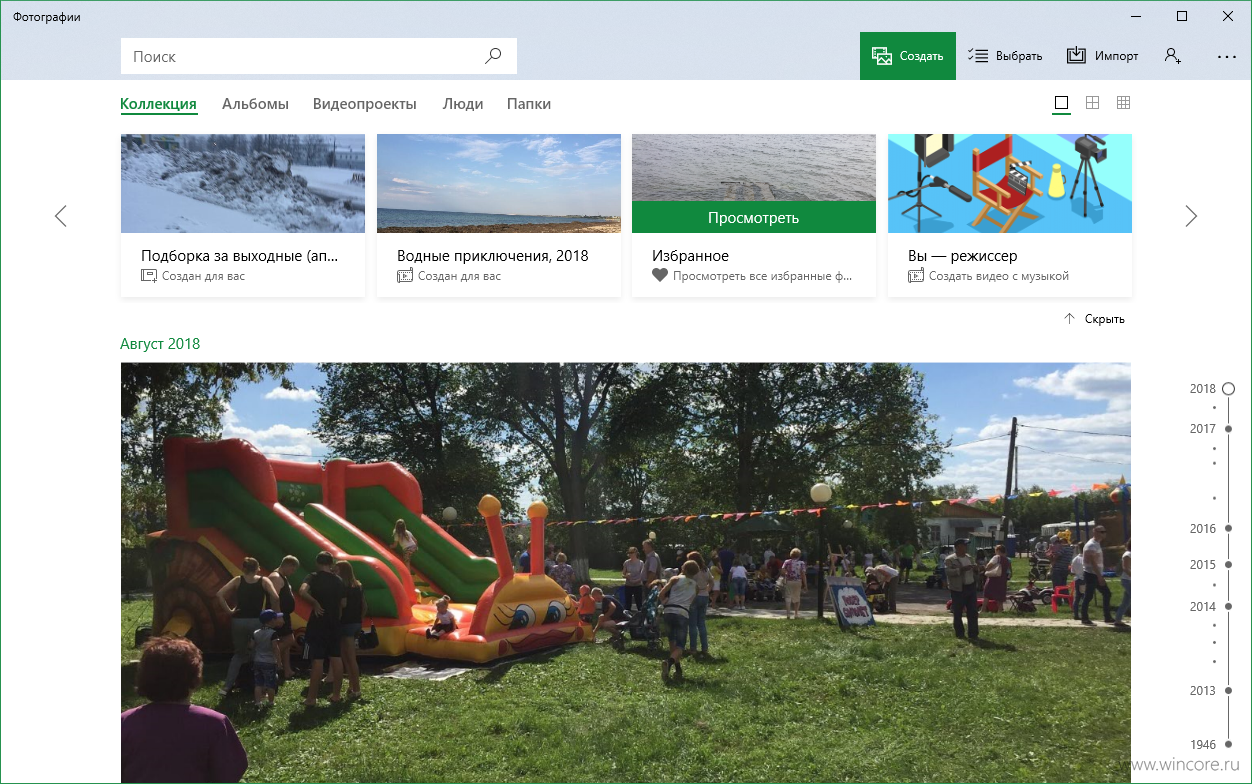
- Находясь в главном меню программы, перейдите во вкладку «Альбомы», расположенную в верней части интерфейса. Затем в списке всех альбомов найдите и щелкните по пункту «Избранное».
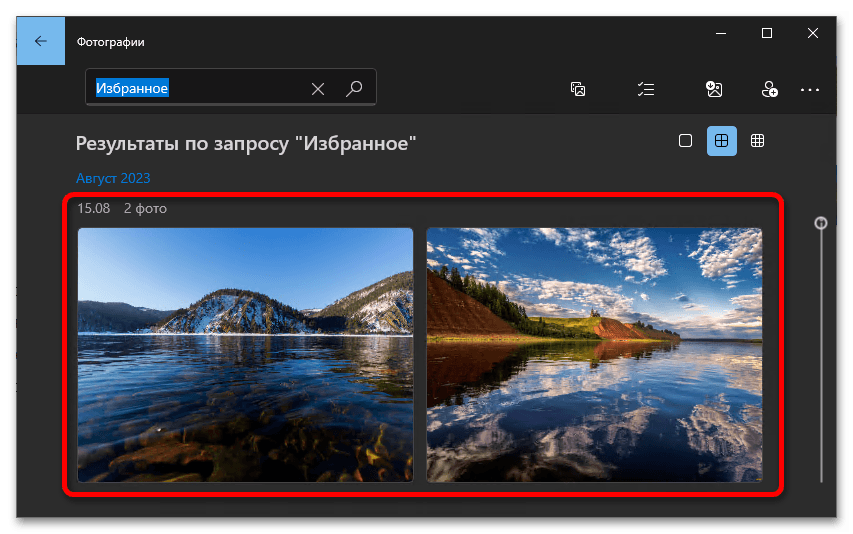
- В результате перед вами отобразится список всех фотографий, которые когда-то были добавлены в избранные.
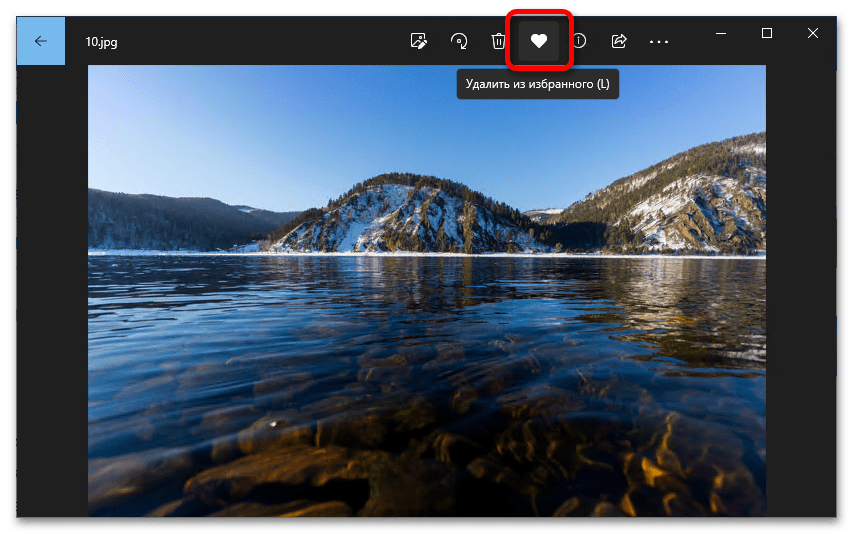
При необходимости вы также можете убрать любое фото из списка избранных. Для этого во время его просмотра достаточно снова нажать по кнопке в виде сердечка, расположенной на верхней панели программы, или воспользоваться клавишей «L».
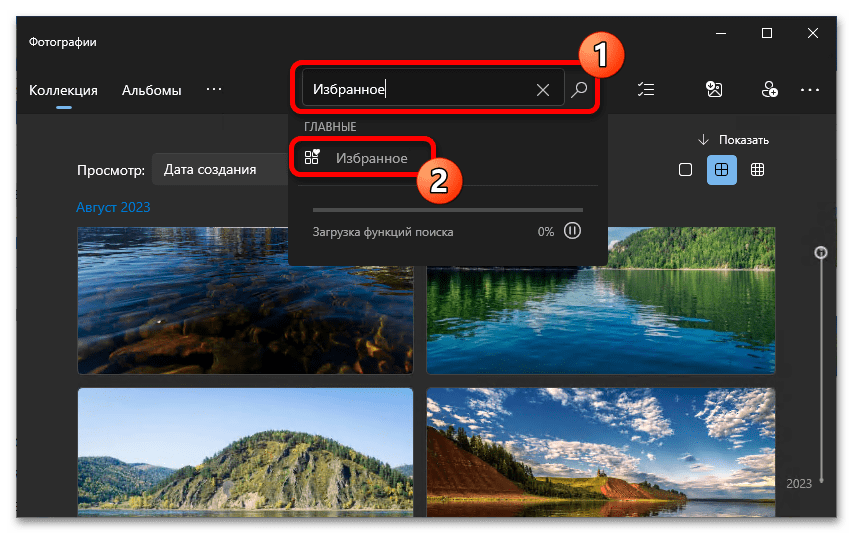
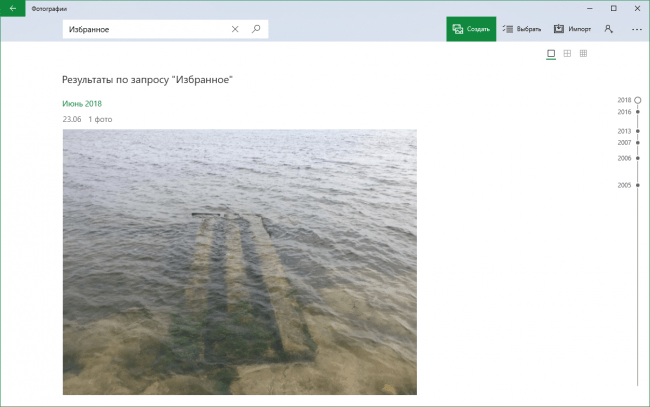
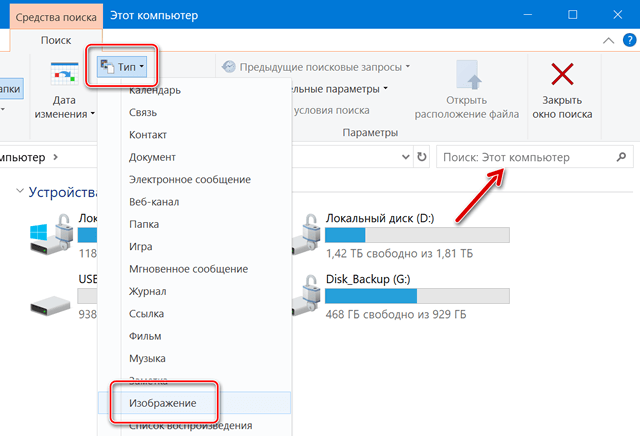
Альтернативный способ поиска избранных фотографий подразумевает использование поискового запроса. Для этого в приложении «Фотографии» установите курсор в соответствующее поле в верхней части окна и введите слово «Избранное». Затем в результатах кликните по пункту «Избранное», расположенном в блоке «ГЛАВНЫЕ».
Наша группа в TelegramПолезные советы и помощь
Readers help support Windows Report. We may get a commission if you buy through our links.
Read our disclosure page to find out how can you help Windows Report sustain the editorial team. Read more
We’ll show you how to sort photos by favorites in Windows. Thanks to recent updates to the Photos app, it’s easier than ever. Whether you’re using Windows 11 or 10, this will help you tag, view, and organize your favorite images for easy access.
How to sort by favorites in Windows
Just follow the steps to view your favorite photos in Windows.
Windows 11
- Launch the Photos app by clicking on the Windows key, type Photos in the search bar, and click Open.

- All photos on your PC will appear starting from the most recent. Double-click on a photo to open it in full view.
- Click on the heart icon at the top to add it to the Favorites folder.

- You can repeat this process until you have made a collection of all your favorite photos.
- Once your collection of favorites is complete, you can click on that folder to view all of them.
- If you’d like to sort them out, click on the three horizontal ellipses at the top and Select all. Alternatively, you can hit CTRL + A to also select all.

- Click again on the three ellipses and select Sort. Choose your preferred option to sort either by date or name.


In the unfortunate chance that your Windows Photo Viewer is not working, check out our detailed guide on how to fix it.
Windows 10
- Click on the Start Menu icon and click on Photos. It’s usually among the pinned apps but if not, do a quick search and click on it to open.

- Select an image and click on it to open.
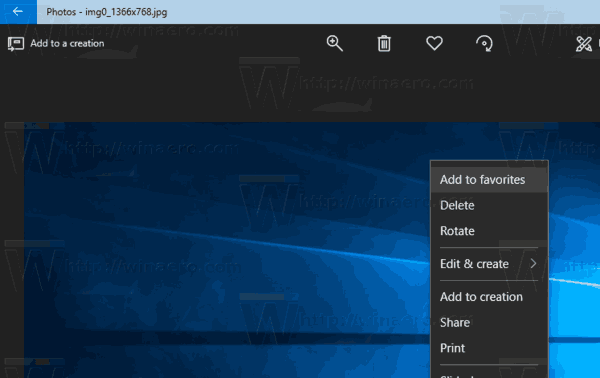
- Hit the heart icon to favorite or right-click on the image and select Add to favorites.

- Repeat this process until you have all your favorite images in the favorites folder.


- Microsoft upgrades Windows 11’s Photos, Paint, and Snipping Tool with AI-powered features
- How to Delete Windows 11 Saved Passwords
If you’d like to remove a photo from the favorites album, all you have to do is click again on the heart icon, and the picture will be restored to its original folder.
How do I filter my favorite photos in Windows 10?
- Open your Photos app.
- Navigate to the Favorites folder.
- Click on the Filter icon and choose either Videos or Photos.
Summary
Hopefully, this article has helped organize your albums and made your favorite pictures more accessible.
We also have a great list of the best photo viewers for your Windows device, so be sure to check that out too. And if the image has unwanted elements, Generative Erase can help you get rid of them.
While sorting photos by favorites may work for some people, the more advanced users prefer to use specialized photo culling software that offers more than the basics.
Let us know of any other tips you use for photo management using the Photos app in Windows down in the comment section.
Claire Moraa
Windows Software Expert
Claire has a knack for solving problems and improving the quality of life for those around her. She’s driven by rationality, curiosity, and simplicity, and always eager to learn more about Microsoft’s products.
With a background in teaching and reviewing, she breaks down complex topics into easily understandable articles, focusing mostly on Windows 11, errors, and software.
The Photos app is a Universal (Metro) app which comes pre-installed in Windows 10. It is a Store app which is intended to replace Windows Photo Viewer, since Microsoft wants to make the whole user environment look and work the same on Windows 10 Mobile and Windows 10 for PCs. However, interested users can restore the classic desktop app, Windows Photo Viewer. With recent updates, you can mark an image as a favorite. The Photos app will create a new «Favorites» album for you.
The built-in Photos app allows viewing images and performing basic editing. Its tile is pinned to the Start menu. Also, the app is associated with most image file formats out of the box. Photos offers very basic functionality to view images from the user’s local drive or from the OneDrive cloud storage.
The Photos app automatically shows the photos and videos stored in the local Pictures folder along with files stored in OneDrive. The user can add a custom location to those folders. See
Add Folders to Photos in Windows 10
Note: At the moment of this writing, the Photos app which comes bundled with Windows 10 on Skip Ahead doesn’t allow adding an image to favorites if it is not stored in the This PC\Pictures or OneDrive\Pictures folders. This will be fixed eventually.
To add an image to favorites in Photos in Windows 10, do the following.
- Open Photos. Its tile is pinned to the Start menu by default.

- Open an image. As mentioned above, the image must be stored in the Pictures folder as of this writing.
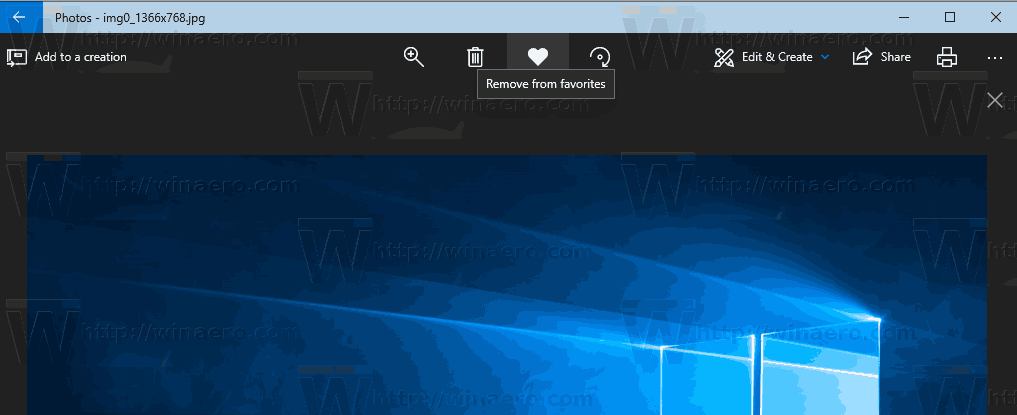
- Click on the heart icon on the toolbar at the top edge of the View page.

- Alternatively, yon can right-click on the image and select Add to favorites from the context menu.

How to access Favorites in Photos in Windows 10
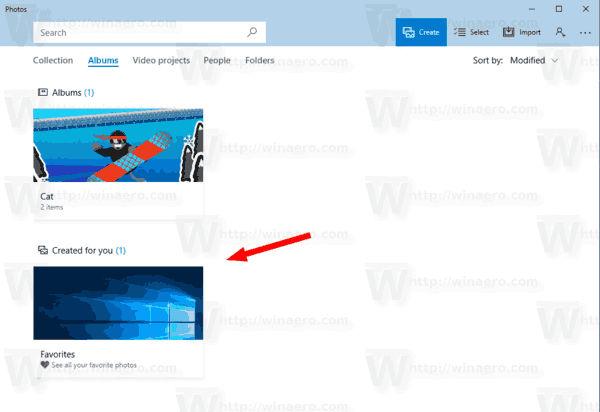
Favorites is a special album in the Photos app. It can be accessed from the main page of the app. Click on the Albums tab. You will see the Favorites album in the Created for you section.
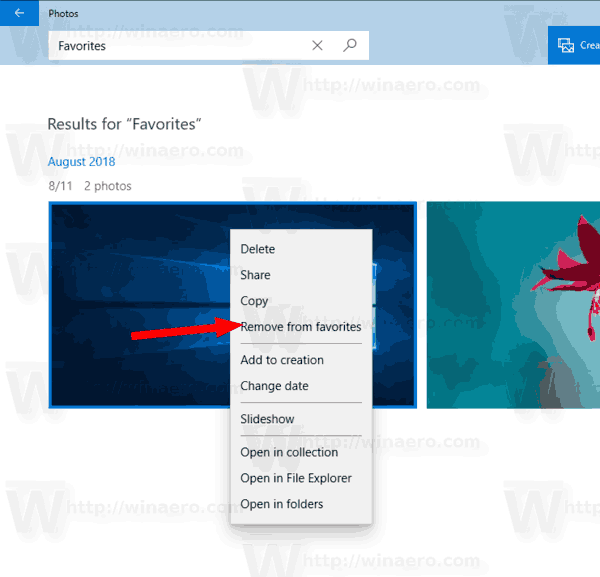
From there, you can quickly remove the photos from Favorites. Open the album, right-click on the image and select Remove from favorites from the context menu.
Alternatively, you can open the image and click on the heart icon. This will remove the already added image from Favorites.
Support us
Winaero greatly relies on your support. You can help the site keep bringing you interesting and useful content and software by using these options:
If you like this article, please share it using the buttons below. It won’t take a lot from you, but it will help us grow. Thanks for your support!
Приложение «Фотографии» является стандартным средством просмотра изображений на Windows 10. Оно отличается большим набором функций, среди которых отдельного упоминания заслуживает опция добавления картинок в «Избранное». Поставив «сердечко» напротив понравившегося снимка, пользователи порой забывают, как посмотреть избранные фото в операционной системе Windows 10. Поэтому важно отдельно рассказать о расположение этих файлов.
Где найти избранные фотографии в Windows 10
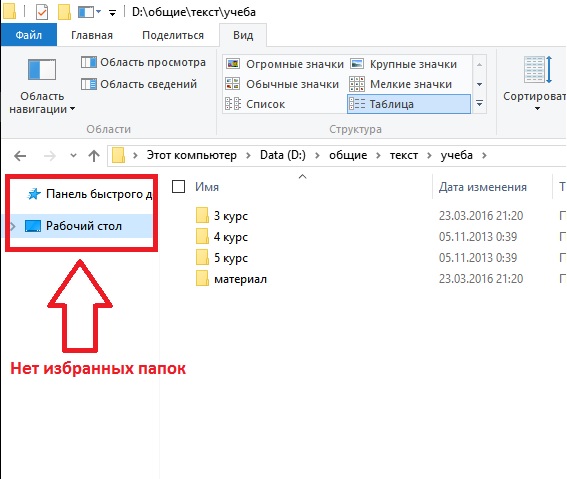
Снимки, добавленные в категорию с «сердечком» попадают в отдельную папку. Ее можно найти средствами «Проводника», если владелец знает расположение конечной директории. Как правило, она находится по пути C:\Users\Имя пользователя\Избранное.

Но точный путь может отличаться в зависимости от того, какой диск является системным на вашем компьютере. Также важно отметить, что в самой директории «Favorites» есть свои подпапки. Они отвечают за разные типы файлов. В нашем случае необходимо искать каталог с фотографиями, имеющий соответствующее название.
Для быстрого доступа к снимкам вы можете добавить пользовательский каталог на рабочий стол. Вам понадобится:
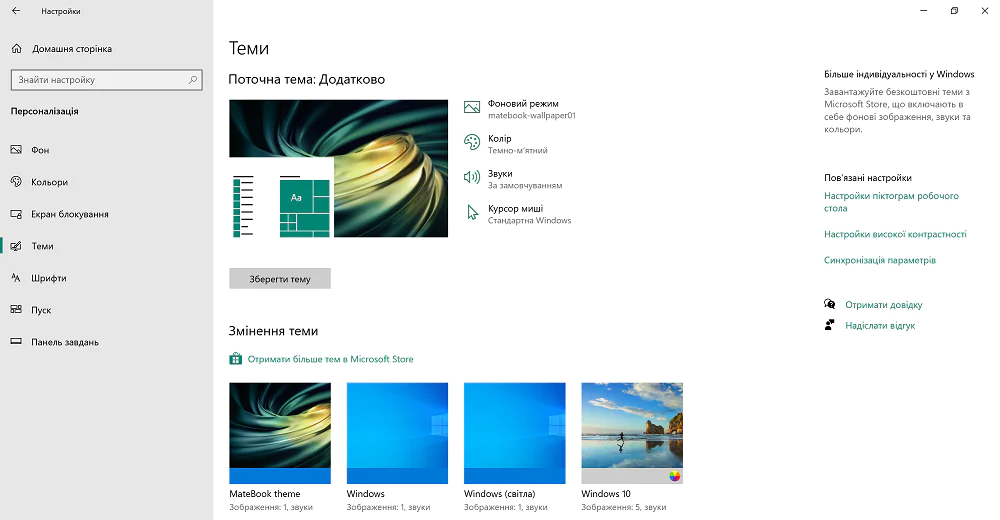
- Открыть «Параметры» через меню «Пуск».

- Перейти в раздел «Персонализация», а затем – «Темы».
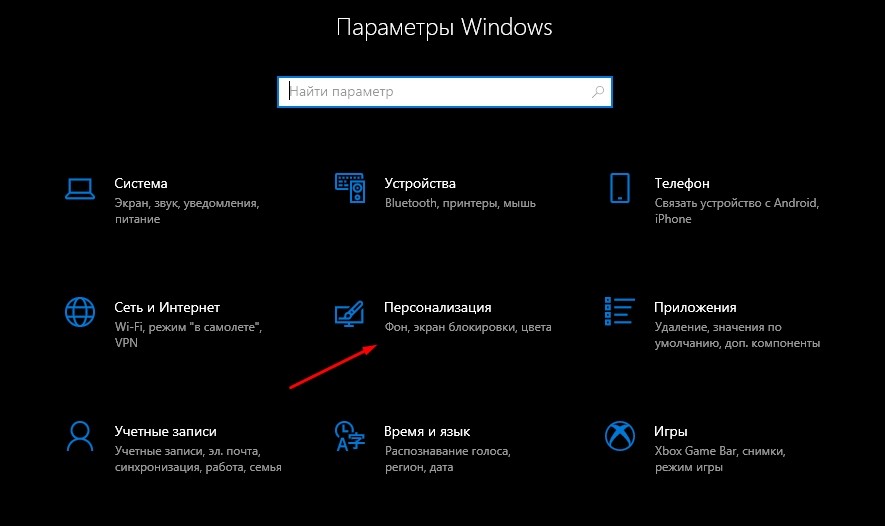
- Щелкнуть ЛКМ по надписи «Параметры значков рабочего стола».

- Отметить галочкой пункт «Файлы пользователя».
- Нажать на кнопку «Применить».
Теперь папка, включающая в себя отмеченные фотографии, появится на главном экране компьютера. Благодаря этому пользователю не придется искать нужную директорию в «Проводнике».
Как просмотреть избранное на фотографиях
Стандартное средство просмотра открывается двойным кликом ЛКМ по интересующему снимку. Но в то же время получить доступ к отмеченным картинкам можно напрямую через приложение «Фотографии». Чтобы это сделать, понадобится:
- Открыть программу, используя поисковую строку или другой удобный способ.
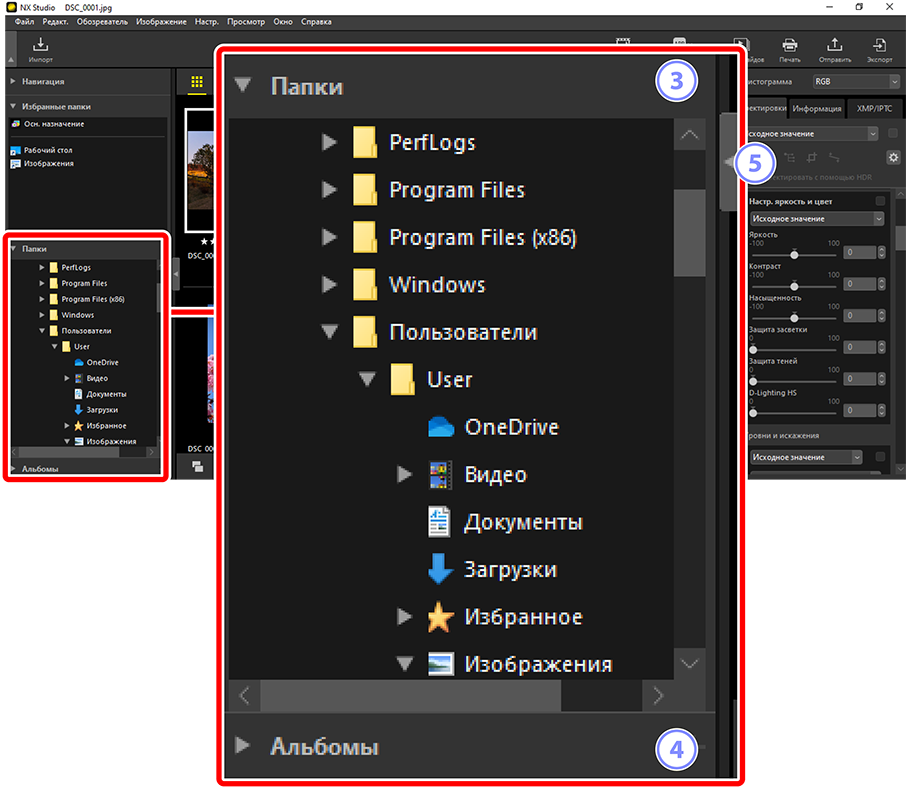
- Перейти в раздел «Альбомы».
- Выбрать альбом «Избранное».
Здесь и появятся все ваши снимки, отмеченные «сердечком». Если их нет, придется добавить соответствующую папку вручную:
- Запустите просмотрщик изображений.

- Переместитесь в «Настройки», а затем – «Источники».
- Нажмите на кнопку «Добавить папку».
- Выберите «Избранное».
Теперь проблема отображения перестанет давать о себе знать, и вы всегда сможете увидеть понравившиеся фото любым удобным способом – как через «Проводник», так и через отдельное приложение для просмотра изображений на компьютере.
Вам помогло? Поделитесь с друзьями — помогите и нам!
Как найти избранные фото в виндовс 10 88 фото
Как найти избранные фото в Виндовс 10 фотографии
Как посмотреть избранные фото в Windows иллюстрации


Обновление до Windows 10: Обзор финальной версии OS фотки


Microsoft заменяет Edge на Edge Chromium — обновления начали приходитьпользователям фотоснимки


DC — Настройки картинки

Знакомство с новым меню «Пуск» в Windows 11, которое появится как выглядит


Windows 10 выходит на рынок


В новой сборке Windows 10 добавили интересную функцию — i2HARD»,true,true,»i2HARD фотоизображения


Настройка Windows 10: где официально скачать, изображения


Как использовать — Справка по DAEMON Tools Ultra фотокартины


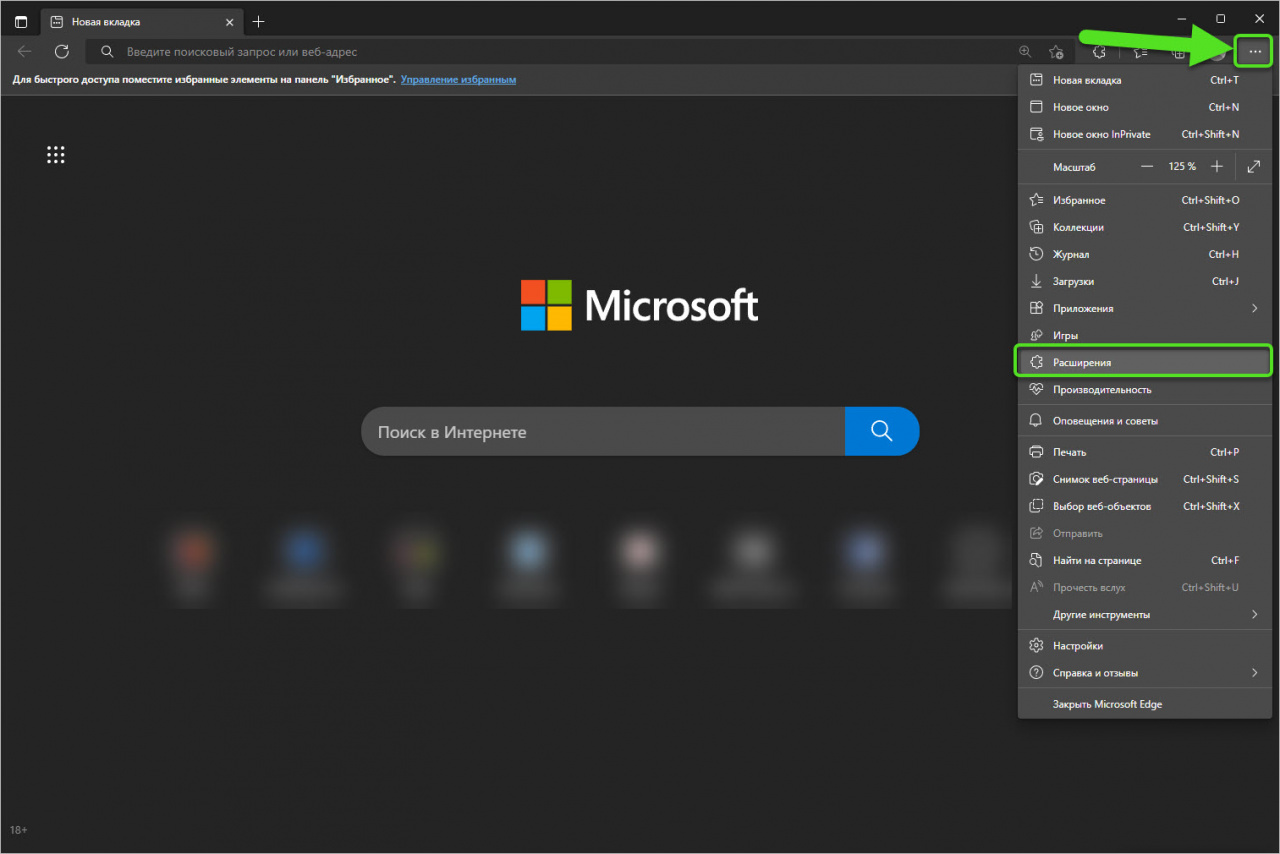
Настройка расширений браузера для отправки


Its a Trap! / Windows 10 :: 9gag (избранные картинки с


Сегодня Microsoft полностью заканчивают поддержку Windows


Microsoft показала улучшенную версию «Проводника»


Ошибка Ubuntu не видит сеть Windows