
-
Download the installer:
-
Miniconda installer for
Windows -
Anaconda Distribution installer for
Windows -
Miniforge installer for Windows
-
-
Verify your installer hashes.
-
Double-click the
.exefile. -
Follow the instructions on the screen.
If you are unsure about any setting, accept the defaults. You
can change them later.When installation is finished, from the Start menu, open either the Anaconda Command Prompt (cmd.exe)
if using Miniconda or Anaconda Distribution, and the Miniforge Command Prompt if using Miniforge. Powershell
prompts are also available. -
Test your installation. In your terminal window, run the command
conda list. A list of
installed packages appears if it has been installed correctly.
Installing in silent mode#
Note
The following instructions are for Miniconda but should also work
for the Anaconda Distribution or Miniforge installers.
Note
As of Anaconda Distribution 2022.05 and Miniconda 4.12.0, the option to add Anaconda
to the PATH environment variable during an All Users installation has been disabled. This
was done to address a security exploit.
You can still add Anaconda to the PATH environment variable during a Just Me installation.
To run the the Windows installer for Miniconda in
silent mode, use the /S
argument. The following optional arguments are supported:
-
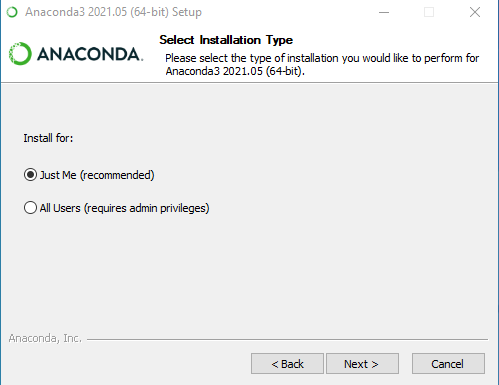
/InstallationType=[JustMe|AllUsers]—Default isJustMe. -
/AddToPath=[0|1]—Default is0 -
/RegisterPython=[0|1]—Make this the system’s default
Python.
0indicates Python won’t be registered as the system’s default.1
indicates Python will be registered as the system’s default. -
/S—Install in silent mode. -
/D=<installation path>—Destination installation path.
Must be the last argument. Do not wrap in quotation marks.
Required if you use/S.
All arguments are case-sensitive.
Example: The following command installs Miniconda for the
current user without registering Python as the system’s default:
start /wait "" Miniconda3-latest-Windows-x86_64.exe /InstallationType=JustMe /RegisterPython=0 /S /D=%UserProfile%\Miniconda3
Updating conda#
-
Open Command Prompt or PowerShell from the start menu.
-
Run
conda update conda.
Uninstalling conda#
-
In the Windows Control Panel, click Add or Remove Program.
-
Select Python X.X (Miniconda), where X.X is your version of Python.
-
Click Remove Program.
Note
Removing a program is different in Windows 10.
Last Updated :
20 Apr, 2022
Anaconda is open-source software that contains Jupyter, spyder, etc that is used for large data processing, data analytics, heavy scientific computing.
Conda is a package and environment management system that is available across Windows, Linux, and MacOS, similar to PIP. It helps in the installation of packages and dependencies associated with a specific language like python, C++, Java, Scala, etc. Conda is also an environment manager and helps to switch between different environments with just a few commands.
Installing Conda on Windows:
Follow the below steps to install conda on windows:
Step 1: Visit this website and download the Anaconda installer.

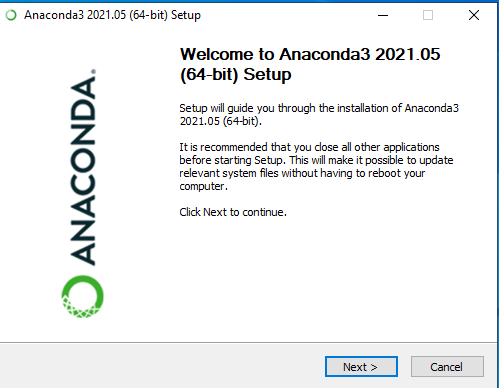
Step 2: Click on the downloaded .exe file and click on Next.
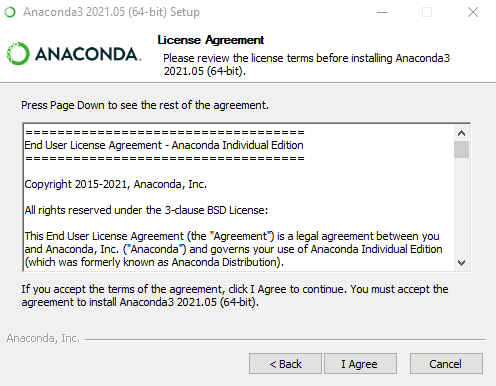
Step 3: Agree to the terms and conditions.
Step 4: Select the installation type.
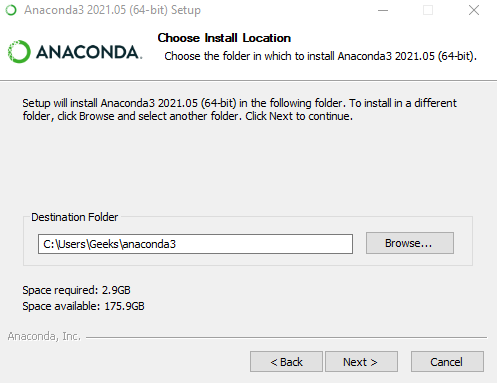
Step 5: Choose the installation location.
Step 6: Now check the checkbox to add Anaconda to your environment Path and click Install.
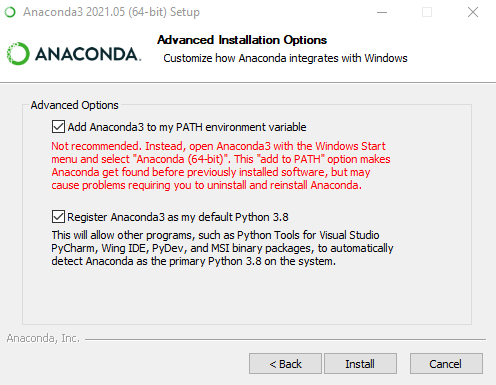
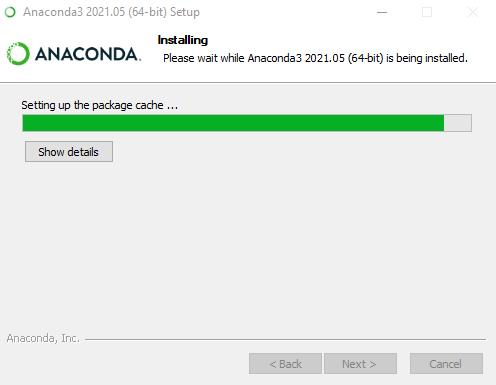
This will start the installation.
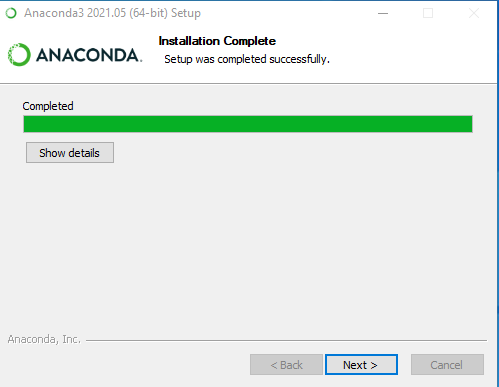
Step 7: After the installation is complete you’ll get the following message, here click on Next.
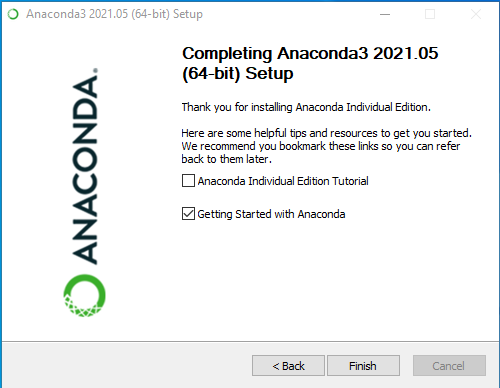
Step 8: You’ll get the following screen once the installation is ready to be used. Here click on Finish.
Verifying the installation:
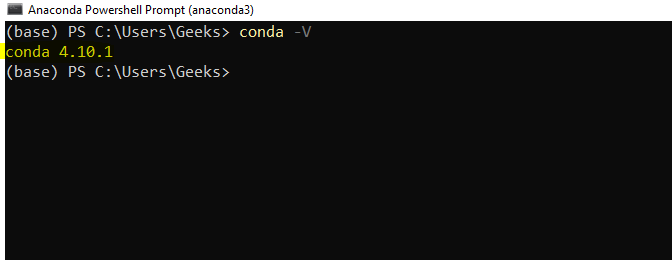
Now open up the Anaconda Power Shell prompt and use the below command to check the conda version:
conda -V
If conda is installed successfully, you will get a message as shown below:
This page provides instructions for installing Anaconda Distribution on Windows, macOS, and Linux.
Basic install instructions
Advanced install options
For more advanced installation instructions, such as installing with silent mode, installing on older operating systems, or multi-user installs, see Advanced installation.
Other ways to get Anaconda or Miniconda
For instructions on using Anaconda Docker images or the Anaconda Cloudera Distributed Hadoop cluster, see Applications/Integrations.
Problems?
- Troubleshooting guide for general troubleshooting
- Help and support for resources such as community support and bug reports
What’s next?
Get started programming with Anaconda in the Getting started with Anaconda guide.
Visit Anaconda.com to start programming for FREE in a notebook. Learn how from Anaconda Learning, too!
Provide feedback
Saved searches
Use saved searches to filter your results more quickly
Sign up
Appearance settings
Installing Conda on Windows: A Step-by-Step Guide
Introduction
Conda is a popular package manager for Python and other languages that allows users to easily install, manage, and share packages. It is widely used in the scientific and research communities due to its flexibility and ease of use. In this article, we will guide you through the process of installing Conda on Windows.
Prerequisites
Before installing Conda, you need to have the following:
- Python 3.6 or later: Conda requires Python 3.6 or later to function properly.
- Windows 10 or later: Conda is compatible with Windows 10 and later versions.
- Internet connection: You need an internet connection to download the Conda installer.
Installing Conda on Windows
Here’s a step-by-step guide to installing Conda on Windows:
Step 1: Download the Conda Installer
To download the Conda installer, follow these steps:
- Go to the Conda website and click on the «Download» button.
- Select the «Miniconda» installer for your Windows version (32-bit or 64-bit).
- Choose the «Windows» installation option.
- Click on the «Download» button to start the download process.
Step 2: Run the Installer
Once the download is complete, run the installer:
- Double-click on the Miniconda installer file (usually named «miniconda.exe»).
- Follow the on-screen instructions to install Conda.
Step 3: Accept the License Agreement
During the installation process, you will be prompted to accept the license agreement:
- Read through the agreement and check the box to accept it.
- Click on the «Next» button to proceed.
Step 4: Choose the Installation Location
You will be asked to choose the installation location for Conda:
- Select a location for Conda to install to.
- Choose a location that is easy to access and has enough disk space.
Step 5: Choose the Package Repository
Conda comes with a default package repository that includes popular packages. You can choose to install packages from this repository or from a custom repository:
- Select «Custom» to install packages from a custom repository.
- Choose a repository from the list of available options.
Step 6: Verify the Installation
After installation, you can verify that Conda is working correctly:
- Open a new Command Prompt or PowerShell window.
- Type
conda --versionand press Enter. - Type
conda --info --package-versionsand press Enter. - Type
conda --info --list-commandsand press Enter.
Configuring Conda
Once Conda is installed, you can configure it to suit your needs:
Step 1: Set the Conda Prompt
You can set the Conda prompt to display the package manager:
- Open a new Command Prompt or PowerShell window.
- Type
conda promptand press Enter. - This will display the Conda prompt with the package manager.
Step 2: Set the Conda Profile
You can set the Conda profile to use a specific package repository:
- Open a new Command Prompt or PowerShell window.
- Type
conda config --set baseurl https://conda.anaconda.org/and press Enter. - Type
conda config --set defaultrepo https://conda.anaconda.org/and press Enter. - Type
conda config --set package-versionsand press Enter.
Step 3: Set the Conda Environment
You can set the Conda environment to use a specific package:
- Open a new Command Prompt or PowerShell window.
- Type
conda create --name myenvand press Enter. - Type
conda activate myenvand press Enter.
Managing Conda Packages
Once Conda is installed, you can manage packages using the following commands:
Step 1: List Packages
You can list all packages installed in Conda:
- Type
conda listand press Enter. - This will display a list of all packages installed in Conda.
Step 2: Install Packages
You can install packages using the following command:
- Type
conda install <package_name>and press Enter. - Replace
<package_name>with the name of the package you want to install.
Step 3: Uninstall Packages
You can uninstall packages using the following command:
- Type
conda uninstall <package_name>and press Enter. - Replace
<package_name>with the name of the package you want to uninstall.
Troubleshooting Conda
If you encounter any issues while installing or using Conda, here are some troubleshooting steps:
Step 1: Check the Installation
- Make sure that the Conda installer is installed correctly.
- Check the installation location and package repository.
Step 2: Check the Package Repository
- Check the package repository to ensure that it is correct.
- Try installing packages from a different repository.
Step 3: Check the Conda Prompt
- Check the Conda prompt to ensure that it is displaying the package manager correctly.
- Try setting the Conda prompt to display the package manager.
Step 4: Check the Conda Environment
- Check the Conda environment to ensure that it is correct.
- Try setting the Conda environment to use a different package repository.
Conclusion
Installing Conda on Windows is a straightforward process that requires minimal technical expertise. By following these steps, you can easily install Conda and start using it to manage packages and environments. Remember to configure Conda to suit your needs and troubleshoot any issues that may arise. With Conda, you can easily manage packages and environments, making it a powerful tool for any developer or researcher.