Все способы:
- Способ 1: Редактор реестра
- Способ 2: Пакет SDK
- Способ 3: Обновление библиотек DirectX
- Способ 4: Обновление драйверов видеокарты
- Способ 5: Обновление системы
- Вопросы и ответы: 3
Способ 1: Редактор реестра
Посредством утилиты «Редактор реестр» в Windows 10 можно изменить многое, в том числе и переключить состояние аппаратного ускорения. Для этого необходимо выполнить следующий ряд действий:
- Откройте меню «Пуск» и прокрутите левую его часть в самый низ. Найдите и откройте папку «Средства администрирования». Из неё запустите утилиту «Редактор реестра».
Читайте также: Способы открыть Редактор реестра в Windows 10
- В левой половине окна вы обнаружите древовидную систему папок. С её помощью вам нужно пройти по указанному пути:
HKEY_CURRENT_USER\Software\Microsoft\Avalon.GraphicsВ директории «Avalon.Graphics» вы найдёте ключ «DisableHWAcceleration». В случае, если таковой будет отсутствовать, создайте его. Для этого кликните правой кнопкой мыши, наведите курсор на единственную строку «Создать», а затем выберите пункт «Параметр DWORD (32 бита)».
- После этого откройте файл «DisableHWAcceleration». Для включения аппаратного ускорения необходимо присвоить ему значение 0. Затем нажать кнопку «OK» в этом же окне.
- Чтобы проверить, включилось ли аппаратное ускорение, нажмите комбинацию клавиш «Windows+R» и введите в открывшееся окно команду
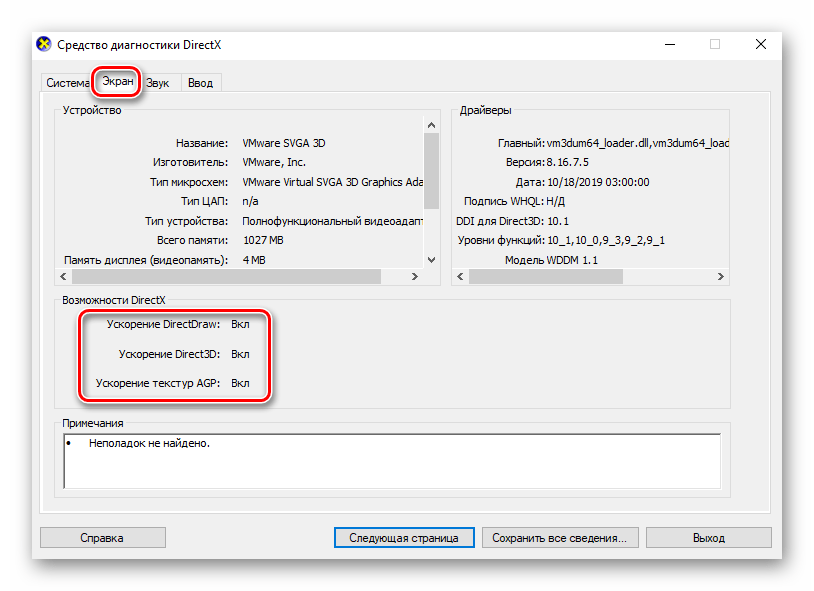
dxdiag. После этого нажмите «Enter» на клавиатуре либо же кнопку «OK» в этом же окне. - В появившемся окне «Средство диагностики DirectX» перейдите во вкладку «Экран». Если изменения в реестр были внесены корректно, напротив отмеченных на скриншоте строк будет написано «Вкл».


Способ 2: Пакет SDK
Основное назначение данного пакета – создание UWP-приложений для ОС Windows 10. В его состав входит оснастка «DirectX Control Panel», с помощью которой и можно включить аппаратное ускорение. Вам нужно сделать вот что:
- Перейдите по этой ссылке на страницу пакета SDK. Там кликните по кнопке «Скачать программу установки».
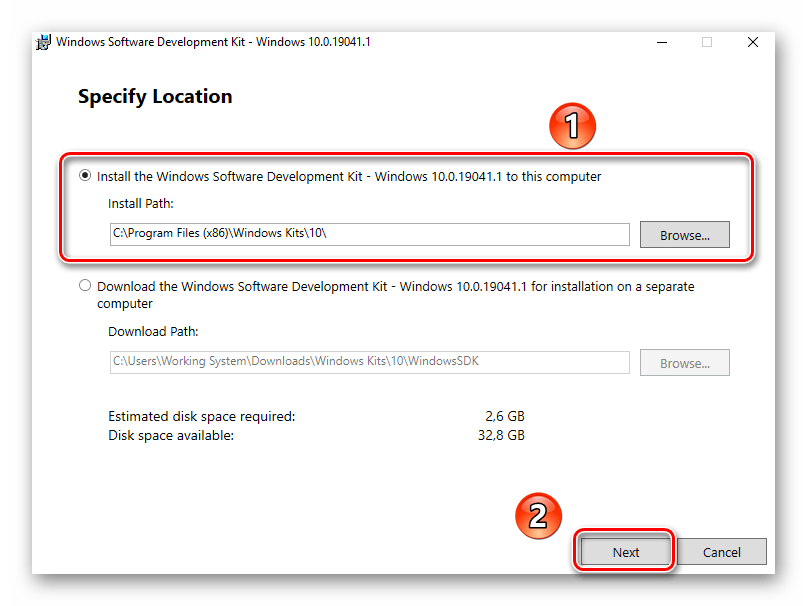
- По окончании загрузки установочного файла откройте его двойным кликом ЛКМ. В самом первом окне вам предложат выбрать директорию для установки пакета. Мы советуем оставить все как есть и просто нажать кнопку «Next».
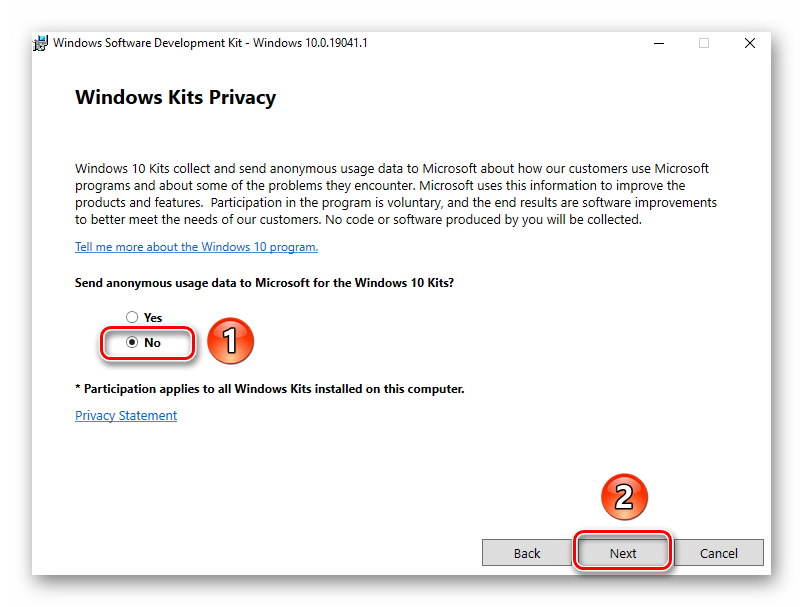
- В следующем окне нужно установить переключатель в положение «No». Это не позволит программе отправлять анонимные данные компании Microsoft. Эта опция в данном случае попросту не нужна. Затем нажмите кнопку «Next».
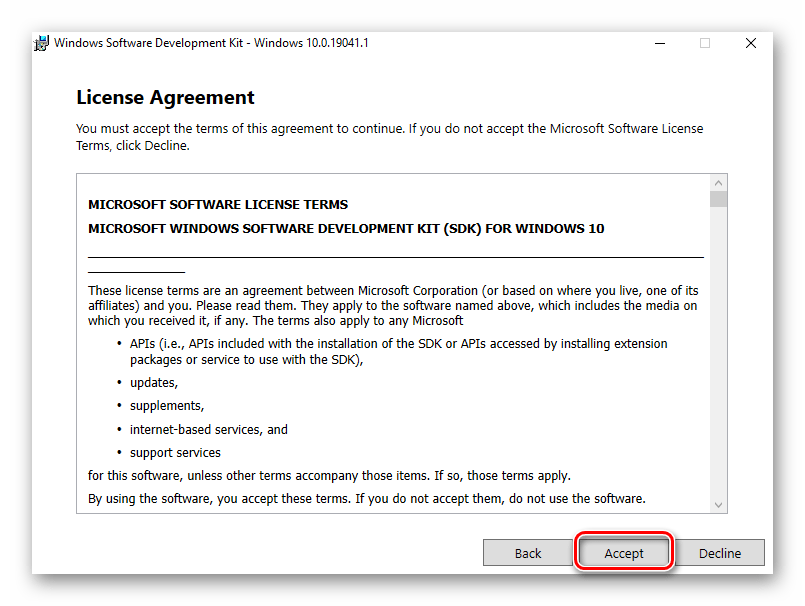
- Далее ознакомитесь с положениями лицензионного соглашения, после чего кликните по кнопке «Accept».
- На следующем этапе можно выбрать компоненты, которые будут инсталлированы. Оставьте все пункты отмеченными и нажмите «Install».
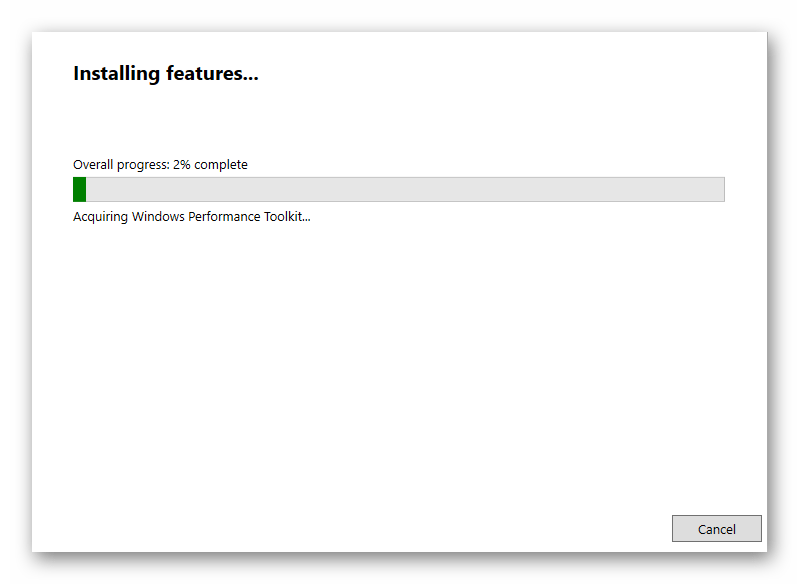
- В результате начнётся процесс установки пакета. Как правило, он длится около пяти минут. По завершении закройте окно программы.
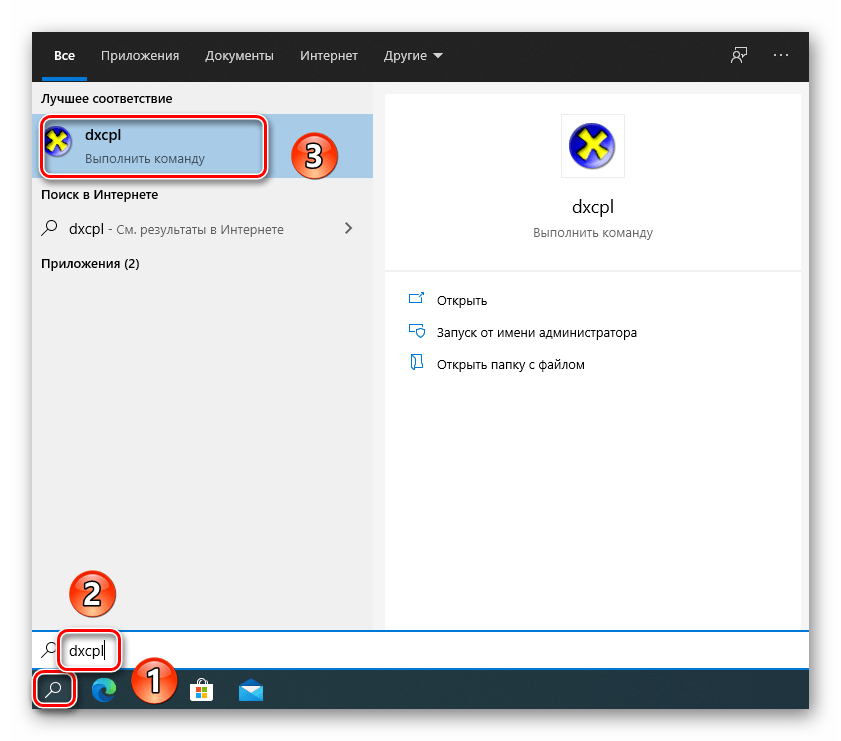
- Далее кликните по кнопке «Пуск» на «Панели задач» и введите поисковой запрос
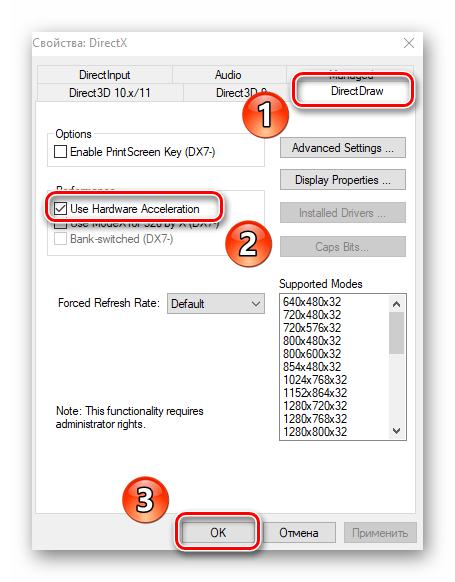
dxcpl. Из перечня результатов запустите утилиту с одноимённым названием. - В появившемся окне перейдите во вкладку «DirectDraw». В ней поставьте отметку возле строки «Use Hardware Acceleration». После этого нажмите кнопку «OK» в этом же окне.
- Аппаратное ускорение будет включено сразу же. Перегружать систему не обязательно. Проверить результат вы можете посредством «Средства диагностики DirectX», о котором мы писали в конце прошлого метода.


Способ 3: Обновление библиотек DirectX
Работа аппаратного ускорения напрямую связана с библиотеками DirectX. Именно поэтому в случае его отключения стоит попробовать обновить сам DirectX. Для этого лучше всего использовать веб-пакет.
Читайте также: Переустановка и добавление недостающих компонентов DirectX в Windows 10
- Перейдите по указанной ссылке на страницу веб-установщика исполняемых библиотек DirectX, после чего автоматически загрузится нужный файл. Запустите его, в первом окне выберите отмеченную на скриншоте строку и нажмите «Далее».
- В следующем окне снимите галочку возле строчки «Установка Панели Bing», затем снова кликните «Далее».
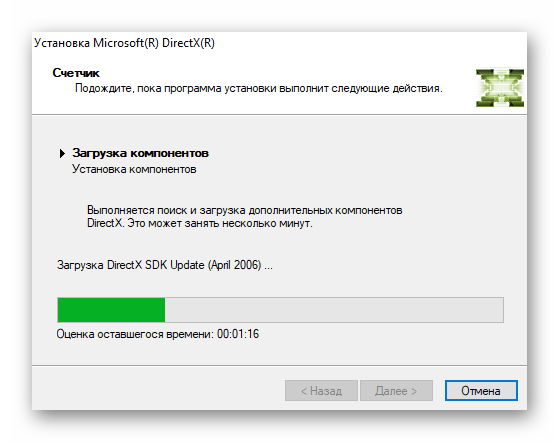
- Далее начнётся сканирование системы на наличие необходимых файлов. Если программа установки обнаружит недостающие библиотеки, вам предложат загрузить и инсталлировать их. В этом же окне вы увидите размер загружаемых данных. Нажмите «Далее».
- Начнётся процесс скачивания и установки недостающих библиотек и компонентов. Он занимает некоторое время, поэтому наберитесь терпения.
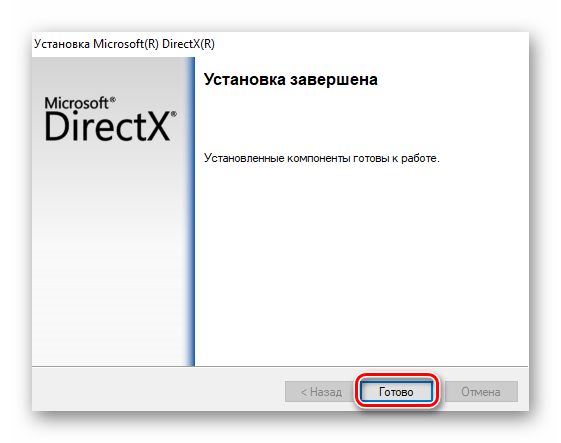
- По завершении операции вы увидите соответствующее сообщение. Теперь можете закрыть окно, нажав кнопку «Готово».
- Перезагрузите систему и проверьте работу аппаратного ускорения. С большой долей вероятности оно будет включено.


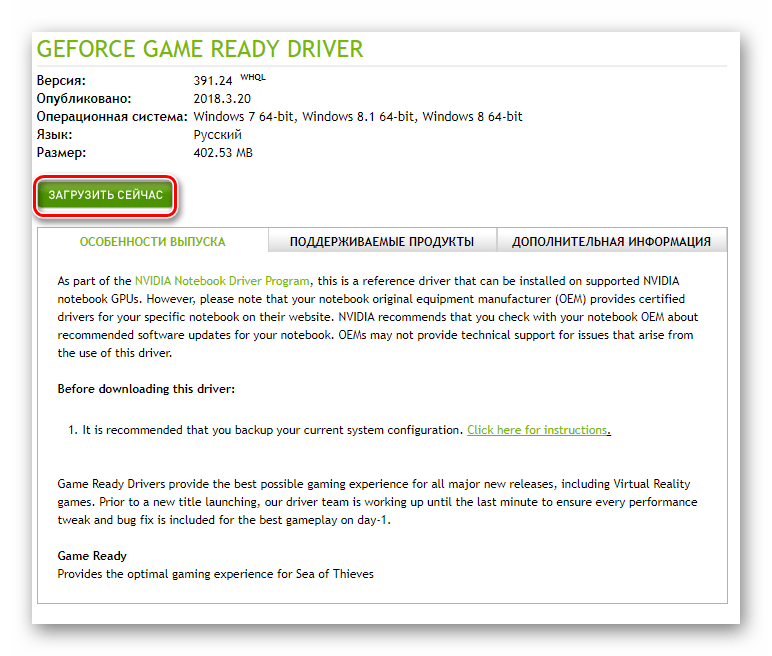
Способ 4: Обновление драйверов видеокарты
В некоторых случаях программное ускорение не включается из-за устаревшего ПО графического адаптера. Поэтому будет не лишним обновить драйвера всех видеокарт, как интегрированных, так и дискретных. В нашем отдельном руководстве вы найдёте описание всех возможных способов, которые помогут это сделать.
Подробнее: Способы обновления драйверов видеокарты на Windows 10
Способ 5: Обновление системы
В редких случаях включить аппаратное ускорение в Windows 10 можно с помощью банальной установки обновлений. Причем существует несколько методов, которые позволяют сделать это. Вы можете загрузить нужные апдейты как вручную, так и в автоматическом режиме. Обо всех нюансах мы рассказывали в отдельном руководстве.
Подробнее: Установка обновлений Windows 10

Наша группа в TelegramПолезные советы и помощь
-
Home
-
News
- How to Fix Direct3D Acceleration Not Available Windows 10/11?
By Aurelie | Follow |
Last Updated
How to enable Direct3D Acceleration in Windows 10/11? What should you do if coming across the Direct3D unavailable issue? If you are in the same boat, please follow the instructions in this post on MiniTool Website to get help.
Direct3D Acceleration Not Available Windows 10/11
Direct3D is one o the most commonly used graphics accelerators when gaming on PC and it is also a component of Microsoft’s DirectX graphics software.
When the hardware of your computer doesn’t conform with the minimum requirements to load the particular 3D graphics or you don’t install/enable DirectDraw Acceleration on your PC, you will encounter Direct3D Acceleration not available. How to fix this tricky issue? The following content will show you solutions to that step by step.
How to Fix Direct3D Acceleration Not Available Windows 10/11?
Fix 1: Update Graphics Driver
A missing, outdated or incompatible version of graphics driver might be the culprit of the Direct3D Acceleration not available problem. Therefore, updating your graphics driver at once may be a workable fix.
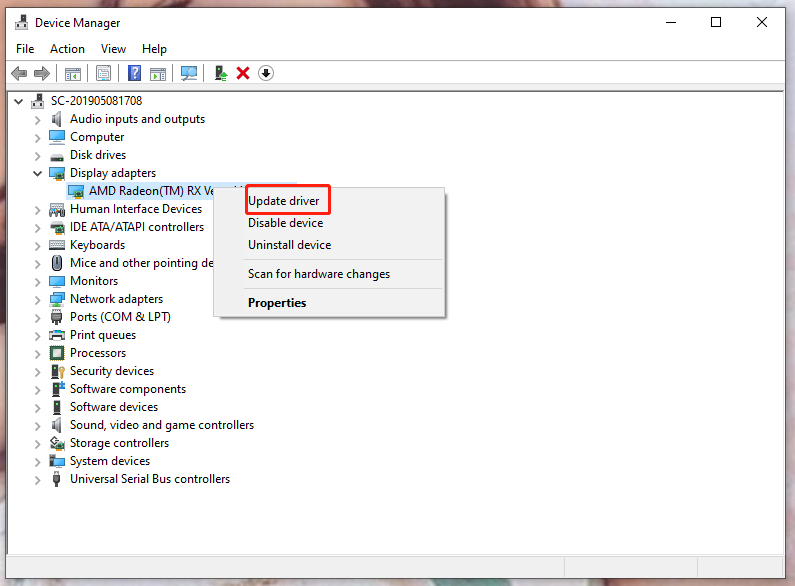
Step 1. Type device manager in the search bar to launch Device Manager.
Step 2. Press Display adapter and you’ll see your graphics driver.
Step 3. Do a right-click on it and choose Update driver.
Step 4. Click on the blue font Search automatically for drivers and follow the on-screen instructions to update & install the latest version of graphics driver.
Fix 2: Update Your DirectX
The DirectX update is usually done through the Windows update. If you don’t want to spend lots of time on Windows updates, you can try the following steps to update your DirectX.
Step 1. Press Win + R at the same time to invoke the Run box.
Step 2. Type dxdiag and hit Enter to open DirectX Diagnostic Tool.
Step 3. In the Display tab, check if your Direct3D Acceleration is enabled. If not, choose to enable it.
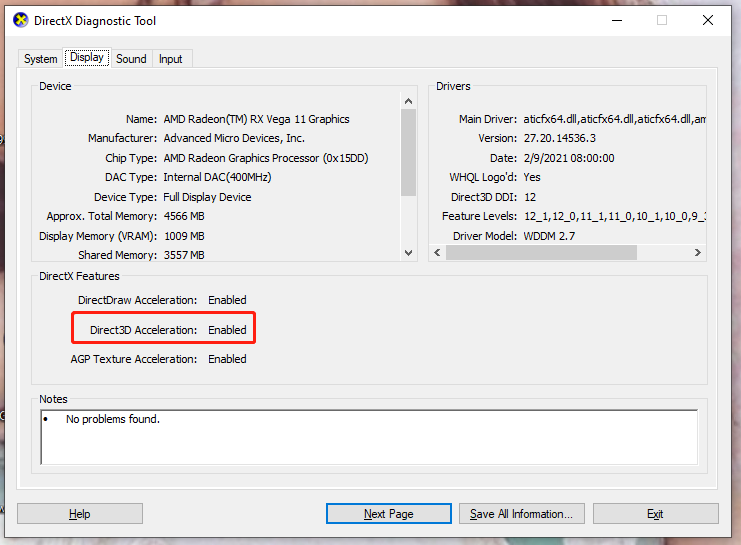
Step 4. Check your DirectX Version in the System tab to see if it meets the requirement (DirectX 9.0 and later).
Tip: Updating DirectX varies from Windows versions. If you want to know what DirectX version you need in your system, please visit How to install the latest version of DirectX for more information.
Step 5. Reboot your device to inspect if Direct3D Acceleration not available problem is addressed.
Fix 3: Reinstall Visual C++ Redistributables
Reinstalling Visual C++ Redistributables is also worth trying.
Step 1. Press Win + R to open the Run dialog.
Step 2. Type appwiz.cpl and don’t forget to hit Enter.
Step 3. You will see a list of installed Microsoft Visual C++ Redistributable packages. Do a right-click on the one you want to reinstall and click Uninstall.

Step 4. When the uninstallation process is done, go to the Microsoft Website to download the corresponding packages.
Step 5. Double-click on the downloaded file to start the installation process.
Step 6. Restart your PC to see if the Direct3D Acceleration not available problem is gone.
Other related articles:
How to Fix DirectDraw Error Dderr_Unsupported in Legacy Games
How to Disable Hardware Acceleration on Windows 10
How to Enable Hardware-Accelerated GPU Scheduling Windows 10/11?
About The Author
Position: Columnist
Aurelie is a passionate soul who always enjoys researching & writing articles and solutions to help others. Her posts mainly cover topics related to games, data backup & recovery, file sync and so on. Apart from writing, her primary interests include reading novels and poems, travelling and listening to country music.
If you have a dedicated GPU, you can find the NVIDIA Control Panel on your desktop. Next, click on the drop-down menu next to Performance Mode and select High-performance NVIDIA processor. You can also change the settings for the GPU by clicking the Customize button. These settings will affect your graphics card and your system’s processor load. The settings in this section can help you improve the performance of your graphics card.
The first step in changing your 3D settings is to open the Control Center. Right-click on the Control Center. Click on the “Manage 3D Settings” option. You will see a panel that lets you choose pre-installed global settings and make custom ones. The graphics processor selection will automatically select the best option for your hardware and your operating system. In addition, you can adjust the settings for the video and audio output and volume, and enable or disable stereo sound.
To open 3D settings in Windows 10, go to the NVIDIA Control Panel and select ‘Manage 3D settings’. The Manage 3D settings page will open. The Program Settings tab will allow you to assign unique 3D settings to individual games. Once you assign these settings to a specific game, the game will use these settings when it launches. The first step is to choose the game you want to assign 3D settings to. If the game is not listed, click ‘Add Program’ and browse to the file.
Sometimes, the NVIDIA Control Panel will not display 3D settings when you open it. The problem can be related to the graphics card driver. This is a common issue that can be solved with a graphics card driver update. DriverFix has a database of over 18 million drivers and is highly rated by users. After downloading the program, you can install the latest version of the driver on your PC. This will prevent lags, freezes, and crashes caused by outdated graphics card drivers.
Where is Manage 3D Settings?
In the Global Settings pane, select the Manage 3D Settings option. From there, you can adjust the 3D settings according to your preference. You can also select pre-installed global settings or customize your own. The default setting for graphics is High-performance NVIDIA processor. Besides, you can change the settings to adjust the overall performance of the graphics. If you play complex games, it is recommended that you set the vertical sync option to use 60 Hz or higher.
To change the power management mode, you can open the NVIDIA Control Panel. You can also open this panel by right-clicking an empty area on the Windows desktop and selecting Properties. Click the “Manage 3D Settings” link to edit your graphics card settings and make changes to specific applications. You can also select “Prefer Maximum Performance” from the drop-down menu. Finally, click the “Apply” button to apply changes to the graphics settings.
How Do I Enable 3D Acceleration in Windows 10?
If you’ve been wondering how to enable 3D acceleration in Windows 10, you’ve come to the right place. To get the most out of your 3D graphics card, you can enable or disable hardware graphics acceleration in your operating system. It’s possible to switch off hardware acceleration in any program, but disabling it may make your computer run slower. To disable hardware acceleration, go to the Control Panel > System and Security>Advanced System Settings>Hardware.
Depending on the type of video card you’re using, you can either enable or disable hardware acceleration in the Control Panel. If your video card is Intel, AMD, or NVIDIA, you can disable hardware acceleration by clicking on the grayed-out option. If you’ve tried both of these methods, the problem may be with your video card. You may need to update your driver or perform a hardware and devices troubleshooter to fix the problem.
Alternatively, you can right-click on the desktop and choose “Personalize” from the pop-up menu. Depending on your screen resolution, you may want to adjust the settings for the display driver. You can use the Display Adapter Troubleshooter to troubleshoot display problems. The next time you’re troubleshooting your display, try changing your graphics hardware settings. You may be surprised at the results!
How Do I Change Graphics Settings in Windows 10?
One of the performance-limiting configurations in Windows 10 is the Graphics settings screen. This setting is defaulted to “off” no matter how much power your GPU has. As such, your PC is wasting valuable high-performance hardware. If you want to maximize the performance of select programs on your PC, you can change the graphics settings on the desktop. To find out how to change graphics settings on your PC, follow these steps:
To find the graphics settings screen in Windows 10, you can type ‘graphics settings’ in the desktop search box or click on the link in the Display settings. Open the Graphics settings screen, and then select the option that best suits your needs. The GPU system you select will depend on your operating system and its settings. You can also change the settings for your graphics card by choosing the high-performance option. This setting increases the performance of your PC but requires that the system be restarted after you make changes. If you don’t want to restart your computer after you change the graphics settings, you can use a keyboard shortcut.
If your PC is equipped with a dedicated graphics card, you can switch it to a high-performance one and enable your dedicated GPU for higher-end games. You can also select the performance mode for your graphics card and select the classic or Microsoft Store apps to adjust the settings. When you’re done, select the ‘High-performance’ option to enable the dedicated graphics card. If you’re not sure what to select, check the Graphics Control Panel in the Microsoft Store.
How Do I Turn Off 3D on Windows 10?
In the Control Panel of your computer, locate the option for hardware acceleration. This option is grayed out by default. If you cannot disable 3D, restart the computer and check if the issue has been solved. If it still persists, you can try to disable 3D by right-clicking and exporting the key. Alternatively, you can use the tree view to navigate to the following key. Note: If you are using 64-bit Windows, you should remove the 3D folder from this window.
The Default location for 3D files in Windows 10 is the 3D Objects folder. The folder is located alongside folder links for other programs, and most users don’t use it. However, there’s an easier way to disable 3D: go into the registry and delete the folder containing the files. If you have no idea where the folder is located, look for it in the left-hand sidebar.
How Do I Manage Intel 3D Settings?
To manage Intel graphics settings on your PC, right-click on the desktop and select the Control Panel icon. Click the question mark icon in the toolbar to view its description. You can also launch the Control Panel from the Start menu. Once in the Control Panel, you can tweak your 3D settings to optimize your PC’s performance and battery life. Here are the steps to use the Intel graphics control panel. After you’ve downloaded the latest graphics driver for your PC, open the Control Panel to configure the graphics settings.
Once in the Control Panel, select the Settings tab. Under the Advanced settings button, click the Advanced tab. Click the Reset button to erase all stored data and click the Uninstall button to remove the Intel Graphics Control Panel. If you don’t want to reinstall the Intel graphics control panel, you can use a third-party application such as CCleaner to perform this task. It’s important to back up the registry before performing any changes to it.
How Do I Turn Off Stereoscopic 3D?
If you have a NVIDIA GPU, you can enable or disable Stereoscopic 3D. Open the NVIDIA Control Panel by right-clicking on the desktop. Then, navigate to the Stereoscopic 3D section. Click on the Enable or Disable option. You can also turn off 3D applications by editing their settings. The settings will appear in the NVIDIA Control Panel.
Changing the settings for the display panel is also possible. To turn off Stereoscopic 3D on Windows 10, open the Display Properties dialog box and choose the appropriate settings. You should see an icon titled “Stereoscopic Display.”
Enabling Stereoscopic 3D on Windows 10 requires that your computer be connected to a 3D display monitor. During this process, you need to click the triangle symbol beside the symbol. Click Enable 3D to enable this mode. If you do not want to enable it, go back to the settings dialog and click Disable Stereoscopic 3D. Alternatively, you can turn off 3D in the display properties dialog by clicking the “x” icon.
Learn More Here:
1.) Windows Help Center
2.) Windows – Wikipedia
3.) Windows Blog
4.) Windows Central
ATTENTION: To use our store you have to activate JavaScript and deactivate script blockers!
Thank you for your understanding!
If you currently order a TUXEDO notebook or a desktop as a dual-boot with Windows as a virtual machine (VM), the 3D acceleration is switched off by default in the VM due to an error in VirtualBox 7. We will briefly show you how to fix this afterwards.
After completing the initial setup of the virtual Windows VM, you can switch on the 3D acceleration via Select VM » Display by checking the box Enable 3D acceleration. Important: Please make this change only after the initial setup of the VM.