
Поставил я себе на ноут win 7 и столкнулся с тем что не ставится драйвер для vag шнурка.
До этого подключал к ноуту с 8ой виндой, нажимал «автоматическое обновление через интернет» и все прекрасно работало. Пробовал много чего и через интернет, и из программ вытаскивал папку drivers, и вытащил файлы из system32 на ноуте с 8кой, с установленными драйверами.
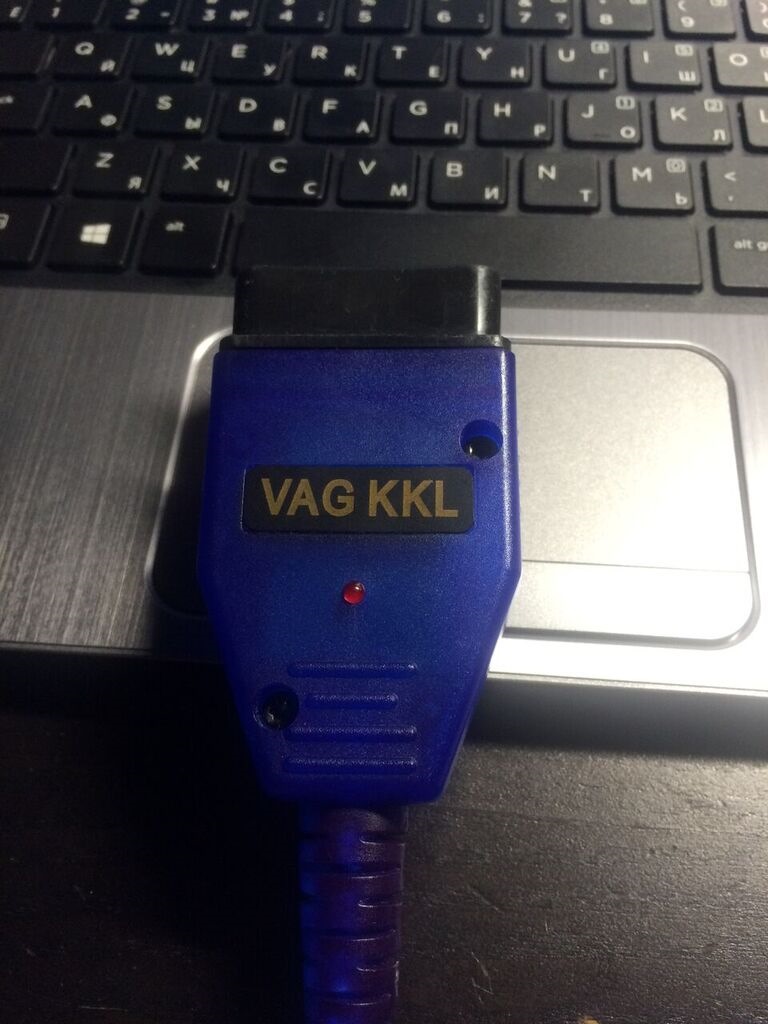
В итоге выяснилось что шнурки бывают с разными чипами, мой с ch340t, узнал я об этом по именам файлов, которые вытащил из system32 на 8ке. А дальше просто с помощью гугла нашел драйвер для чипа ch340t для win7.
Собственно ссылка на драйвер: ch340t (vag-com)
Итак, Вы стали счастливым обладателем
K-line адаптера :). Первым делом скачайте драйвера с нашего сайта.
Если Ваш адаптер на чипе
FTDI, скачиваем драйвер для 32-разрядной системы или для 64-разрядной.
Если Ваш адаптер на чипе
CH341, скачиваем драйвер для 32-разрядной или 64-разрядной.
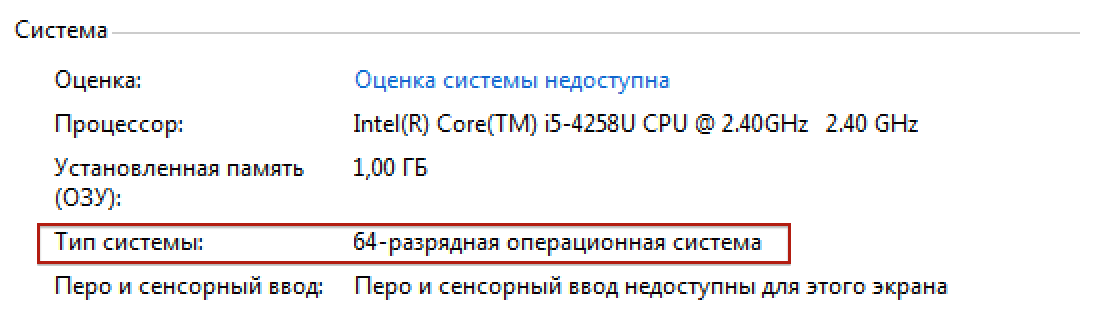
Узнать разрядность своего компьютера можно, зайдя в свойства моего компьютера:
Если Вы не знаете, на каком чипе Ваш адаптер, скачайте все драйвера и устанавливайте, пока адаптер не начнет корректно определяться системой.
После загрузки файла, распакуйте архив и подключите адаптер к компьютеру.
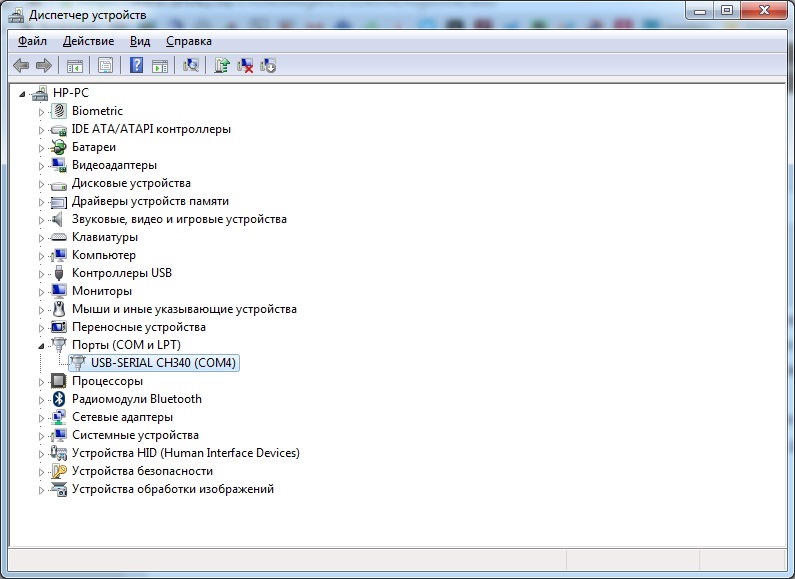
Теперь заходим в диспетчер устройств и ищем устройство USB Serial Port с восклицательным знаком. Это и есть наш k-line адаптер. Нажимаем по нему правой кнопкой мыши и выбираем »
Обновить драйверы…»
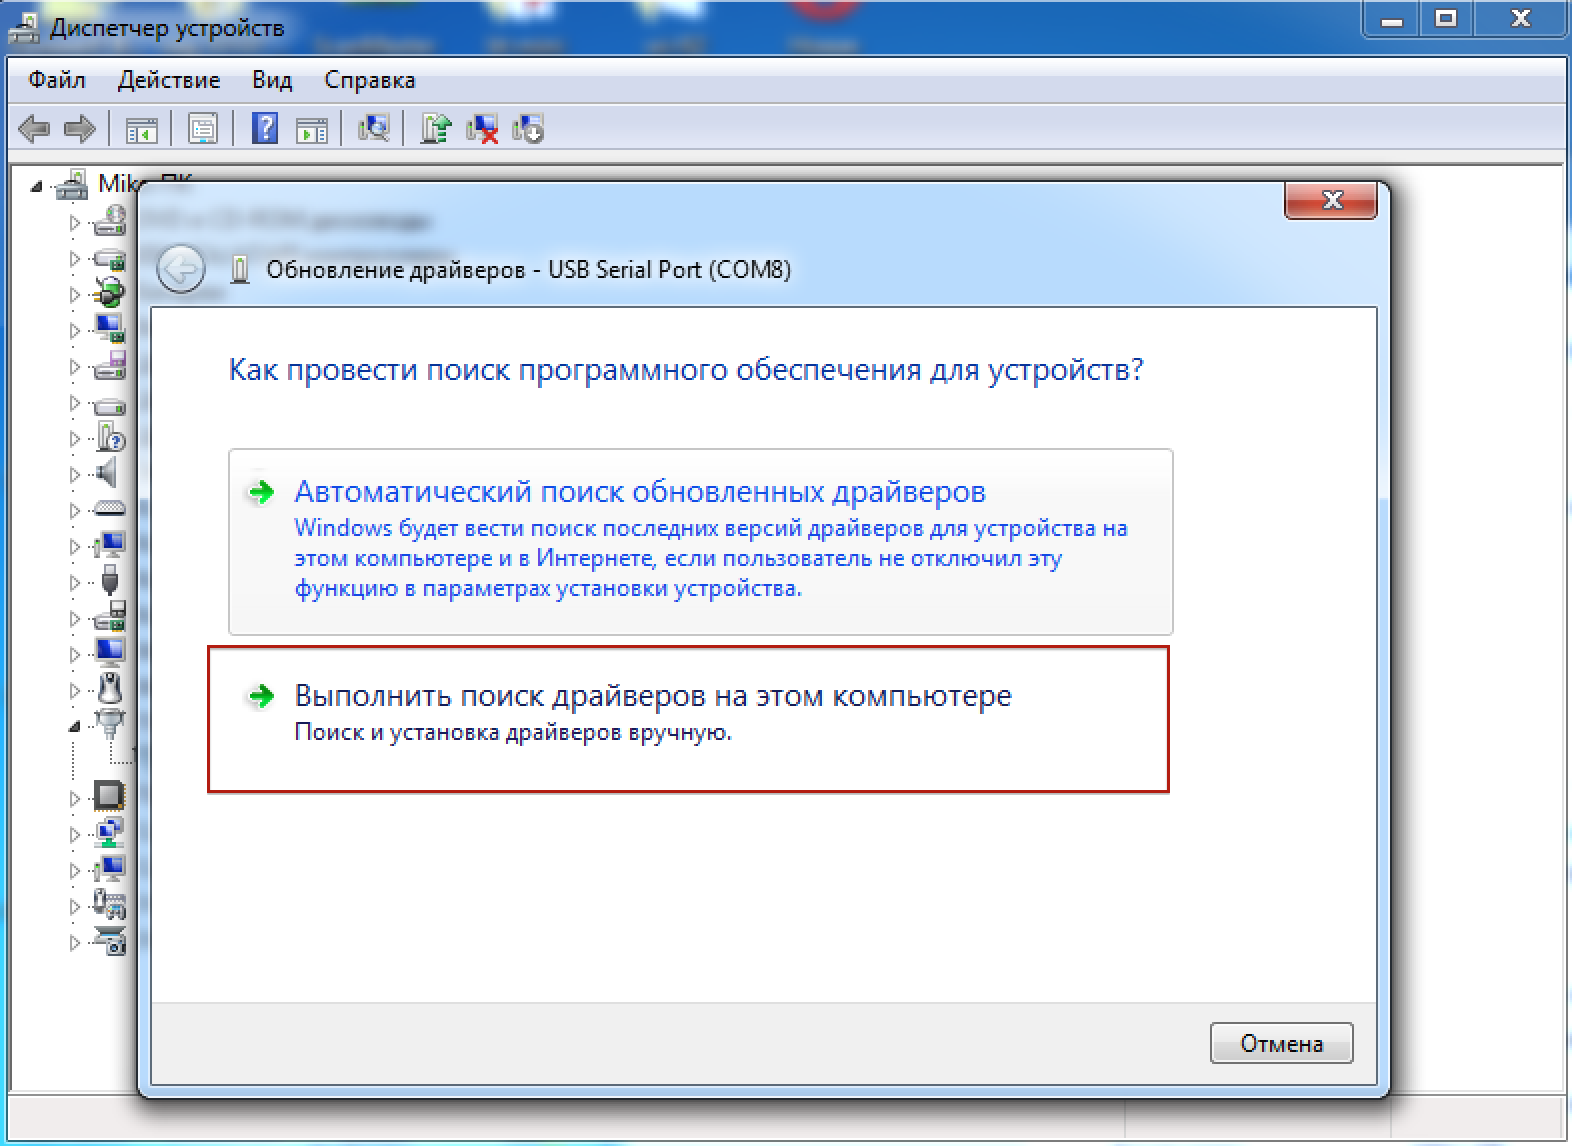
В открывшемся окне выбираем —
«Выполнить поиск драйверов на этом компьютере».
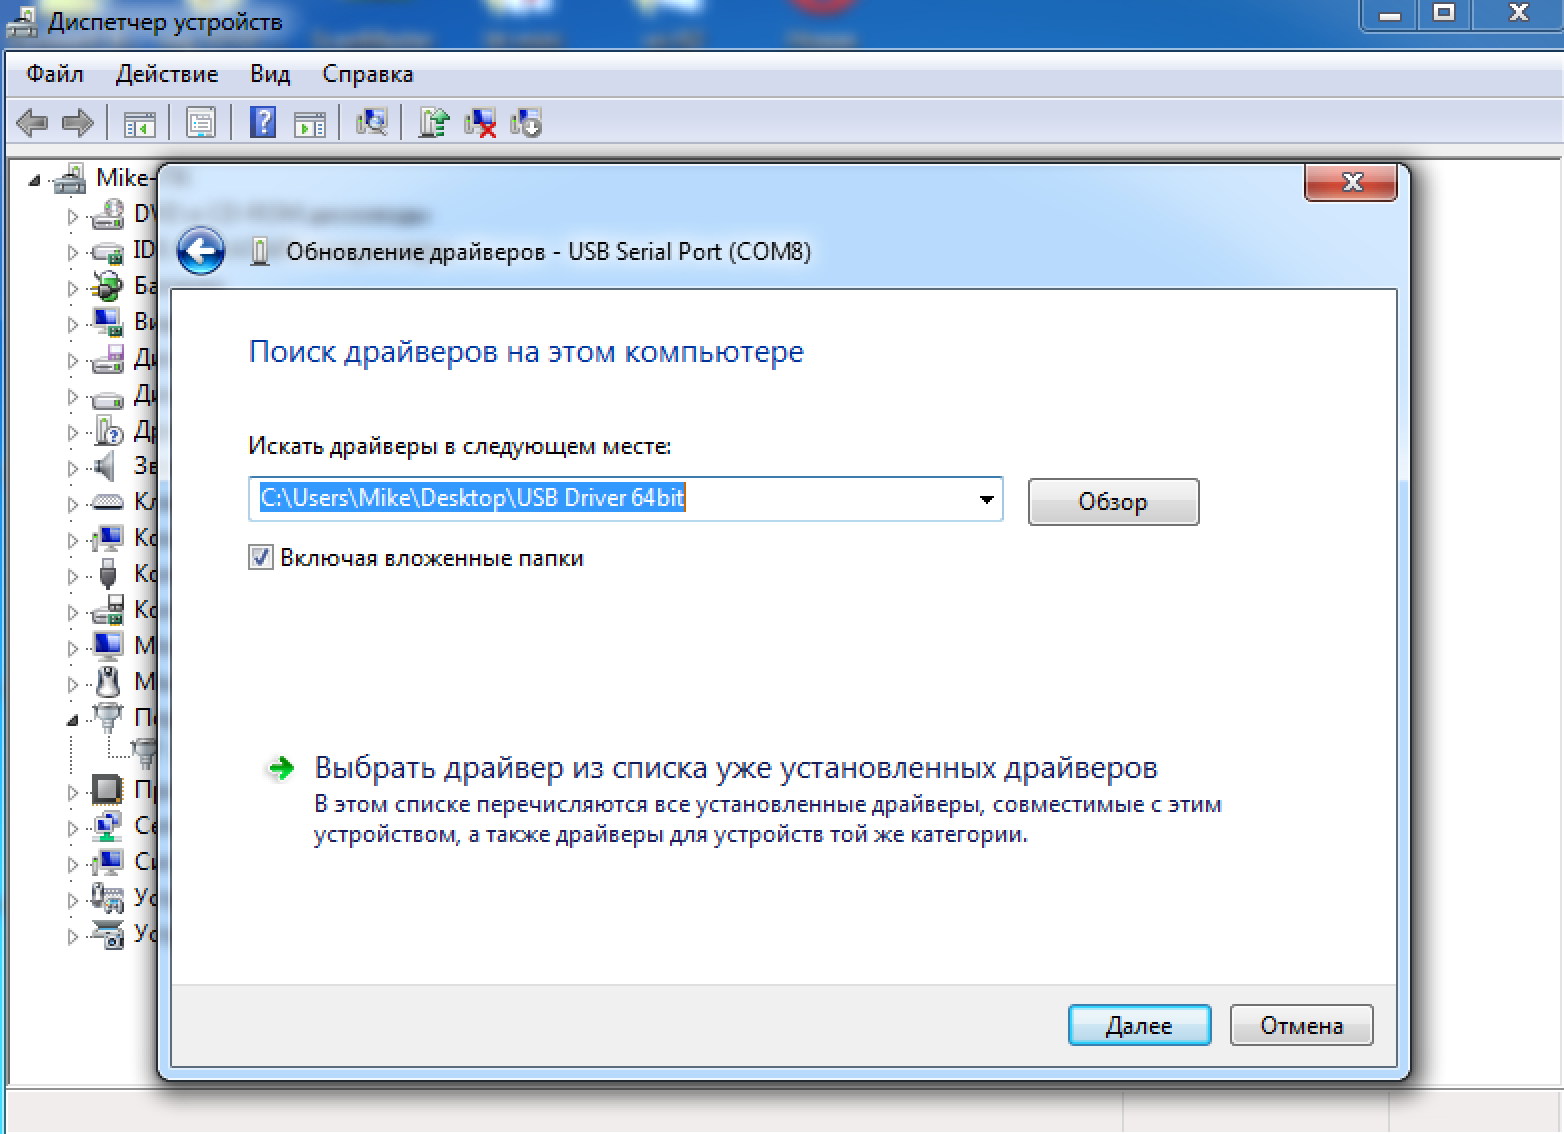
В строке ввода указываем путь до папки с драйверами и жмем «Далее».

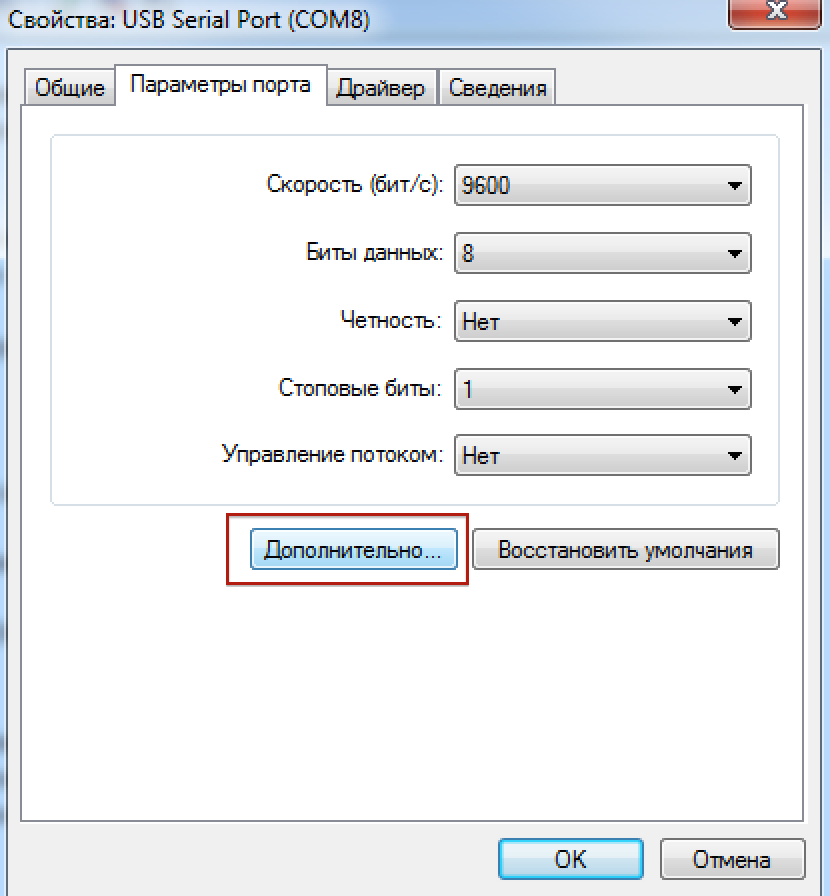
Драйвер на адаптер установлен! Если адаптеру присвоен com-порт выше 4го, нужно вручную выставить номер от 1 до 4.
Для этого в диспетчере устройств нажимаем правой кнопкой мыши по адаптеру, нажимаем свойства и выбираем вкладку «Параметры порта». В появившемся окне жмем кнопку «Дополнительно».
В появившемся окне выбираем номер свободного порта от 1 до 4.
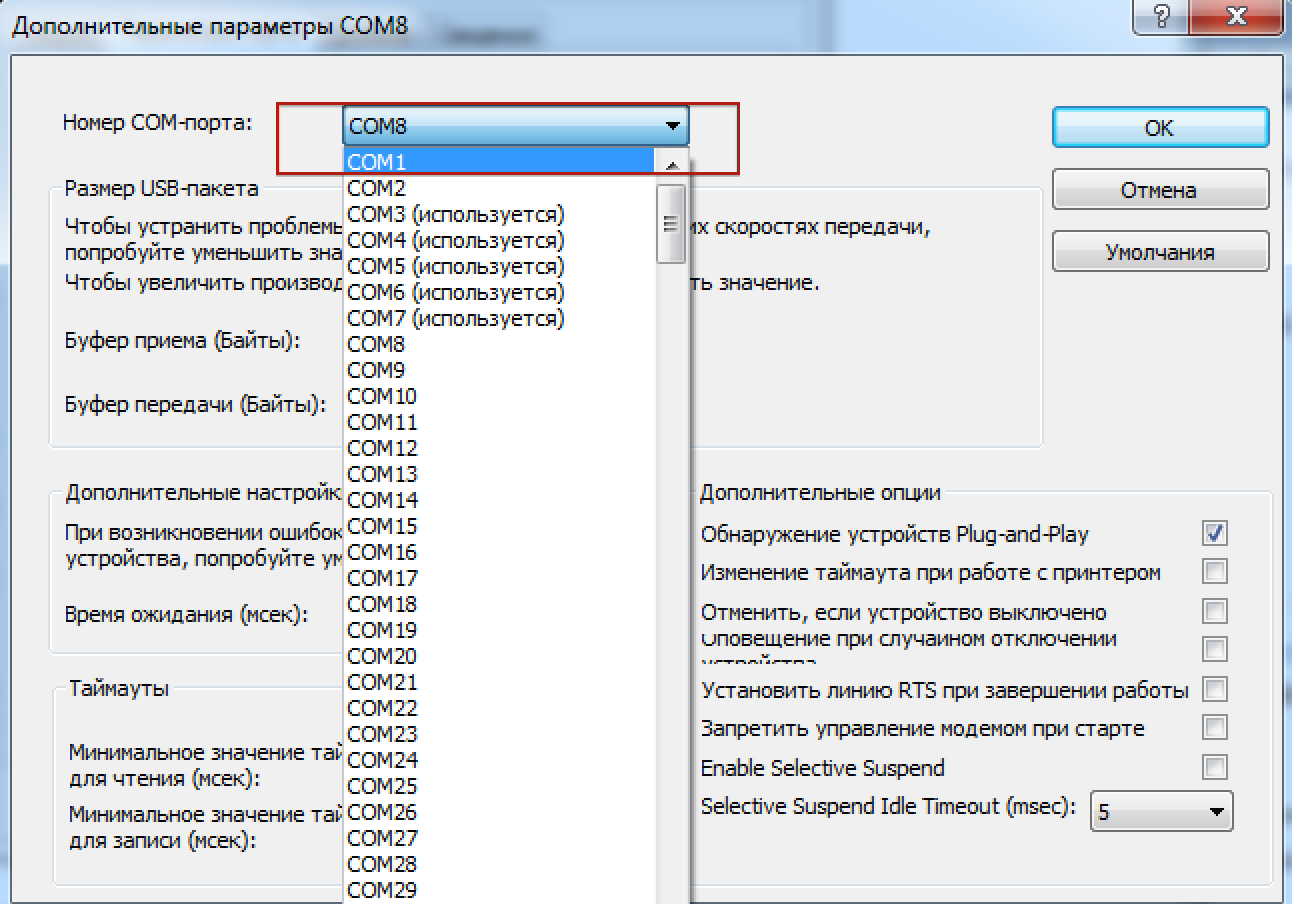
Все, драйвер для адаптера установлен и ему присвоен корректный номер com-порта, который необходимо запомнить и в дальнейшем указать в настройках связи диагностической программе.
Надеемся, Вам удалось подключить k-line адаптер к компьютеру и произвести диагностику автомобиля. Если все-таки у Вас остались какие-то вопросы, можете обратиться в нашу
службу тех.поддержки. Мы с удовольствием Вам поможем!
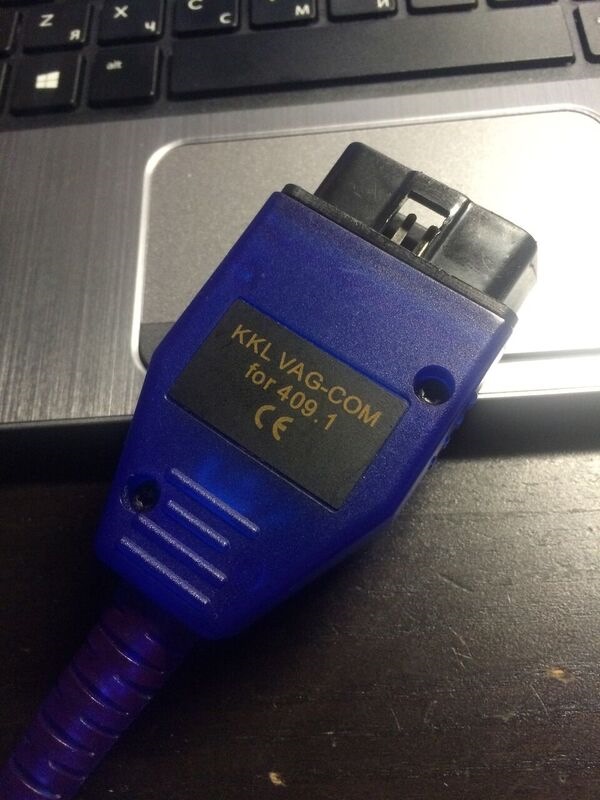
The Driver for USB KKL VAG-COM 409.1 Compatible Interface was a crucial component for connecting and utilizing the VAG-COM diagnostic system with VW, Audi, Seat, and Skoda vehicles. Designed with a 120cm-length cable, it offered flexibility and convenience during diagnostic procedures. The driver facilitated seamless communication between the interface and a computer, enabling users to access and interpret vehicle diagnostics, including engine faults and performance data. The compatibility with VAG-COM 409.1 software ensured accurate and comprehensive diagnostics. This USB interface driver played a pivotal role in empowering automotive enthusiasts and professionals with the tools needed to troubleshoot, analyze, and maintain the health of their VW, Audi, Seat, or Skoda vehicles.
Basic Specs:
- Model: V580
- Designed for VAG vehicles such as VW, Audi, Seat, Skoda with a 16-pin OBDII socket that using
- ISO9141-2 or ISO14230-4 (KWP2000) Protocol
- When paired with the right software, can turn your laptop to a powerful portable vehicle
- diagnostic device
- Database of more than 7500 fault codes
- Display critical timing information on TDI engines
- Cable length: 120cm
- Comes with software CD
- Note: Will not work on CAN-BUS protocol
Installing VAG-COM 409.1 on Windows 7
The shareware version of Ross-Tech’s VAG-COM package — version 409.1 — was written in 2004, and so was never designed to work with Windows 7.
Ross-Tech have since released VCDS-Lite, which is compatible with Windows Vista / 7, and so is a better option.
However, should you still wish to use VAG-COM 409.1, it can be made to do so if installed correctly, using the steps below.
Please note these instructions are only intended for use with our own Gendan brand KKL interfaces, and we cannot guarantee their suitability with other cables. To purchase one of our cables click the link below.
VAG-COM 409.1 / VCDS-Lite and the KKL interface cable do *NOT* support diagnostics via the CAN protocol.
Most VW Audi group cars switched to CAN diagnostics the first time they were updated from 2004 onwards.
If your car is a 2004 or newer model, you will probably need a full version VCDS package instead.
See our VCDS package chooser tool to see which version you need.
Instructions:
- Install the USB drivers for the interface
- Verify the port settings
- Download and install the VAG-COM software
- Configure the VAG-COM software
Stage
1: Install the USB drivers for the interface
To get your interface up and running, you need to install
software device drivers for the USB interface.
If you are installing the package on a PC that is connected to the internet, Windows 7 can automatically locate and install suitable drivers via Windows Update.
Just connect the interface to a USB port on the computer — Windows will then show a notification that it is locating and installing device drivers…

…and then another message when the installation is complete…

If the PC you are installing on is not connected to the internet, you will need to download the drivers via another PC and install them before connecting the interface. Windows 7 compatible drivers are available here:
www.gendan.co.uk/download/gendandriver.exe
Stage
2: Verify the port settings
Once the drivers are installed, you need to determine which COM port has been assigned to the interface by Windows. To do this you need to go into the Windows Device Manager.
Find the ‘Computer’ link on the desktop or the Start Menu, click the Right Mouse Button on it and choose Properties:
When the ‘System’ box appears, click on the Device Manager link on the left hand side:
Then when the Device Manager window appears, click on the arrow next to «Ports (COM & LPT)» to see which COM port has been assigned to your interface — it will show as a ‘USB Serial Port’:
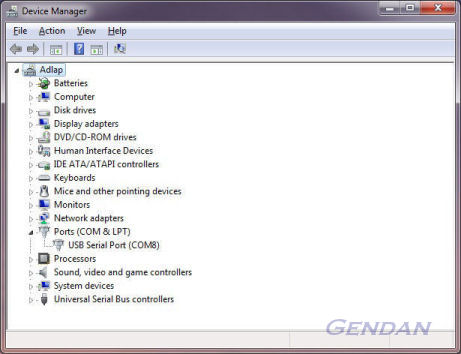
VAG-COM 409.1 can only connect to a COM port between COM1 and COM4.
—
If the port number assigned to your interface is between 1 and 4, remember which port it’s on, then skip to stage 3 — installing VAG-COM.
— If the port number assigned to your interface is higher than 4 (in the example above it is COM8), then you will need to change the port number.
To do this, double-click on the USB Serial Port to go into its properties, then click on the Port Settings tab:
Then click on the ‘Advanced’ button — this will show you a list of all the COM port numbers you could assign to the interface. Select a port number between 1 and 4 then press ok (if possible choose one that is not shown as ‘in use’):
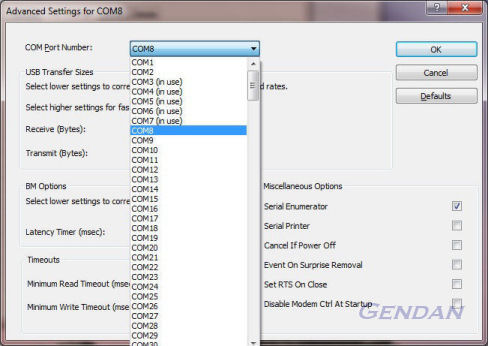
Once that is done, click ok until you are back to the Windows desktop.
Stage
3: Download and install the VAG-COM Software
Next you need to download VAG-COM 409.1 from the Ross-Tech website:
www.ross-tech.com/vag-com/download/archives.html
(Use the link for version 409.1 — shown as ‘For MODERN
SERIAL Interfaces’)
Save the file to your computer, then run it.
When installing VAG-COM on Windows 7, it is important that you do NOT install it within the ‘Program Files’ folder. Windows 7 protects this folder and prevents programs from writing files into it, which would prevent VAG-COM from working.
So when you see the screen showing the location for installation, change it to another folder, e.g. C:\Ross-Tech\VAG-COM:

Once you have changed the installation location, click install, and wait for it to complete installation. The installer may not give a confirmation window — it may just disappear when it is finished.
Stage
4: Configure the VAG-COM software
Finally there are a few changes you need to make to get the software up and running.
VAG-COM requires administrator access to function, so find the shortcut to ‘VAG-COM Release 409-1’, click the Right Mouse Button on it, and choose Properties.
Then on the Properties page, select the ‘Compatibility’ tab, and tick the option marked ‘Run this program as an administrator’:
Click on ‘Apply’, then ‘OK’.
You may need to repeat this for the shortcut on the Start Menu.
That should be all the preparation done. The final step is to open the VAG-COM software by that shortcut, go into the Options page, then select the COM port your interface is configured on:
Once you’ve selected the port, click Test, then OK. You should now be able to use the software.
Установка драйверов адаптера для диагностики автомобиля ККL VAG COM 409.1.
Следующим шагом после приобретения адаптера для диагностики автомобиля, является установка драйверов. В комплекте с адаптером должен быть диск с программами и драйверами.

Советую содержимое диска скопировать на компьютер и уже с жёсткого диска выполнять установку. Также не подключайте адаптер к компьютеру до установки драйверов.
Драйвер для k-line адаптера
В прошлой статье о выборе диагностического адаптера, я обещал выложить драйверы для k-line адаптера на чипе FTDI, которыми пользуюсь лично. Они проверены и отлично работали у меня на Windows 8.1 и сейчас прекрасно себя чувствуют на Windows 10. Тем более этот драйвер представляет обычный установочный файл, что очень упрощает установку неопытным пользователям.
Скачать драйвер для K-Line адаптера
Установка драйверов адаптера для диагностики автомобиля не вызывает сложностей. Но я всё-таки покажу эту процедуру подробно
Самостоятельная установка драйверов k-line адаптера
Открываем папку с содержимым, которое было на диске в комплекте с адаптером и заходим в папку «Драйвер» (если скачивали мой драйвер, то у вас будет только папка Драйвер, а в ней установочный файл и текстовый документ, но процесс установки абсолютно аналогичен)

Запускаем файл «Setup»

Нажимаем «Extract»

Нажимаем «Далее»

Нажимаем «Готово»

Видео установки драйверов k-line адаптера VAG COM 409.1
Драйверы установлены! Теперь можно установить программу Chevrolet Explorer и подключить адаптер к автомобилю и ноутбуку.
Предыдущий шаг — Адаптер для диагностики автомобиля
Следующий шаг — Chevrolet Explorer скачать и установить
Более 15 лет занимаюсь автодиагностикой. И стараюсь делиться своим опытом на страницах этого сайта. Главная задача хорошего диагноста — выявить неисправность даже не заглядывая под капот и не откручивая ни одной гайки.