
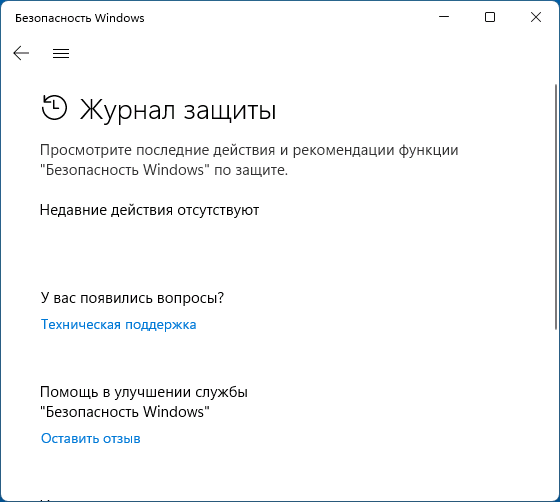
Опция очистки журнала защиты в интерфейсе Microsoft Defender (Защитник Windows) отсутствует, однако иногда может возникнуть необходимость удалить из него обнаруженные угрозы: сделать это возможно.
В этой инструкции подробно о том, как очистить журнал защиты Windows 11 и Windows 10, а также дополнительная полезная информация в контексте рассматриваемой темы.
Очистка журнала защиты путем удаления файлов журнала

Файлы, хранящие информацию, отображающуюся в журнале защиты в окне «Безопасность Windows» находятся в папке
C:\ProgramData\Microsoft\Windows Defender\Scans\History\Service
Однако, попытка простого удаления этих файлов в Проводнике с большой вероятностью не удастся: вы увидите сообщение о том, что «Вам отказано в доступе к этой папке» при переходе к ней вручную или о том, что не удается найти указанную папку.
Я не рекомендую изменять владельца и права доступа к папкам Microsoft Defender, вместо этого используйте следующие шаги:
- Загрузите компьютер в безопасном режиме: для этого можно нажать клавиши Win+R, ввести msconfig, затем на вкладке «Загрузка» включить «Безопасный режим», применить настройки и перезагрузить компьютер. Есть и другие способы загрузки в безопасном режиме.

- После загрузки в безопасном режиме перейдите к папке
C:\ProgramData\Microsoft\Windows Defender\Scans\History\Service
сделать это можно вручную (но учитывать, что папка ProgramData скрытая), либо скопировать путь, вставить в адресную строку проводника и нажать Enter.
- Удалите всё содержимое этой папки. В некоторых случаях один из файлов не удаляется — обычно это не влияет на результат очистки журнала.

- Ещё один способ удаления: в командной строке, запущенной от имени администратора, введите команду
del "%ProgramData%\Microsoft\Windows Defender\Scans\History" /s /f /q
- Отключите загрузку в безопасном режиме (так же в msconfig) и перезагрузите компьютер, журнал защиты будет очищен:


Ещё один вариант выполнить то же самое, если внутри Windows выполнить действие не удается — загрузиться загрузочной флешки WinPE и удалить содержимое указанной папки на диске.
Просмотр событий Windows
Несмотря на то, что журнал защиты в окне «Безопасность Windows» будет очищен способом, рассмотренным выше, увидеть обнаружения можно также в «Просмотре событий» Windows. Вы можете удалить эти сведения и там:
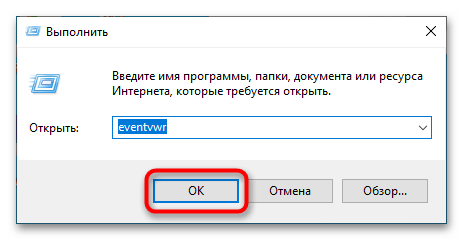
- Нажмите клавиши Win+R на клавиатуре, введите eventvwr.msc и нажмите Enter.
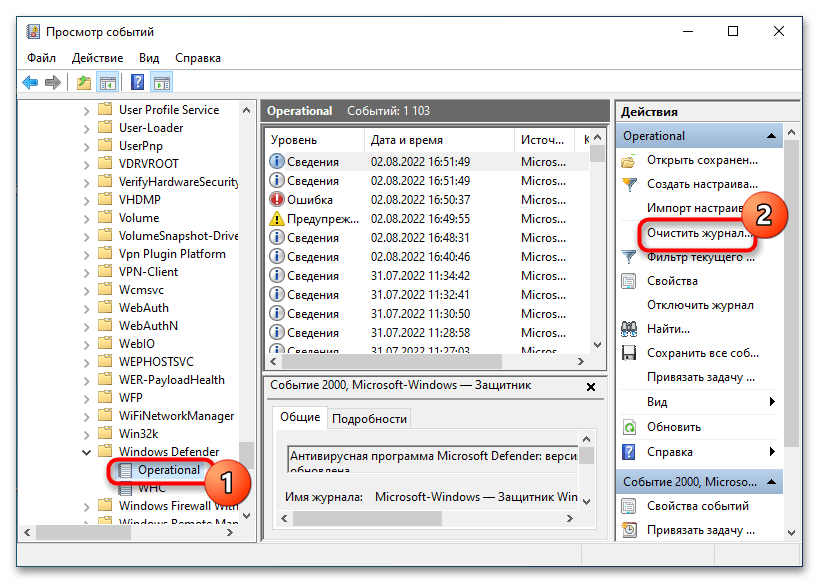
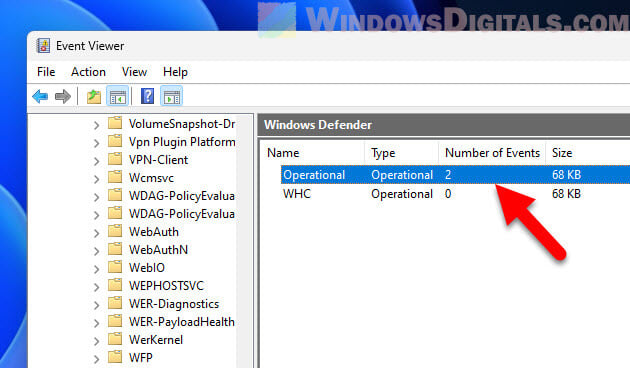
- В просмотре событий перейдите к разделу Журналы Windows — Журналы приложений и служб — Microsoft — Windows — Windows Defender, раскройте этот раздел.
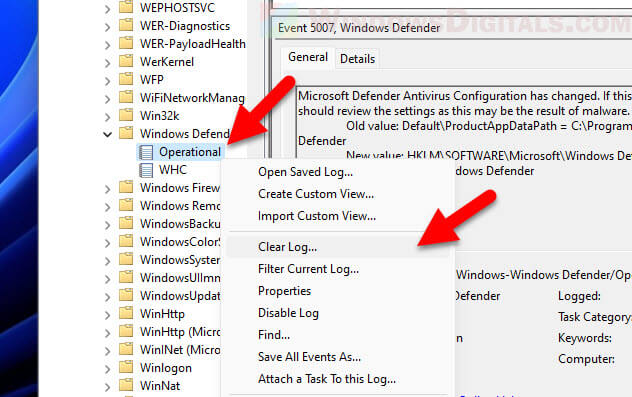
- Нажмите правой кнопкой мыши по журналу «Operational» и выберите пункт «Очистить журнал».

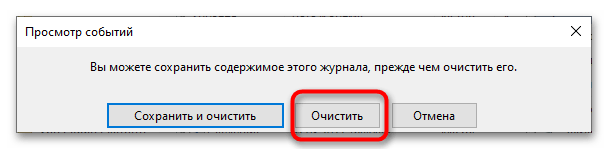
- Подтвердите очистку журнала.

Автоматическая очистка журнала
При необходимости вы можете настроить время, по прошествии которого записи в журнале защиты будут удаляться автоматически.
Сделать это можно в PowerShell (Терминале Windows), достаточно запустить его от имени администратора и ввести команду (в примере — удаление события из журнала производится через 1 сутки)
Set-MpPreference -ScanPurgeItemsAfterDelay 1

Второй вариант, который подходит только для редакций Windows Pro и Enterprise — редактор локальной групповой политики:
- Нажмите клавиши Win+R на клавиатуре, введите gpedit.msc и нажмите Enter.
- Перейдите к разделу Конфигурация компьютера — Административные шаблоны — Компоненты Windows — Антивирусная программа Microsoft Defender — Проверка.
- В правой панели редактора дважды нажмите по политике «Включить удаление элементов из папки журнала проверок».

- Установите для неё значение «Включено», а затем — значение в днях (0 — хранятся бессрочно, по умолчанию — 30). Примените настройки.


Надеюсь, информация была полезной. Если же у вас остались вопросы, касающиеся рассмотренной темы, вы можете задать их в комментариях ниже: возможно, мне удастся вам помочь.
Подобно другим антивирусам, встроенный Защитник Windows ведет историю обнаруженных угроз, просмотреть которую можно в журнале защиты. Эти записи будут отображаться в журнале, даже если опасный файл обезврежен и помещен в карантин, что может вызвать своеобразный побочный эффект, проявляющийся наличием красного или желтого значка на иконке Защитника в системном лотке. в Windows 10 2004 разработчики вроде бы должны были решить эту проблему.
Но, судя по отзывам пользователей, сталкиваться с ней приходится и в последней стабильной версии системы.
Чтобы избавиться от этих предупреждающих о несуществующей уже угрозе значков, нужно очистить журнал Windows Defender. В сборках до релиза 1903 сделать это можно было через интерфейс управления безопасностью Windows, в более поздних сборках системы кнопка очистки журнала отсутствует. Данные журнала удаляются автоматически по истечении 30-и дней, но вы можете сократить этот период или просто удалить их принудительно.
Изменение срока хранения Журнала Защитника
Для изменения срока хранения записей в журнале Защитника Windows 10 мы предлагаем использовать консоль PowerShell.
Запустив ее от имени администратора, выполните в ней команду Get-MpPreference и найдите в полученном списке параметр ScanPurgeItemsAfterDelay.
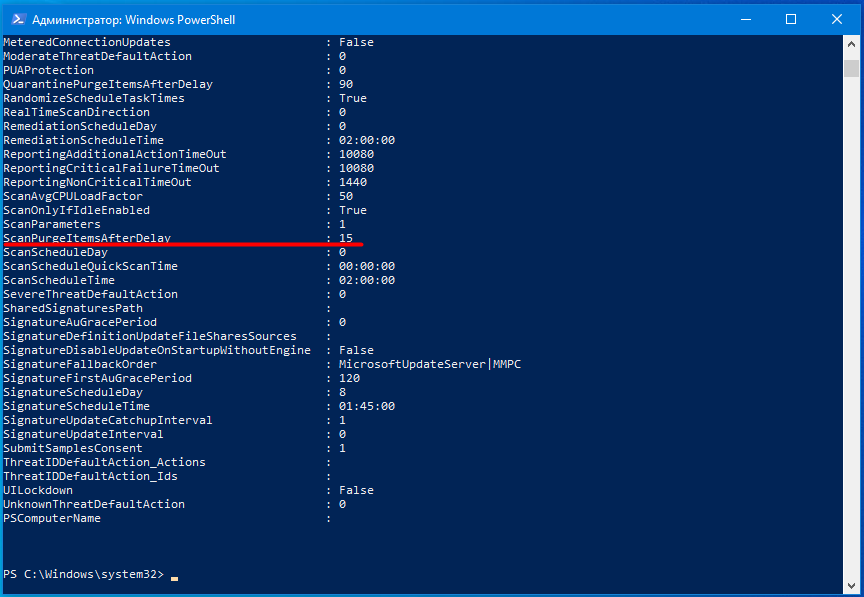
В Windows 10 2004 его значение равняется 15, то есть данные журнала хранятся 15 дней. Чтобы сократить этот срок, скажем, до двух дней, выполните в PowerShell такую команду:
Set-MpPreference -ScanPurgeItemsAfterDelay 2

Принудительная очистка Журнала Защитника
Если вы хотите очистить журнал прямо сейчас, выполните следующие действия.
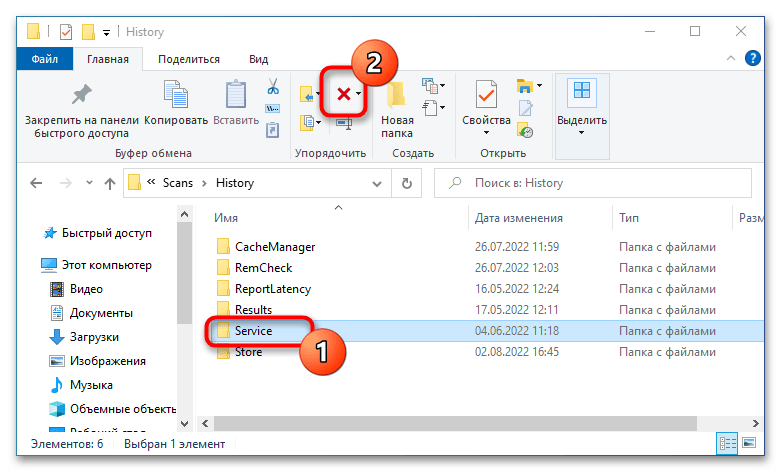
Перейдите в Проводнике в папку C:\ProgramData\Microsoft\Windows Defender\Scans, а затем зайдите в расположенную в ней папку History, подтвердив вход с правами администратора.
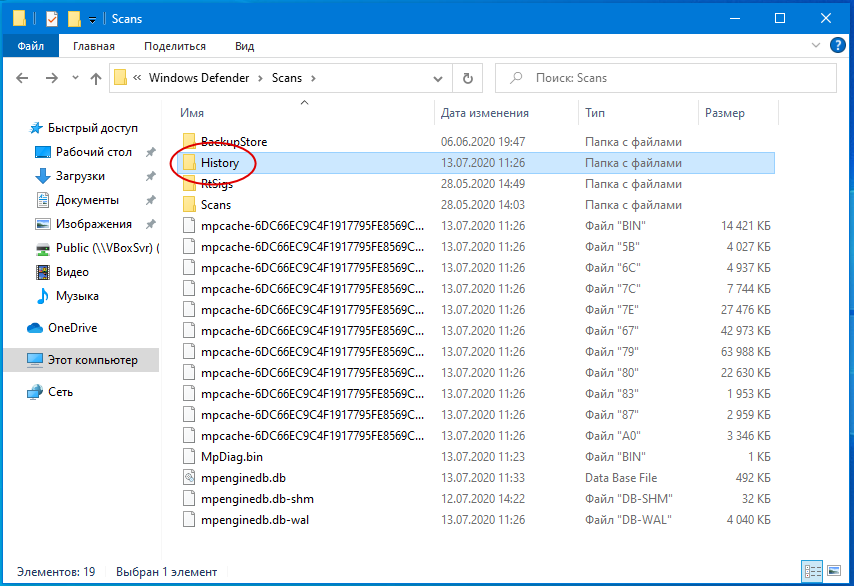
В свою очередь, в ней найдите папку Service и удалите ее.
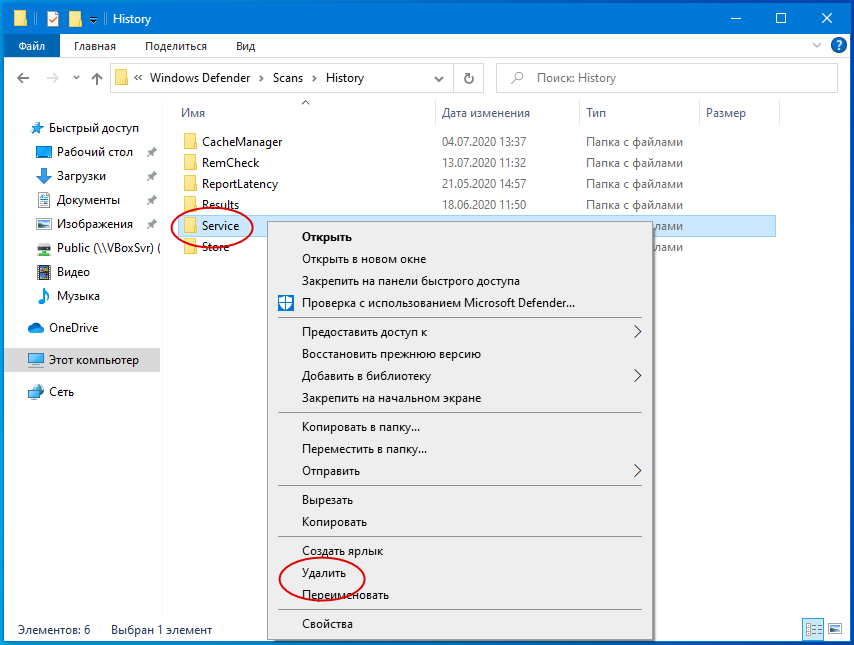
Вместе с ней будет удалена и история действий Windows Defender.
Должен исчезнуть и значок предупреждения на иконке Защитника. Однако, если у вас не настроены базовые функции безопасности, желтый значок предупреждения будет отображаться независимо от того, имеются в журнале записи или нет.
Способ 1: Средства журнала
Традиционно записи журнала защиты удаляются через интерфейс оснастки «Просмотр событий». Это наиболее простой и очевидный для начинающих пользователей способ.
- Откройте штатное приложение «Просмотр событий», для чего нажатием комбинации Win + R вызовите диалоговое окошко быстрого выполнения команд, введите в него
eventvwrи нажмите клавишу Enter. - В левой колонке открывшегося окна журнала разверните ветку «Журналы приложений и служб» → «Microsoft» «Windows» → «Windows Defender».
- Выделите вложенный элемент «Operational» и нажмите в правой колонке окна оснастки «Очистить журнал».
- Подтвердите действие в появившемся диалоговом окне. Если вы хотите сохранить копию записей, выберите опцию «Сохранить и очистить», если бэкап не нужен, смело выбирайте «Очистить».
Резервную копию записей можно сохранить в форматах EVTX, CSV, XML и TXT.
Способ 2: «Проводник»
Записи журнала защиты в Windows 10 физически представлены набором файлов, хранящихся в одной из системных папок. Их удаление приведет к очистке этого раздела общего журнала событий.
- Зайдите в «Параметры» папок и поиска и включите показ скрытых файлов, папок и дисков.
Подробнее: Включение отображения скрытых папок в Windows 10
- Перейдите в «Проводнике» в расположение
C:\ProgramData\Microsoft\Windows Defender\Scans\History. - Найдите там папку «Service» и удалите ее со всем содержимым.

Способ 3: Автоматизация процедуры очистки
При желании вы можете автоматизировать процедуру очистки раздела журнала, в который встроенный антивирус сохраняет свои логи. По умолчанию «Защитник Windows» хранит свои записи 30 дней, вы же можете сократить этот период до одного дня.
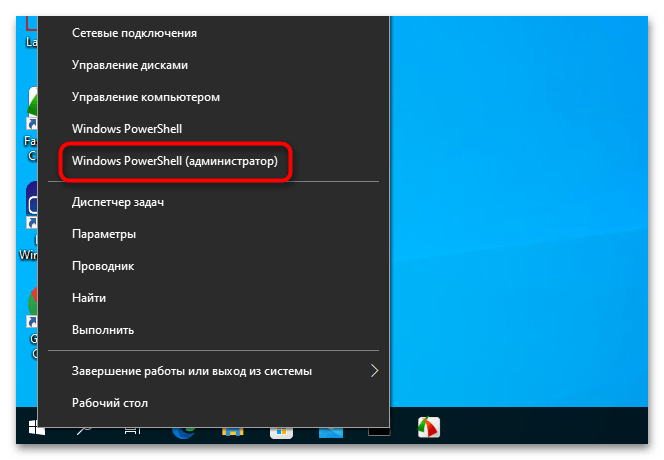
- Запустите от имени администратора «Windows PowerShell».
- Выполните в консоли команду
Set-MpPreference -ScanPurgeItemsAfterDelay 1.
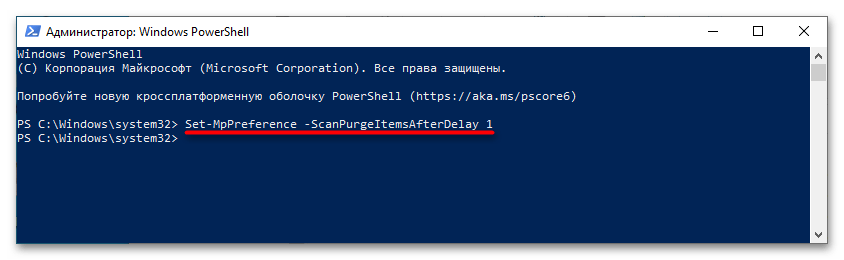
Цифра «1» в конце команды означает, что журнал защиты будет автоматически очищаться ежедневно. Соответственно, если передать в команде «2», Windows станет удалять логи через день.
Наша группа в TelegramПолезные советы и помощь
If you have come across a section in the Windows 11 or Windows 10 Settings called “Protection history“, it is just a record of scanned files and activities done by Microsoft Defender, the built-in Windows’ antivirus solution. When you’re thinking about clearing the protection history, you might run into some issues, like the option being not clickable or that it just doesn’t respond. In this guide, we’ll talk about this problem and how you can fix it in order to successfully clear the protection history.
Also see: How to Clear Timeline Activity History in Windows 10 or 11
Clear Windows Defender protection history using File Explorer
The Windows Defender protection history is normally kept in a specific folder on your PC. To delete it, you need to go to this folder and remove its contents. Follow the steps below to do so.
Step 1: Show hidden files and folders in File Explorer
Some system files, like the Windows Defender protection history files, are hidden to prevent you from accidentally deleting them. But in order to delete them, you need to make them visible first.
- Open File Explorer by pressing the Windows key + E or clicking the File Explorer icon on your taskbar.
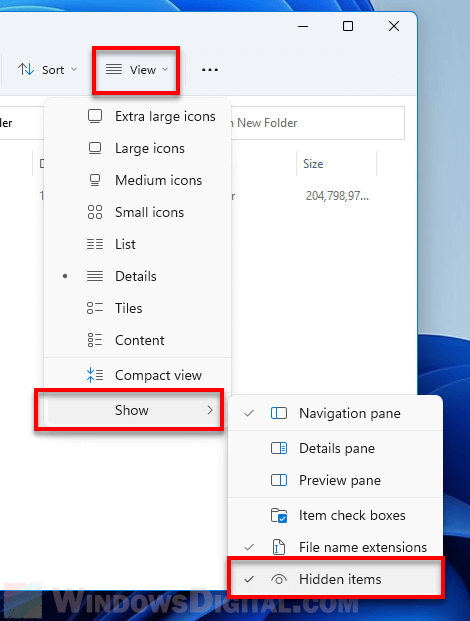
- Click on the “View” tab at the top of the File Explorer window. It’s next to the “File” tab.
- In the “Show” area of the ribbon, there’s a checkbox for “Hidden items.” Click this box to show hidden files and folders.

Learn more: How to Unhide a File or Folder in Windows 11
Step 2: Delete Protection History files from the “Service” directory
Now that you can see hidden files, you can now delete the files related to the Windows Defender protection history:
- Open File Explorer again if it’s not already open.
- Go to the directory below either by copying and pasting it into File Explorer’s address bar or by browsing through the folders:
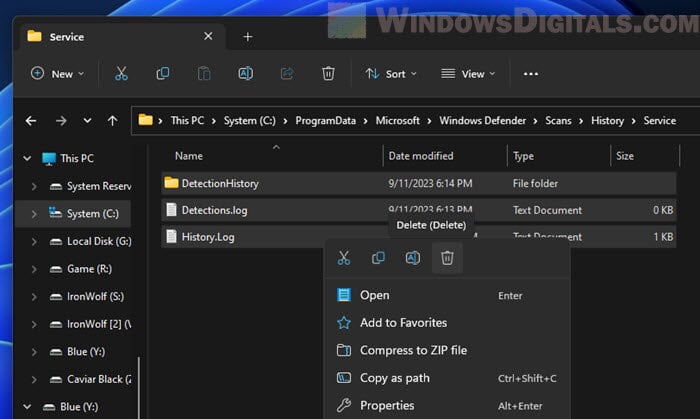
C:\ProgramData\Microsoft\Windows Defender\Scans\History\Service
- In the “Service” folder, you’ll find files related to Windows Defender’s protection history. Select all these files. You can press Ctrl + A to select all quickly.
- After selecting, right-click on the files and choose “Delete” from the context menu.

- If a confirmation prompt appears, click “Yes” to delete the files.
- Close File Explorer after deleting the files.
Related resource: How to Reinstall Windows Defender in Windows 11
Clear Windows Defender protection history using Event Viewer
If you find it tough to clear the Windows Defender protection history using File Explorer or if you prefer another method, try Event Viewer.
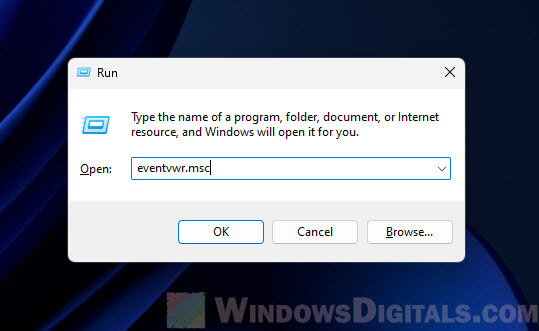
- Open the Run dialog by pressing Windows key + R.
- Type “eventvwr.msc” and click “OK” to open Event Viewer.

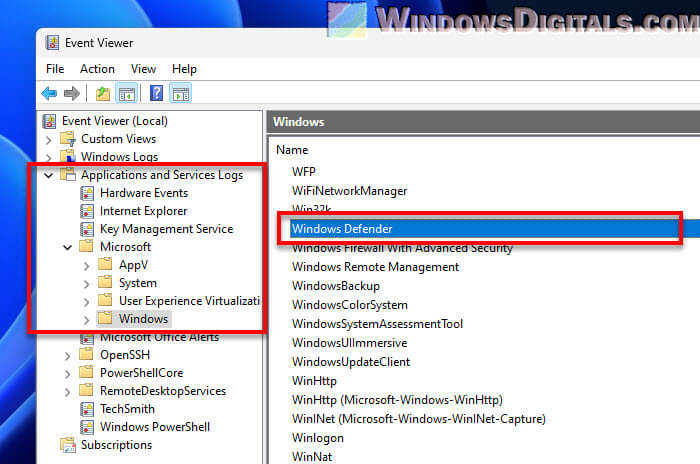
- In Event Viewer, click on the “Applications and Services Logs” folder to expand it.
- Click on the “Microsoft” folder to see more options.
- Find and click on the “Windows” folder under “Microsoft.”
- Double-click on the “Windows Defender” folder. You’ll see different folders for Windows components.

- In the right pane, find “Operational” under Windows Defender logs. Double-click it.

- To clear the history, right-click on “Operational” on the left pane and select “Clear Log…” from the context menu.

- When a dialog box pops up asking if you want to clear the log, click “Clear.”
This will remove all the Windows Defender protection history logs. The next time you check the Windows Defender Protection History section, it should show nothing or only the new things that has happened after you clearing it.
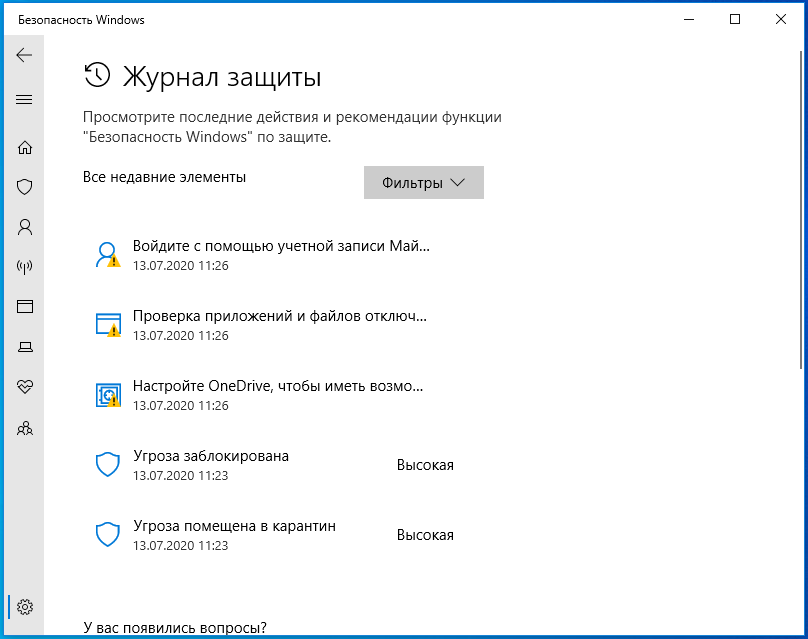
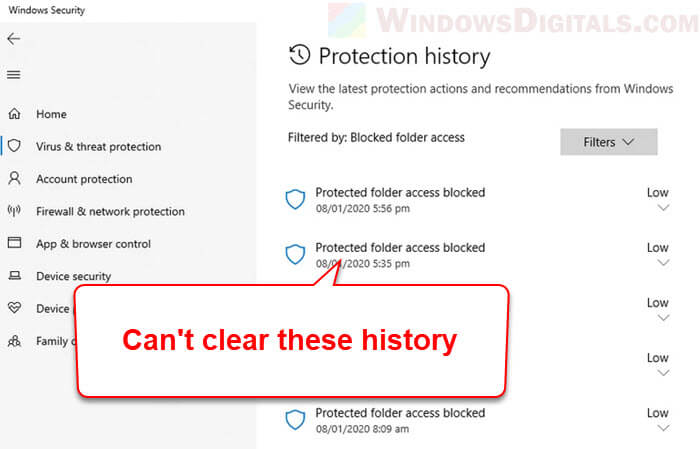
Protection history is a part of the Windows Security app that displays actions and recommendations about threats in Windows 11 and 10. The page includes Quarantined items, Cleaned items, Removed items, Allowed items, Removed items, Blocked actions, and severity of a threat. Blocked actions option has 3 sub-menus – Block folder access, Blocked items, and Ruled-base block, similarly Severity has 4 items – Severe High, Moderate, and Low. But sometimes people complain Protection History missing issue.
The Windows Defender Protection history is empty or blank and nothing can be seen on the page when the problem occurs. Immediately after running a “Quick Scan”, “Full Scan”, “Custom Scan” or “Microsoft Defender offline scan”, usually a user navigates to Protection history. But he gets disappointed and finds himself out of nowhere when finds unoccupied because he is unable to know the status of threats or clear them on his Windows 11 computer. Fortunately, there are solutions to this problem. See – Fix: Insider Program Settings Blank, Empty, or Missing in Windows 10.
Windows Defender Protection History missing
Here is how to fix Protection History missing in Windows 11 or 10 –
Way-1: Disable Windows Defender and reboot the PC
To normally access the concerned settings you can go through – How to See Protection History in Windows 10, but in this case, the content inside this page is missing. Turning off the Windows Defender and deleting the mpcache files work like wonder to fix the issue –
- Hit – Windows and R.
- Type – cmd.exe.
- Press Ctrl + Shift + Enter.
- Select Yes when the User account control setting popup opens.
- Type the following commands successively and press Enter.
del "C:\ProgramData\Microsoft\Windows Defender\Scans\History\Service\DetectionHistory\*"
del "C:\ProgramData\Microsoft\Windows Defender\Scans\mpenginedb.db"- Click on Search.
- Type Windows Security.
- Press Enter.
- Select – Virus & threat protection.
- Now click on the Manage settings link.
- From the next page, turn off Real-time protection and Cloud-delivered protection.
- Now open File Explorer (Win+E).
- Go to (C:) drive.
- Double-click on ProgramData.
- Open the Microsoft folder.
- Enter Windows Defender and the launch Scans folder.
- The path will be as follow –
C:\ProgramData\Microsoft\Windows Defender\Scans- Find all the files with prefix mpcache and delete them.
- On my computer, the Scans folder has the following files which I am deleting –
mpcache-8B71EC38EE6CA744C8B3D9719F943BEFDB9392A9.bin
mpcache-8B71EC38EE6CA744C8B3D9719F943BEFDB9392A9.bin.01
mpcache-8B71EC38EE6CA744C8B3D9719F943BEFDB9392A9.bin.6C
mpcache-8B71EC38EE6CA744C8B3D9719F943BEFDB9392A9.bin.7C
mpcache-8B71EC38EE6CA744C8B3D9719F943BEFDB9392A9.bin.7E
mpcache-8B71EC38EE6CA744C8B3D9719F943BEFDB9392A9.bin.67
mpcache-8B71EC38EE6CA744C8B3D9719F943BEFDB9392A9.bin.79
mpcache-8B71EC38EE6CA744C8B3D9719F943BEFDB9392A9.bin.80
mpcache-8B71EC38EE6CA744C8B3D9719F943BEFDB9392A9.bin.83
mpcache-8B71EC38EE6CA744C8B3D9719F943BEFDB9392A9.bin.87
mpcache-8B71EC38EE6CA744C8B3D9719F943BEFDB9392A9.bin.A0
mpcache-8B71EC38EE6CA744C8B3D9719F943BEFDB9392A9.bin.DB
mpcache-8B71EC38EE6CA744C8B3D9719F943BEFDB9392A9.bin.E6- Sometimes, you might not be able to delete mpcache files and get a message – “The action cannot be completed because the file is open in Microsoft Defender Antivirus Service”.
- In this case, press Ctrl+Shift+Esc.
- On the Task Manager, Find the processes related to Widows Security and Windows Defender.
- Right-click on each of them and select End task.
- Now try to delete mpcache files.
- Reboot the PC if you can get back the missing Protection history in Windows Defender.
Way-2: Delete mpcache files using cmd command to fix missing Windows security threat history
II you can not remove mpcache files even after turning off real-time protection and using End Task in Task Manager then a cmd command may help.
- Launch Command prompt as administrator (Steps are mentioned in the first method)
- Enter the following command –
del "C:\ProgramData\Microsoft\Windows Defender\Scans\mpcache*" /s > NUL 2>&1- Finally, restart your PC to see missing Protection History in Windows 11 or 10.
Methods:
Way-1: Disable Windows Defender and reboot the PC
Way-2: Delete mpcache files using cmd command
That’s all!!