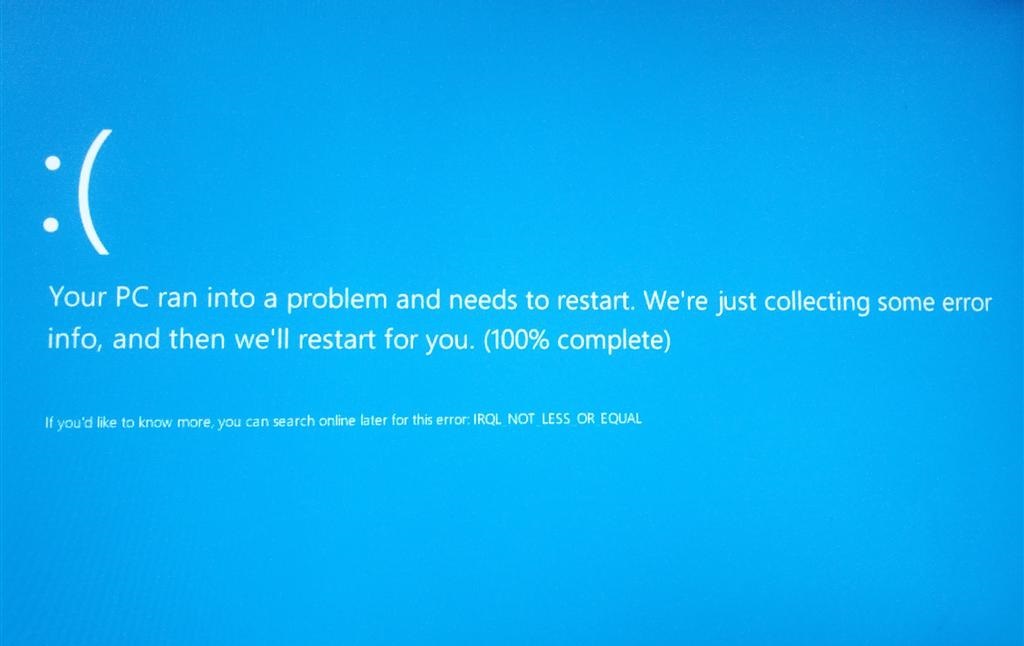
Если вы когда-нибудь видели синий экран смерти (BSOD) на своем компьютере, то знаете, насколько это неприятно. Особенно, если ошибка связана с файлом ntoskrnl.exe. Сегодня мы разберемся, что это за ошибка, почему она появляется и как ее исправить.
Эта статья будет полезна и понятна даже для новичков, поэтому если вы не IT-гуру, не переживайте — все будет просто и по факту!
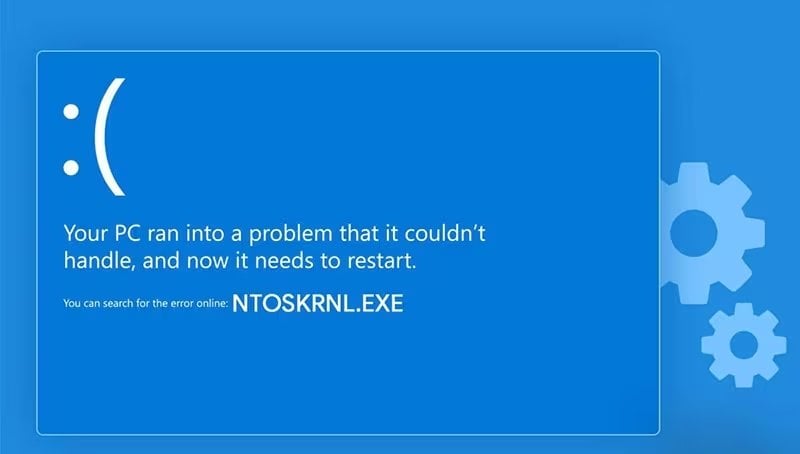
Источник: wondershare.com / Ошибка ntoskrnl.exe
Процесс ntoskrnl.exe (Windows NT Operating System Kernel) — это один из основных компонентов операционной системы Windows, который отвечает за управление системной памятью, процессами и аппаратным обеспечением.
Он является частью архитектуры Windows NT, на которой основаны современные версии Windows. И когда с ним возникают проблемы, это может привести к появлению синего экрана.
Основные функции Windows NT Operating System Kernel
- Управление памятью: ntoskrnl.exe отвечает за распределение и управление системной памятью. Это включает в себя управление физической памятью, виртуальной памятью и защитой памяти.
- Планирование процессов: ядро определяет, какие процессы и потоки должны выполняться в данный момент, и управляет их приоритетами. Оно гарантирует, что ресурсы процессора распределяются эффективно между всеми запущенными приложениями.
- Обработка аппаратных абстракций: ntoskrnl.exe обеспечивает взаимодействие операционной системы с аппаратным обеспечением через уровень абстракции. Это позволяет ОС работать с разным аппаратным обеспечением без необходимости значительных изменений в самом ядре.
- Обработка системных вызовов: ядро обрабатывает системные вызовы от пользовательских приложений и реализует поддержку низкоуровневых функций ОС, таких как управление файловой системой, сетевыми соединениями и безопасность.
- Обеспечение безопасности: ntoskrnl.exe играет важную роль в поддержке системной безопасности, управляя доступом к ресурсам, мониторингом системных событий и обработкой исключений.
Основные причины появления ошибки
- Проблемы с драйверами: неправильно установленные или устаревшие драйверы часто становятся причиной ошибки;
- Проблемы с оперативной памятью: неисправные модули памяти могут вызывать ошибки;
- Проблемы с жестким диском: повреждения на физическом уровне или в файловой системе;
- Вирусы и зловредное ПО: различные вредоносные программы могут влиять на работу системных файлов;
- Ошибки системных файлов: сбои в реестре или поврежденные системные файлы также могут вызвать появление синего экрана.
Подробная инструкция по исправлению ошибки ntoskrnl.exe
Проверьте драйверы
Обновите драйверы:
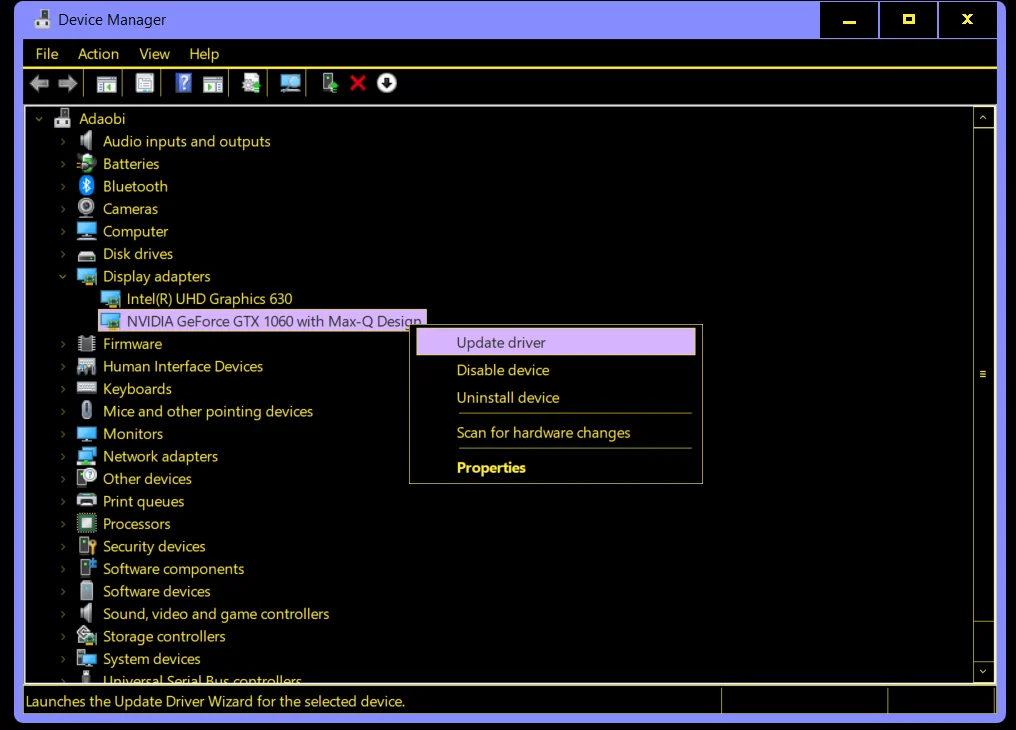
- Нажмите сочетание клавиш «Win + X», либо щелкните правой кнопкой мыши на значок «Windows» и выберите «Диспетчер устройств»;
- Найдите устройства с желтыми восклицательными знаками;
- Кликните правой кнопкой мыши по устройству и выберите «Обновить драйвер».
Откат драйверов:
- Если проблема появилась после обновления драйвера, возможно, стоит откатить его;
- В Диспетчере устройств найдите нужное устройство, зайдите в его свойства и выберите «Откатить драйвер».
Источник: CQ.ru / Обновление и откат драйверов
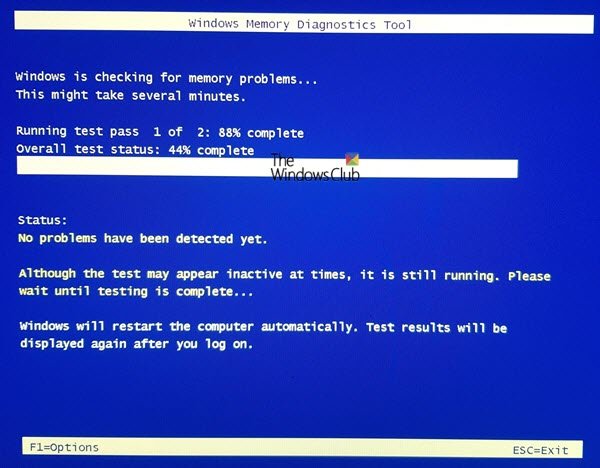
Проверка памяти
Используйте Windows Memory Diagnostic:
- Нажмите «Win + R», введите «mdsched.exe» и нажмите «Enter»;
- Выберите «Перезагрузить и проверить» (рекомендуется);
- После перезагрузки система проведет проверку оперативной памяти и покажет результаты.
Источник: computerinfo.ru / Проверка памяти
Проверка жесткого диска
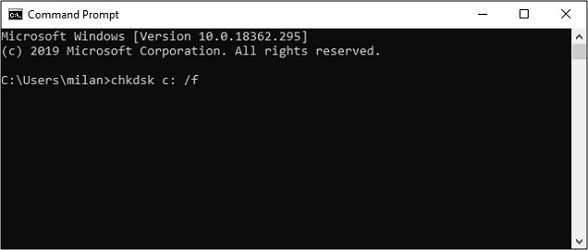
Выполните проверку диска:
- В меню «Пуск», через поисковик отыщите «Командную строку». Кликните на ней ПКМ, затем выберите «Запуск от имени администратора».
- Введите «chkdsk C: /F /R», где С: – раздел HDD, /F – автоматическое решение проблем, /R – проверка битых секторов и восстановление поврежденной информации. После чего нажмите «Enter».
- Вам предложат перезагрузить компьютер для проверки диска — согласитесь.
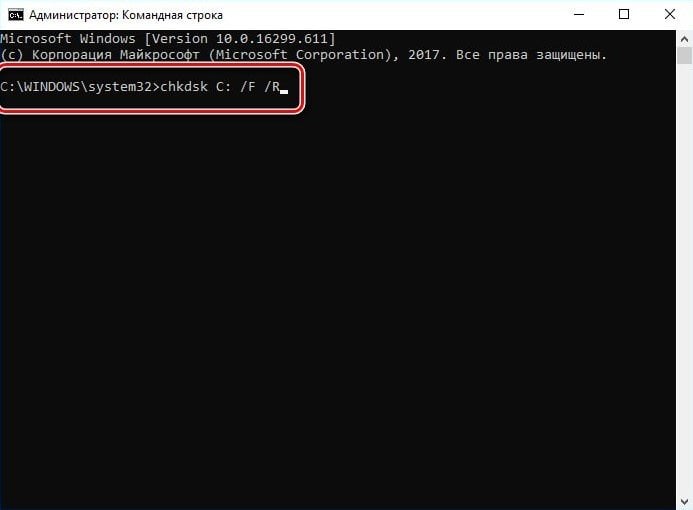
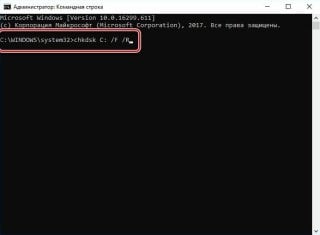
Источник: lumpics.ru / Проверка жесткого диска
Проверка системных файлов
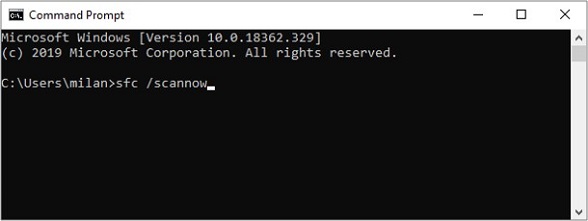
Запустите SFC (System File Checker):
- Откройте Командную строку с правами администратора;
- Введите «sfc /scannow» и нажмите «Enter»;
- Процесс может занять некоторое время. SFC попытается обнаружить и исправить поврежденные системные файлы.
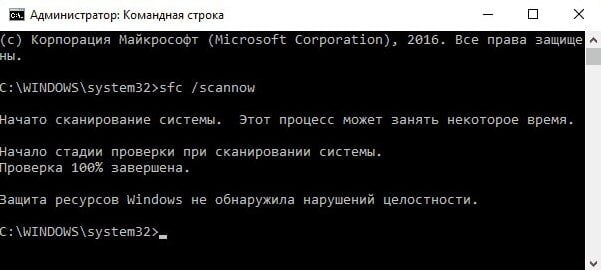
Источник: remontka.pro/ Запуск System File Checker
Восстановление системы
Используйте точку восстановления:
- Используйте сочетание клавиш «Win + S». В поиске введите «Создание точки восстановления».
- Во вкладке «Защита системы» выберите диск, для которого нужно создать точку восстановления, после чего кликните «Настроить».
- В открывшемся окне выберите «Включить защиту системы», затем «Ок», и «Создать».
- Далее следуйте инструкциям на экране.
Источник: support.kaspersky.ru / Восстановление системы
Проверка реестра
Чистка реестра:
- Необходимо использовать программы, такие как CCleaner, для проверки и чистки реестра от ошибок.

Источник: ccleaner.deviantsoft.com / CCleaner
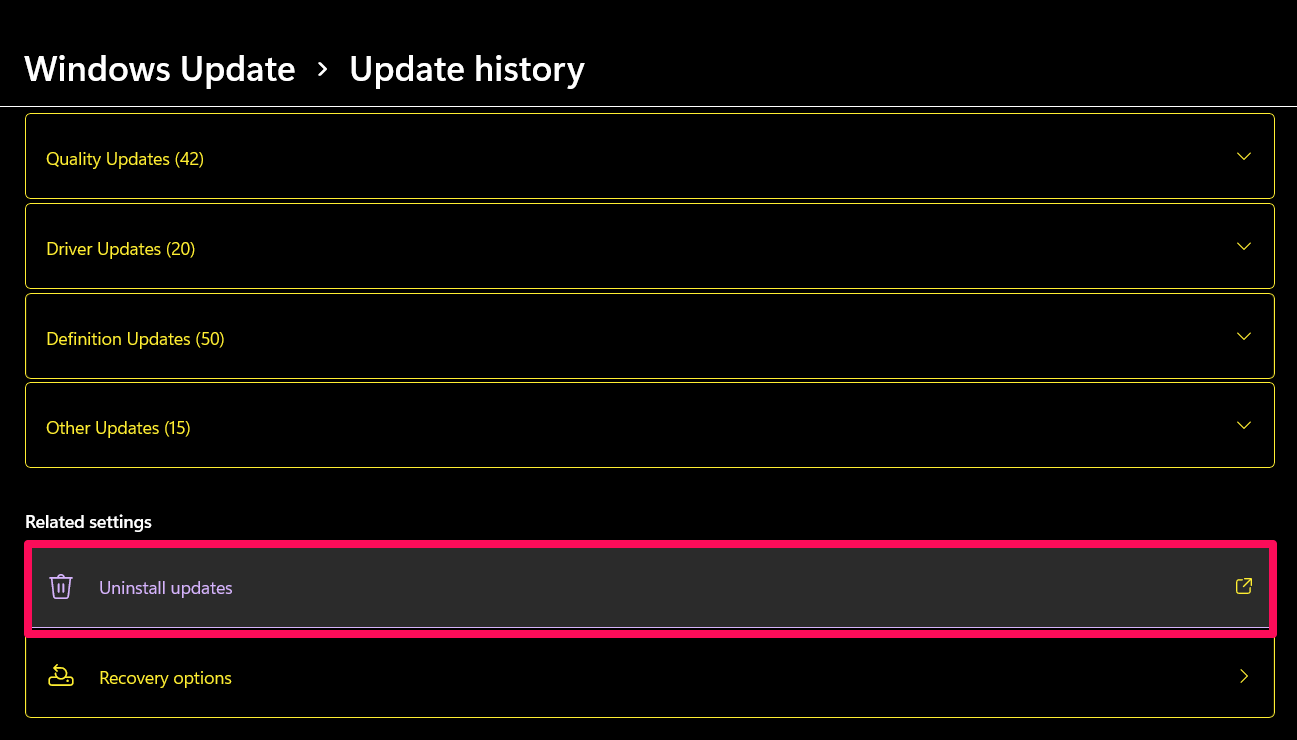
Обновление системы
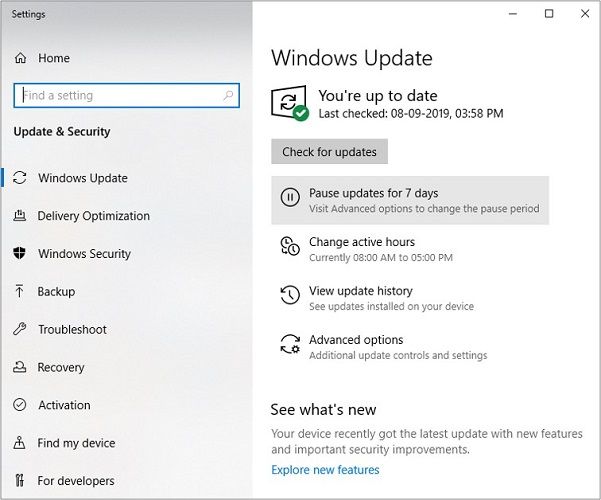
Проверьте обновления Windows:
- Воспользуйтесь сочетанием «Win + I» и выберите «Обновление и безопасность»;
- Нажмите «Проверить наличие обновлений» и установите все доступные обновления.
Источник: lumpics.ru / Обновление системы
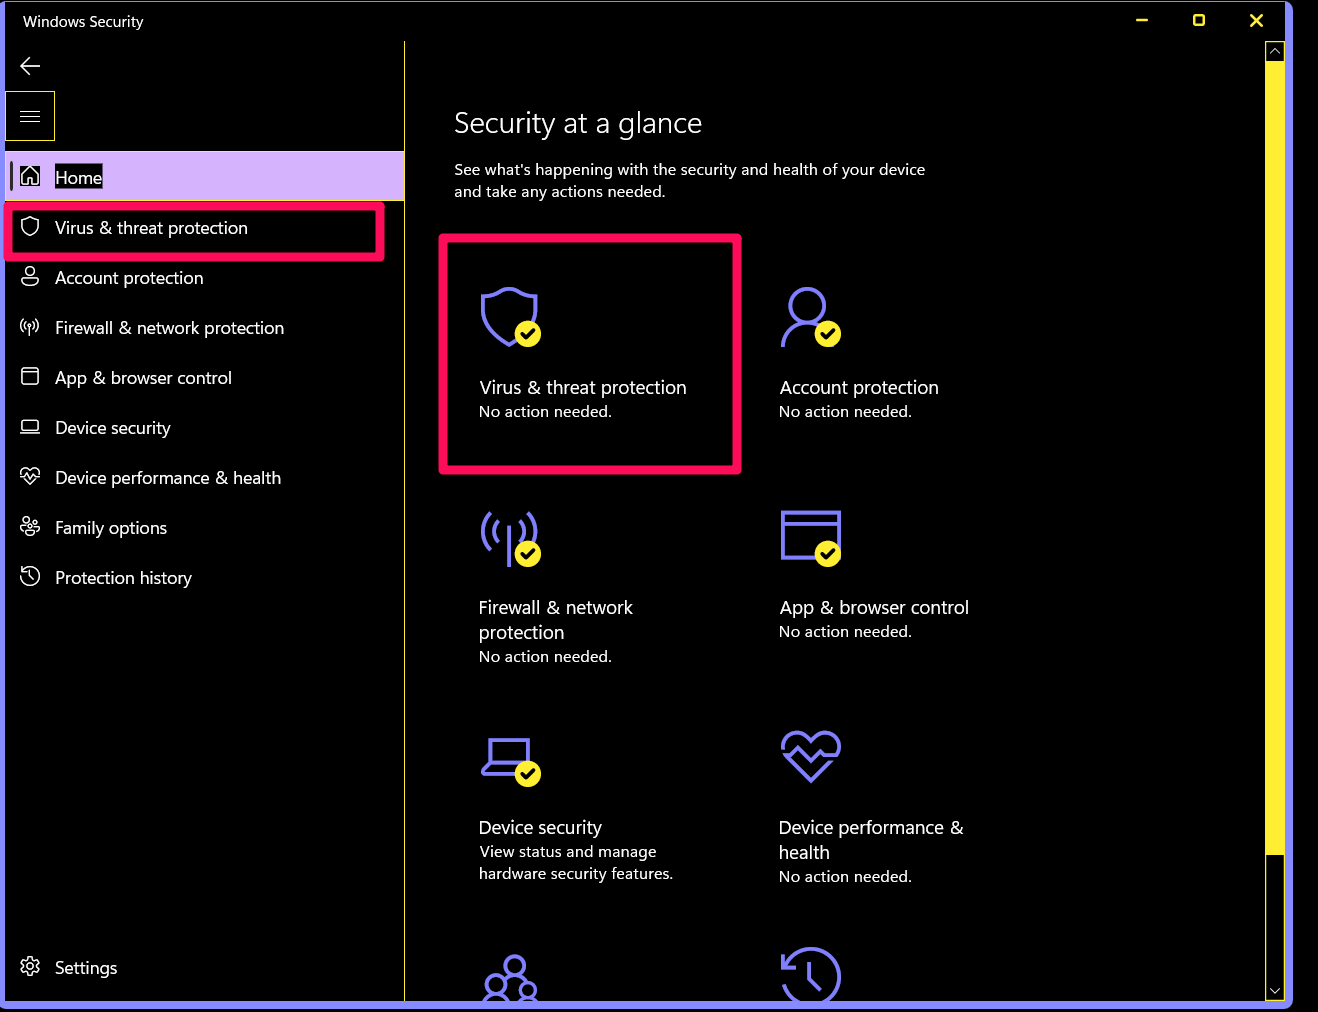
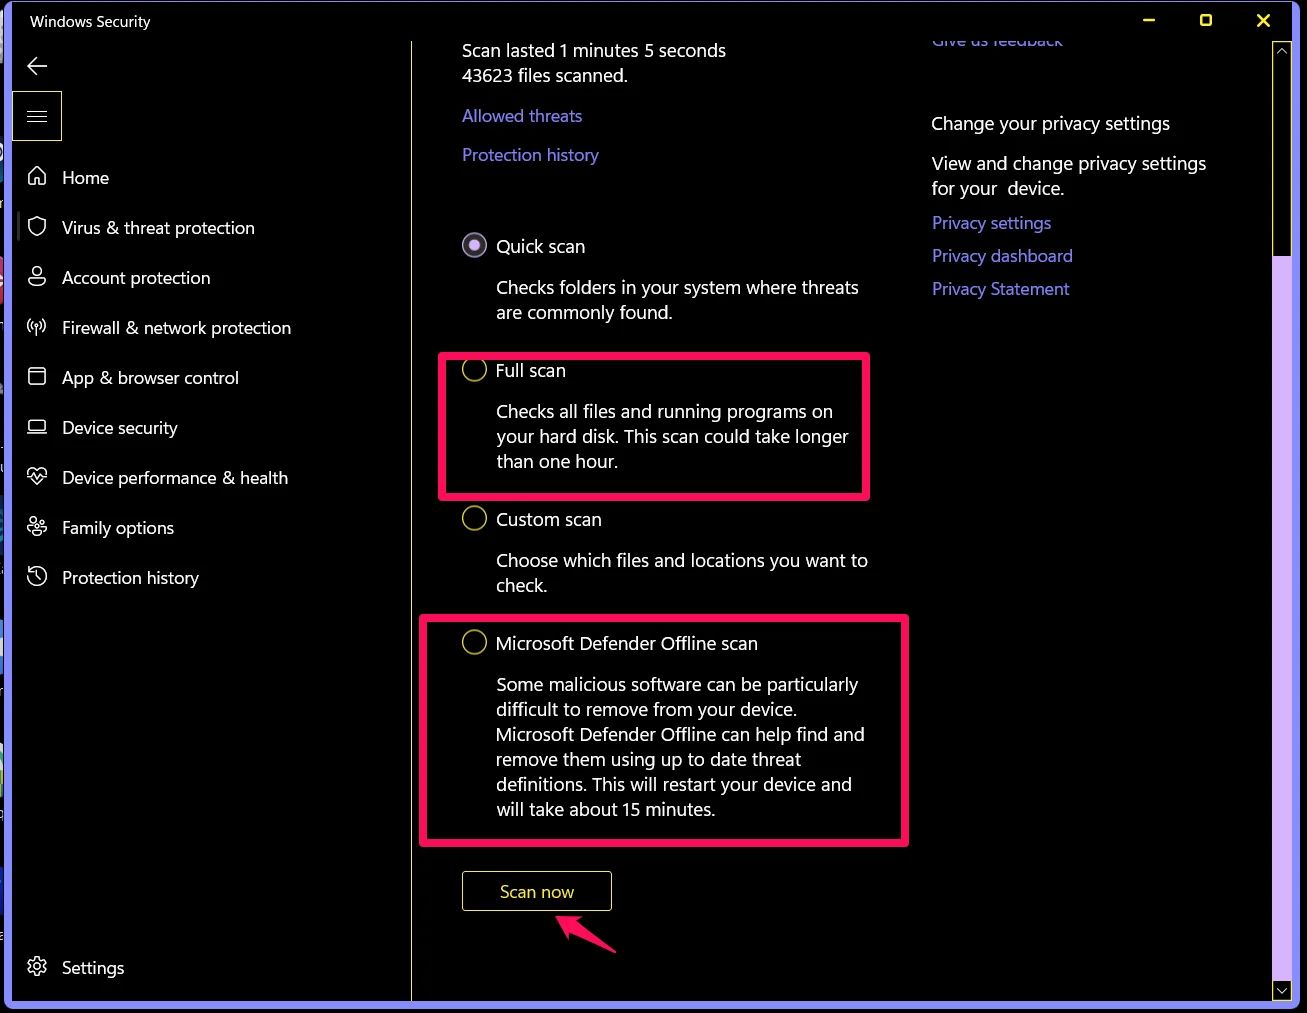
Проверка на вирусы
Проверьте компьютер антивирусом:
- Используйте ваш установленный антивирус для полной проверки системы;
- Либо скачайте бесплатные инструменты для дополнительной проверки.
Дополнительные советы
- Регулярно создавайте точки восстановления системы;
- Устанавливайте только проверенные драйверы и программы;
- Периодически очищайте реестр с помощью специализированных утилит;
- Обновляйте BIOS при необходимости.
Если вы столкнулись с синим экраном и ошибкой ntoskrnl.exe на Windows 10, не спешите паниковать. Это распространенная проблема, которую можно решить с помощью нескольких простых шагов. Проверьте драйверы, оперативную память, жесткий диск и системные файлы.
Если ничего не помогает, воспользуйтесь восстановлением системы или переустановите Windows.
Надеемся, что наши советы помогли вам справиться с этой ошибкой. И, разумеется, не забывайте делиться этой статьей с друзьями. Удачи в исправлении всех компьютерных проблем!
Заглавное фото: CQ.ru с помощью DALL-E