
What is BitNami Redmine Stack?
BitNami Redmine Stack is an all-in-one installer that makes it easy to install Redmine on your computer. It is free, easy to use and self-contained. That means it bundles and automatically configures every piece of software (dependency) necessary to run Redmine for development or production purposes, including Apache, MySQL, Subversion and Ruby on Rails.
You can download the latest version of BitNami Redmine stack for Windows, Linux and OS X at http://bitnami.org/stack/redmine.
Installing BitNami Redmine Stack
Regardless of which operating system you are running (Windows / Linux / Mac), the install process is the same.
Download the latest version of Redmine Stack from the BitNami website.
Find the installer you just downloaded (the filename will be similar to bitnami-Redmine-VERSION-linux-installer.run). Double click on the icon to launch the installer.
Note: If you are using Linux you will have to give executable permissions to the file first, using this command:

chmod +x /path/to/bitnami-redmine-VERSION-linux-installer.run
Click «Forward».

Now it will ask where do you want to install the program. Provide the location where you want to install the BitNami Redmine stack and click «Forward» when you are done.
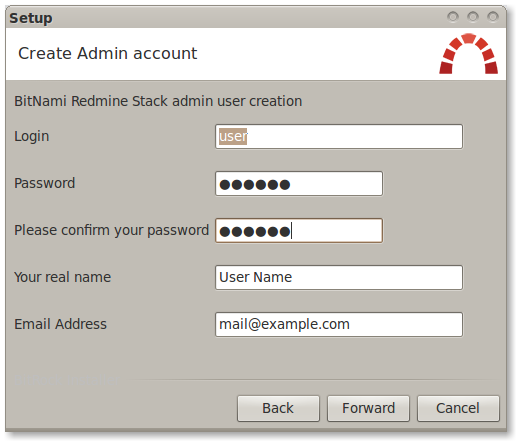
The user and password you provide here will be used to create the admin account in Redmine Click «Forward» when you are done.
Type in the name you want to use for your Redmine site, and click «Forward».
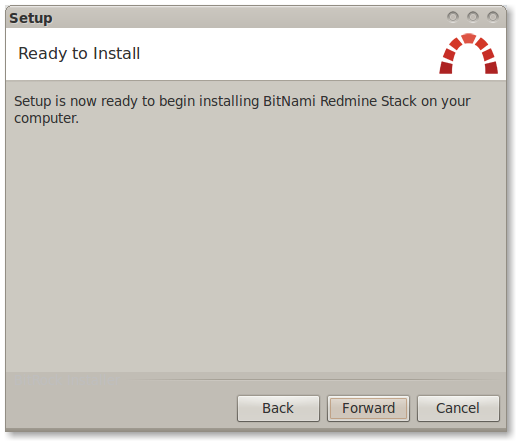
The installer is now ready to begin the installation process. Click «Forward».
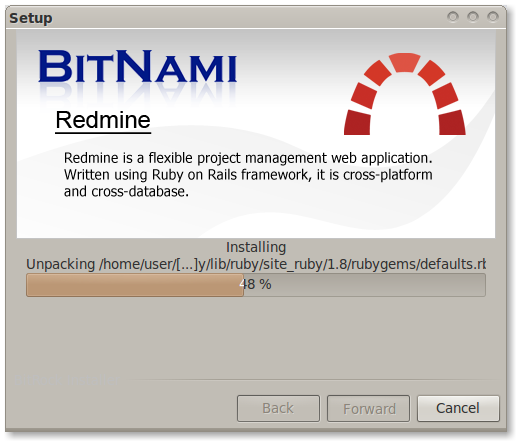
Wait a minute while the installer copies the files and configures your Redmine installation.
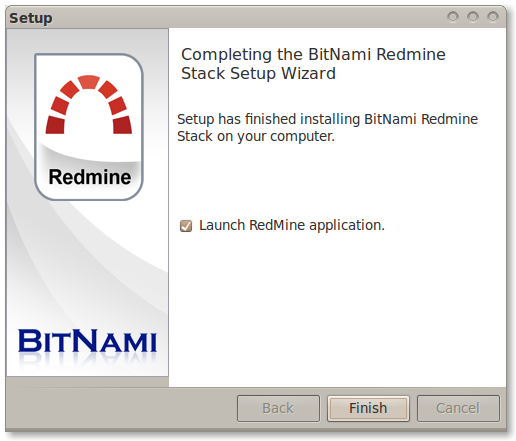
Redmine is now set up and ready to be used. Click «Finish» to launch the application.
You can now log in using the username and password you provided during the installation.
In this post we will explain details steps on how to install redmine on windows operating system. We will also explain steps on how to install new plugin and test it. We are using redmine 4.1 and windows 10 for this exercise. As you know redmine is one of the popular web based project management tool, where all the trackers can be customized to meet your organization process flows.
This is our attempt to help online community to promote use of redmine for better project management and tracking.
STEP 1 : Download & Install Redmine On Windows
a) Visit to Bitnami redmine site and download the binary installer for windows 10,


STEP 2: Configure BITNAMI REDMINE
Launch installer from “Downloads” folder and click “YES ” to give permission to installer.

Now follow following steps to configure the installation wizard.
1-Select language ENGLISH and click NEXT
2- select all the components i.e. MSYS2, PhpMyadmin, Git and Redmine and click next

3- keep default location for installation i.e. C:\Bitnami\redmie-4.1.0 and click NEXT to proceed

4-Now create a user account as administrator . Enter full name , email ID , username , and password and click NEXT to proceed. (Note: don’t forget the username or password as it is required to login the redmine after installation)

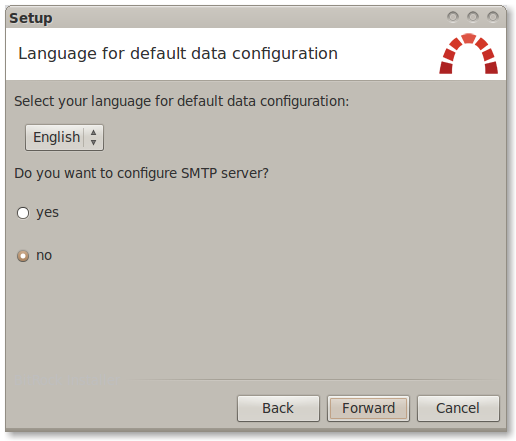
5-select language for data configuration as “ENGLISH”

6-uncheck the option “Do you want to configure mail support?” as we are not going to use it here

7- also uncheck “Launch redmine in the cloud with bitnami ” as we are going to setup redmine for a local machine

8- Now , everything is configured properly and ready to launch . Let’s click NEXT to start installation process.

(Note: installation is faster in initial phase , as it is copying the installer files and takes time at last for configuration . so please be patient and wait for the installer to finish.)

STEP 3: LAUNCHING REDMINE
When installation is finished , click on launch redmine and Finish OR open browser window and type http://localhost/ to launch the redmine

Now click on ” Access Redmine ” to start using redmine

Now click on ‘sign in ‘ from top right corner of page to log in to redmine

Enter admin details which we entered in installation steps to log in

That’s it , we have successfully installed redmine on windows system using Bitnami Redmine 4.1 installer.

STEP 4: ADDING PLUGINS TO REDMINE
This section explains on how to install redmine on windows with adding plugins, we need to get the plugin files from git
1- Go to ” C:\Bitnami\redmine-4.1.0-0\apps\redmine\htdocs\plugins ” and click on address bar and type ” cmd ” to launch command prompt at that location .
2- Now enter git clone "plugin-name" to clone plugin files from git to that directory . i.e. enter git clone git://github.com/deecay/redmine_pivot_table to add pivot-table plugin


(Note : if it says git not found then install git separately by downloading binary installer for windows x64 from https://git-scm.com/downloads and try again . )

3- now we need to restart redmine or machine itself for added plugin to work .
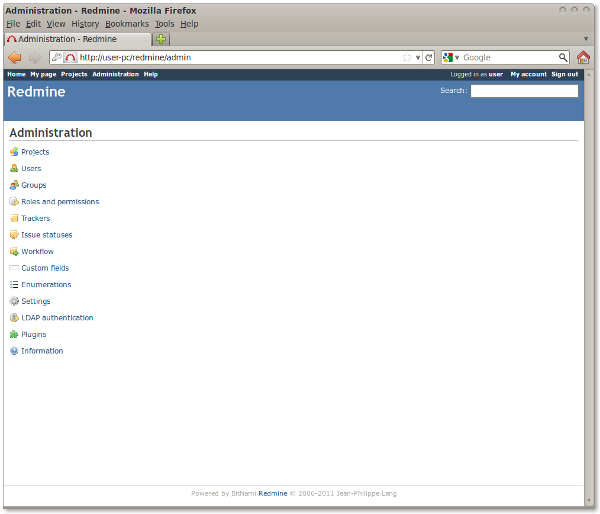
4- let’s check added plugin . Go to localhost and login the redmine . Then click on “administration -> plugin “. Here the added plugin should be listed .


Happy management, do let us know if this article was useful for you.
How to Install Redmine on Windows 11
Redmine is a project management web application that allows users to manage projects, track issues, and share documents. It is a popular open-source software that can be installed on different platforms, including Windows 11. In this tutorial, we will show you how to install Redmine on Windows 11 using the Bitnami stack.
Prerequisites
Before you start, make sure you have the following:
- A Windows 11 computer with administrator privileges
- A web browser such as Google Chrome or Mozilla Firefox
- An internet connection
- Enough disk space (at least 300MB)
Step 1: Download Bitnami Redmine Stack
- Go to the Bitnami website at https://bitnami.com/stack/redmine/installer and click on the «Download» button to download the Bitnami Redmine Stack for Windows.
- Save the installation file to your computer.
Step 2: Install Bitnami Redmine Stack
- Double-click on the downloaded installer file to start the installation process.
- Click on the «Next» button to proceed.
- Read the license agreement and accept it if you agree.
- Choose an installation folder and click on the «Next» button.
- Select the components to install (Redmine, Ruby, Apache, and MySQL) and click on the «Next» button.
- Choose a name for the MySQL database and create a password for the MySQL root user.
- Choose a username and password for the Redmine administrator account.
- Click on the «Next» button to start the installation process.
- Wait for the installation to finish.
- Click on the «Finish» button to close the installer.
Step 3: Verify the Installation
- Open a web browser and go to http://localhost/redmine/.
- You should see the Redmine login page.
- Enter the username and password you created during the installation process.
- After logging in, you should see the Redmine dashboard.
Conclusion
Congratulations! You have successfully installed Redmine on your Windows 11 computer. Redmine is a powerful project management tool that can help you manage your projects more efficiently.
If you want to self-host in an easy, hands free way, need an external IP address, or simply want your data in your own hands, give IPv6.rs a try!
Alternatively, for the best virtual desktop, try Shells!
Redmine — открытое серверное веб-приложение для управления проектами и задачами (в том числе для отслеживания ошибок). Redmine написан на Ruby и представляет собой приложение на основе широко известного веб-фреймворка Ruby on Rails. Распространяется согласно GNU General Public License.
Функциональные возможности
Данный продукт предоставляет следующие возможности:
- ведение нескольких проектов;
- гибкая система доступа, основанная на ролях;
- система отслеживания ошибок;
- диаграммы Ганта и календарь;
- ведение новостей проекта, документов и управление файлами;
- оповещение об изменениях с помощью RSS-потоков и электронной почты;
- вики для каждого проекта;
- форумы для каждого проекта;
- учёт временных затрат;
- настраиваемые произвольные поля для инцидентов, временных затрат, проектов и пользователей;
- лёгкая интеграция с системами управления версиями (SVN, CVS, Git, Mercurial, Bazaar и Darcs);
- создание записей об ошибках на основе полученных писем;
- поддержка множественной аутентификации LDAP;
- возможность самостоятельной регистрации новых пользователей;
- многоязыковой интерфейс (в том числе русский);
- поддержка СУБД MySQL, PostgreSQL, SQLite, Oracle.
Подготовка к инсталляции.
Берем инсталятор с сайта Bitnami для Windows (в комплекте — Redmine+Apache+MySQL).
Инсталляция.
Устанавливаем на новый сервер: папка для инсталляции по умолчанию C:\Program Files\
Проверяем, что инсталлятор работает. Запускаем в браузере по пути localhost:80, он должен открыть пустую базу, созданную по умолчанию при инсталляции.
Перенос баз.
Создаем новую пустую базу данных с именем redmine_bitnami:
C:\Program Files\BitNami Redmine Stack\mysql\bin > mysql -uroot -p1234
mysql> create user 'redmine'@'localhost' identified by 'password';
mysql> create database redmine\_bitnami default character set utf8;
mysql> grant all on redmine\_bitnami.* to 'redmine'@'localhost';
Hа место этой базы восстанавливаем дамп рабочего редмайна (в database.yml должна быть указана соответствующая база в разделе production, также надо дополнительно указать строку encoding: utf8).
C:\Program Files\BitNami Redmine Stack\mysql\bin\ >
mysql -u root -p --default-character-set=utf8 redmine -e "source <имя\_дампа>.sql;
либо создаем файл .bat аналогичного содержания.
Так как предыдущий redmine был более старый автоматически база не заработает, поэтому необходимо произвести миграцию базы на более новую версию Redmine.
Миграция производится следующим образом:
- Идем в меню Пуск -> Программы -> Bitnami Redmine Stack, запускаем «Use Bitnami redmine Stack».
- Переходим: > cd C:\Program Files\BitNami Redmine Stack\apps\redmine
- Выполняем команду: rake db:migrate RAILS_ENV=production
- Из compmgmt.msc перезапускаем сервис с именем redmineMongrel1 и redmineMongrel2.
Послеустановочная настройка.
Локальные настройки и окружение.
- Копируем настройки рассылки по e-mail которые содержатся в файле «C:/Program Files/BitNami Redmine Stack/apps/redmine/config/email.yml».
- Копируем файлы от старого редмайна в соответствующую папку.
- Настраиваем Apache на порт 88, конфигурационный файл лежит C:\Program Files\BitNami Redmine Stack\apache2\conf\httpd.conf — строка Listen 88.
- Добавляем порт 88 в исключения для Windows Firewall.
- Заходим в Redmine через web-интерфейс под администратором в пункт: Администрирование -> Общие -> Указываем имя dbs:88/redmine — это имя будет использоваться трекером для ссылки в почте.
- После запуска Redmine в работу создаем тестовое задание. Ждем ответа от пользователей. В случае успеха останавливаем Redmine на старом сервере. Настраиваем пользователям ссылки в браузере, чтобы подключение шло на новый сервер (\\server_name:88\redmine).\\
Настройка резервного копирования.
Создаем назначенное задание, для создания резервных копий. Проверяем резервные копии на восстанавливаемость каждую неделю вручную.
Скрип резервного копирования (backup.cmd) выглядит приблизительно следующим образом:
\%RMPATH\% \mysql\ bin\mysqldump.exe -uUSER -pPASS redmine_bitnami -r
\%FNPREFIX\%db_dump.sql --default-character-set=utf8
rar m -r -s \% FNPREFIX\% db\_dump.rar \%FNPREFIX\%db\_dump\_bitnami.sql
rar a -r -s \% FNPREFIX\% files.rar \%RMPATH\% \ apps\redmine\files\*.*"
rar a -r -s \%FNPREFIX\%utils.rar *.cmd
xcopy \%FNPREFIX\%*.rar \\path\backup_redmine\
Скрипт к которому обращается скрипт резервного копирования backup.cmd, для именования файлов и определения путей (backup_workwars.cmd):
SET D=\%DATE\%
SET D=\%D:.=\%
SET T=\%time::=\%
SET T=\%T: =0\%
SET DT=\%D:~4,4\%\%D:~2,2\%\%D:~0,2\%\_\%T:,=\% \\
SET WORKPATH=E:\BACKUP\Redmine\
SET FNPREFIX=\%WORKPATH\%\%DT\%_redmine_
SET RMPATH=C:\Program Files\BitNami Redmine Stack
\end{document}
Размещено в Redmine и отмечено Redmine.