
As technology evolves, an increasing number of laptops and even some desktop machines are being built without CD/DVD drives. With the rise to prominence of digital services such as Spotify, Netflix and Steam, it’s become more convenient to stream our music and movies than buying CDs and DVDs. Not only is it on-demand, there’s also no risk of damaging any disks.
However, for those of us with large collections of CDs, DVDs and computer games, this can be an inconvenience when the time comes to purchase a new computer. Thankfully, there are USB powered CD/DVD drives such as the Apple SuperDrive. I bought one after buying my new laptop and discovering it didn’t have an optical drive, and I found that initially it didn’t work. Whenever I’d attempt to insert a CD, the SuperDrive wouldn’t accept it. As it’s an Apple product, it’s designed to work with Apple computers, not Windows 10. But I didn’t have to get a return on the USB SuperDrive as you can get it working on Windows 10 in a few simple steps.
How to get the Apple USB SuperDrive to work on a Windows 10 computer:
- Download the Apple ODD Driver
- Unzip and run the installer
- Restart your PC
Once your computer has restarted, you should be able to use your Apple USB SuperDrive on your Windows 10 PC.
Did you find this post useful?
YesNo

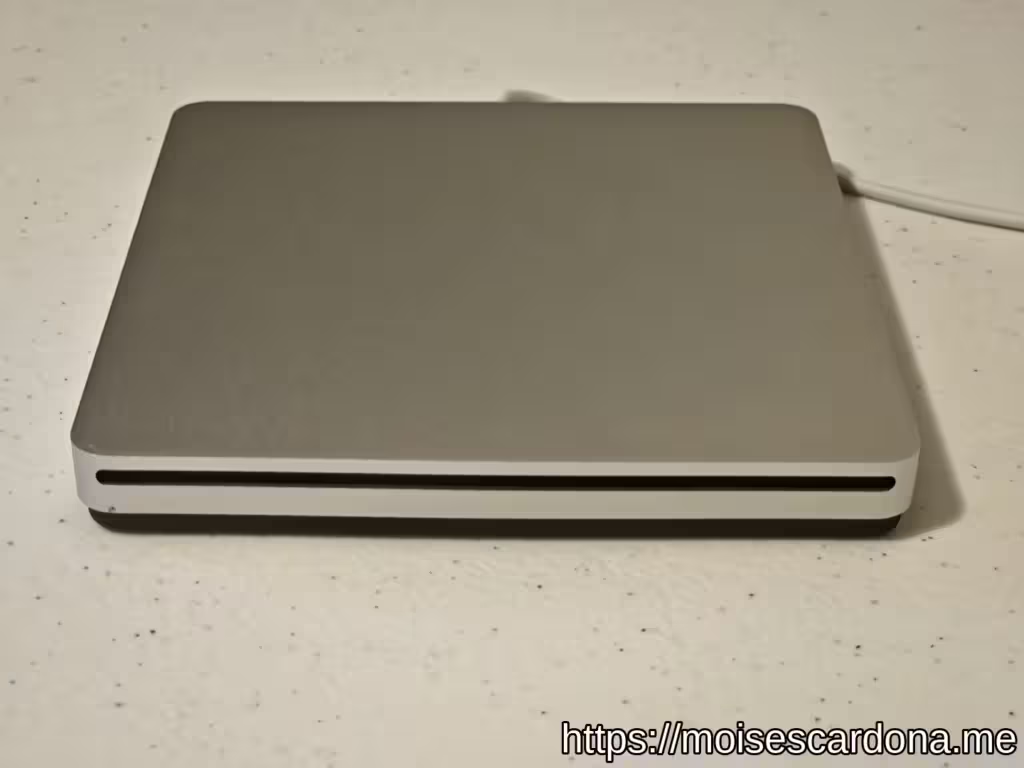
Macs no longer have internal DVD and CD-RW drives, but for Mac users who still need to use optical discs the Apple SuperDrive offers an external all-in-one USB solution that can read and write both CD and DVD discs, all you have to do is plug it into a USB port on the Mac and Mac OS will detect the SuperDrive. But that’s Mac OS, not Windows, and many Mac users also use Windows PC or Windows operating systems, so wouldn’t it be nice to use that Apple SuperDrive in Windows too?
But SuperDrive does not always work with Windows PC right away however, and sometimes the Apple SuperDrive either doesn’t function as expected, won’t accept a disc, or is not properly recognized in Windows, whether running natively on PC, or a Mac through Boot Camp, or a virtual machine either.
Whatever the scenario, if you’re trying to use an Apple SuperDrive with Windows and it’s not working as expected, try the steps below to get the SuperDrive functioning in Windows.
How to Use Apple SuperDrive in Windows
The steps below outline installing Apple SuperDrive drivers for Windows so that the SuperDrive will function as expected:
- Boot into Windows, or get on the Windows PC trying to use SuperDrive if you have not done so already
- Go here to to the Apple Support Downloads site and locate the latest version of “Boot Camp Support Software” (5.1.5722 or newer)
- Download the Boot Camp Support Software zip file and unzip it on the computer
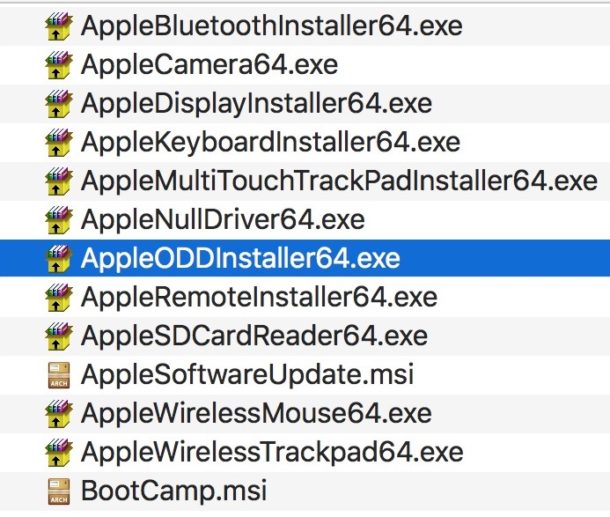
- From the unzipped “Bootcamp5” folder, navigate to \Bootcamp\Drivers\Apple\ and locate “AppleODDInstaller64.exe”
- Run the AppleODDInstaller64.exe executable file to install the appropriate drivers for Apple SuperDrive in Windows
These steps are intended to be from taken from Windows, however you could download the Boot Camp Support Software on a Mac and then transfer the zip file to Windows through USB, networking, or your method of choice if need be, or you could just extract the “\Bootcamp\Drivers\Apple\ AppleODDInstaller64.exe” (note it will be labeled “AppleODDInstaller.exe” if it’s 32-bit version) file on a Mac and transfer that exe installer to Windows. You must be in Windows to run and install the actual Bootcamp Drivers for SuperDrive, however.
This should work to get an Apple SuperDrive working on any modern Windows version, including Windows 7, Windows 8, and Windows 10. Note that if you’re on a notably older Windows release, you’d want to download an earlier version of Boot Camp drivers that contain the 32-bit exe rather than the 64-bit exe, and otherwise it should work the same as well.
Once the drivers are installed properly in Windows, the Apple SuperDrive should accept discs, read, write, and eject them as expected, just like it does on the Mac. Of course you could also just get a different external DVD-RW / CDRW drive too at less cost, as many of the other solutions either work immediately with plug-and-play in Windows and Mac OS, but the SuperDrive situation is helpful if you already have one from a Mac, or you want to stay consistent with Apple hardware. Why buy new hardware when you have something that already works, right? The same logic applies to using a Windows keyboard on a Mac, and many other common peripherals that are compatible with both a Mac and PC, even if they require some minor tinkering to get working as intended.
I have a windows 10 PC that I want to use my Super Drive on, but I do not know what drivers I need to have to make it work.
MacBook Pro (Retina, 13-inch,Early 2015),
macOS High Sierra (10.13.3)
Posted on Feb 5, 2018 9:44 AM
Posted on Feb 5, 2018 10:09 AM
Try the following:
- Plug the SuperDrive into an available USB port on the Windows PC.
- Download that latest Boot Camp drivers from Apple.
- Right-click on the Boot Camp zip file in the Downloads folder, and then, click Extract All.
- Launch the AppleODDInstaller64.exe file, that is located at: /BootCamp/Drivers/Apple/AppleODDInstaller.exe, and then, follow the steps to install the driver on your PC.
- After successfully installing this driver, you should be able to use the SuperDrive as you normally would.
Similar questions
-
Can I use this external SuperDrive if I have a 2012 iMac with a internal drive that works?
Can I use this external SuperDrive if I have a 2012 iMac with a internal drive that works?
906
5
-
How do I use a superdrive on a windows 10 PC?
How do I use an Apple Superdrive with a windows 10 PC?
12211
3
-
purchased the USB Super Drive and I have connected it to the computer. However, no information on how to use it. Please help
Cannot find information on how to use the USB SuperDrive once it is connected to the computer. Don’t I need to install a driver?833
6
How do I use my Super Drive on my Windows 10 PC
Home » Apple SuperDrive USB Device
Use the links on this page to download the latest version of Apple SuperDrive USB Device drivers. All drivers available for download have been scanned by antivirus program. Please choose the relevant version according to your computer’s operating system and click the download button.
System Information
Your machine is currently running: Windows (Detect)
- Driver Version: 6.1.7600.16385
- Release Date: 2006-06-21
- File Size: 77.34K
- Supported OS: Windows 7 64bit
- Driver Version: 6.1.7600.16385
- Release Date: 2006-06-21
- File Size: 61.37K
- Supported OS: Windows 7 32bit
Hi everyone,
In this post, we will be telling you how to use the Apple USB SuperDrive Optical Unit on Windows 11.
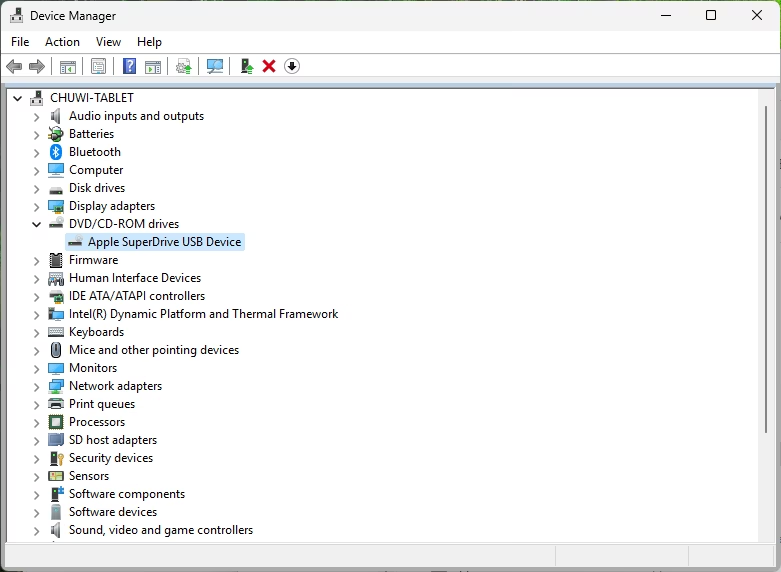
If you connect this unit to your Windows 11 PC, laptop or tablet, you will be surprised that it doesn’t work. This is because Apple has made this drive react to certain MacBook models. Windows does recognize this device, and will show as Apple SuperDrive USB Device, but that’s about it. It will not do anything:
The good news is that they have a Windows driver that can be installed in Windows 11 that will enable this drive to work.
Downloading the Apple USB SuperDrive Windows 11 driver
To start, you need to download the Boot Camp Support Software package. This is big at a bit more than 500MB of size, but the download is required because in this package is located the ODD enabler installer.
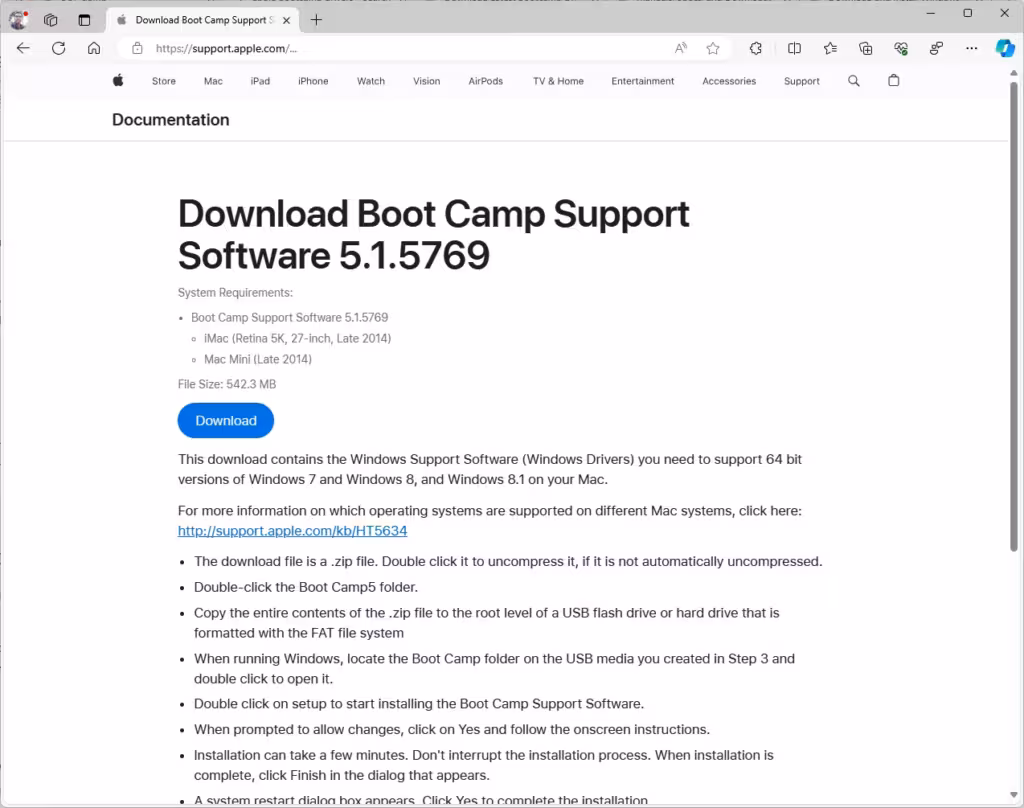
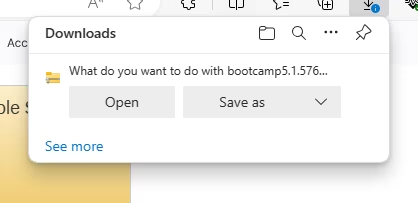
Click the Download button. Then, save this file:
Installing the Apple USB SuperDrive Windows 11 driver
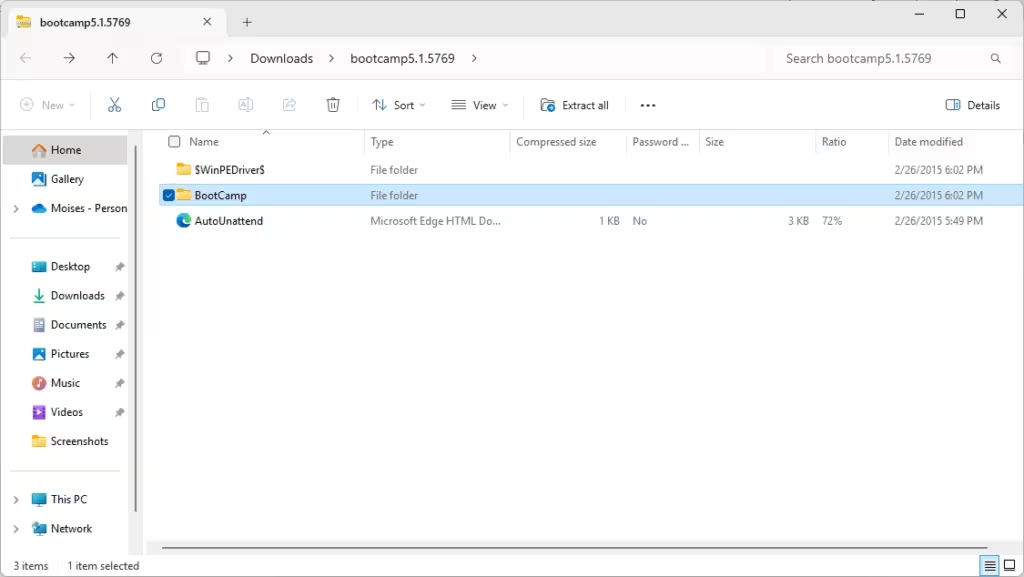
Now that the BootCamp drivers have finished downloading, we can open the archive in order to install the Apple USB SuperDrive Windows 11 driver. Start by Opening the archive:

Inside the archive, go to the BootCamp folder:
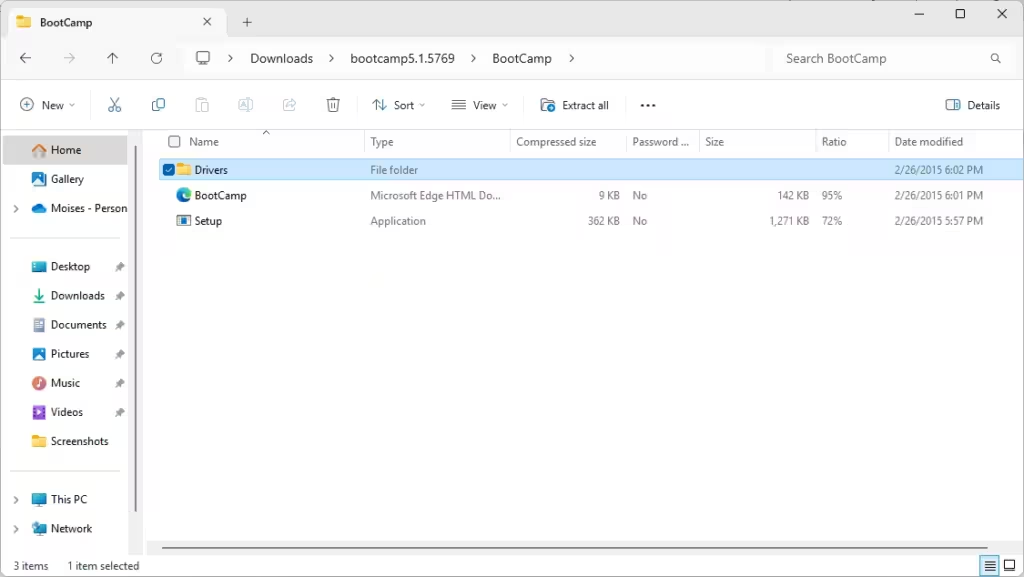
Then, go to the Drivers folder:
Now, go to the Apple folder:
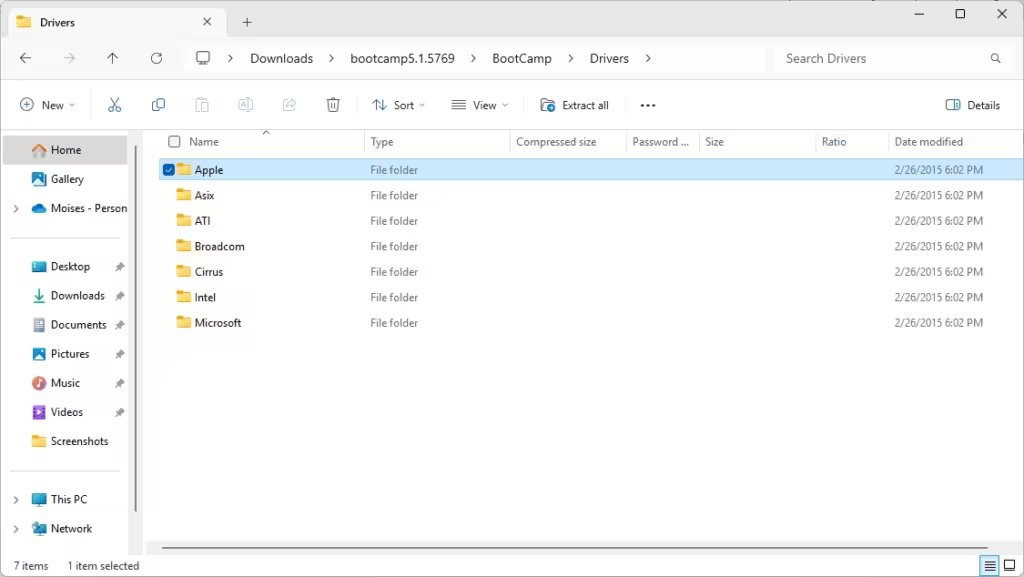
And now, launch the AppleODDInstaller64.exe installer:

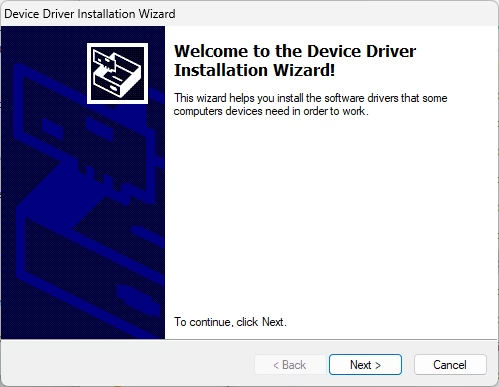
The Device Driver Installation Wizard will launch. Here, click Next:
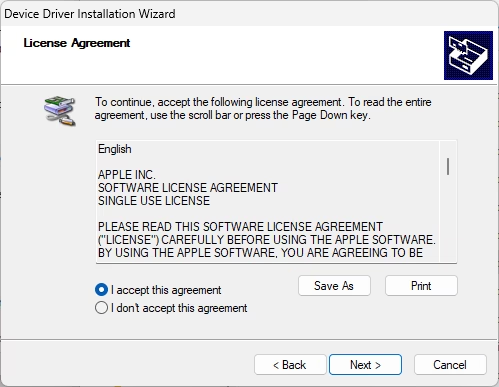
Accept the License Agreement and click Next:
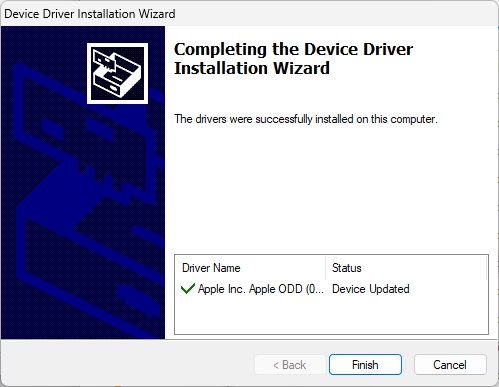
The driver will be installed quickly, and you should see this finished message. Click Finish to exit the installation wizard:
At this time, your Apple USB SuperDrive should start to work. If it doesn’t, try unplugging it and plugging it again and try to insert a CD or DVD.
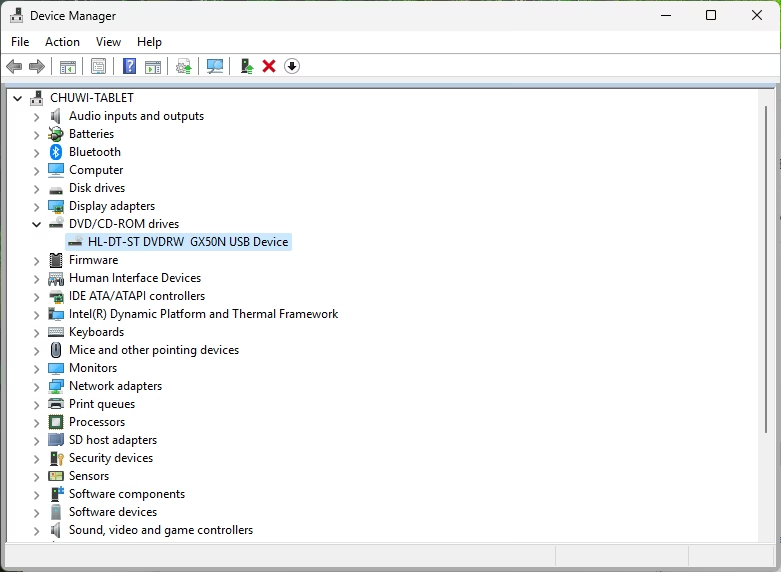
To confirm the driver was installed successfully, your Windows Device Manager should now report the drive as HL-DT-ST DVDRW GX50N USB Device:
And that’s it. Enjoy using the Apple USB SuperDrive on your Windows 11 machine!
Post Views: 241