
Powershell script to install apps on windows via winget cli
How to run?
- Open your powershell as administrator and run
Set-ExecutionPolicy Unrestricted - Create your applist with the list of apps you want to install. Browse a list of winget packages at winstall.app & winget.run
- Download the script (optional)
- Run the script providing path to your applist
Run with (Local) App List Path
.\install.ps1 -applist 'C:\Users\Mahesh\Downloads\applist'
Run with (Remote) App List Path
.\install.ps1 -applist 'https://raw.githubusercontent.com/maheshrijal/windows-app-installer/main/applist'
Run with (Default) App List picked from applist ⚠
Run without downloading the script from applist ⚠
iwr -useb https://maheshrijal.com/wininstall | iex
Electron Installer
NPM module that builds Windows installers for
Electron apps using
Squirrel.
Installing
npm install --save-dev electron-winstaller
Usage
Require the package:
const electronInstaller = require('electron-winstaller');
Then do a build like so..
try {
  await electronInstaller.createWindowsInstaller({
    appDirectory: '/tmp/build/my-app-64',
    outputDirectory: '/tmp/build/installer64',
    authors: 'My App Inc.',
    exe: 'myapp.exe'
  });
  console.log('It worked!');
} catch (e) {
  console.log(`No dice: ${e.message}`);
}
After running you will have an .nupkg, a
RELEASES file, and a .exe installer file in the outputDirectory folder
for each multi task target given under the config entry.
There are several configuration settings supported:
| Config Name | Required | Description |
|---|---|---|
appDirectory |
Yes | The folder path of your Electron app |
outputDirectory |
No | The folder path to create the .exe installer in. Defaults to the installer folder at the project root. |
loadingGif |
No | The local path to a .gif file to display during install. |
authors |
Yes | The authors value for the nuget package metadata. Defaults to the author field from your app’s package.json file when unspecified. |
owners |
No | The owners value for the nuget package metadata. Defaults to the authors field when unspecified. |
exe |
No | The name of your app’s main .exe file. This uses the name field in your app’s package.json file with an added .exe extension when unspecified. |
description |
No | The description value for the nuget package metadata. Defaults to the description field from your app’s package.json file when unspecified. |
version |
No | The version value for the nuget package metadata. Defaults to the version field from your app’s package.json file when unspecified. |
title |
No | The title value for the nuget package metadata. Defaults to the productName field and then the name field from your app’s package.json file when unspecified. |
name |
No | Windows Application Model ID (appId). Defaults to the name field in your app’s package.json file. |
certificateFile |
No | The path to an Authenticode Code Signing Certificate |
certificatePassword |
No | The password to decrypt the certificate given in certificateFile |
signWithParams |
No | Params to pass to signtool. Overrides certificateFile and certificatePassword. |
iconUrl |
No | A URL to an ICO file to use as the application icon (displayed in Control Panel > Programs and Features). Defaults to the Atom icon. |
setupIcon |
No | The ICO file to use as the icon for the generated Setup.exe |
skipUpdateIcon |
No | Disables setting the icon of Update.exe. This can solve installation errors with the following message: «This application could not be started», when the setup is built on a non-Windows system. |
setupExe |
No | The name to use for the generated Setup.exe file |
setupMsi |
No | The name to use for the generated Setup.msi file |
noMsi |
No | Should Squirrel.Windows create an MSI installer? |
noDelta |
No | Should Squirrel.Windows delta packages? (disable only if necessary, they are a Good Thing) |
remoteReleases |
No | A URL to your existing updates. If given, these will be downloaded to create delta updates |
remoteToken |
No | Authentication token for remote updates |
frameworkVersion |
No | Set the required .NET framework version, e.g. net461 |
windowsSign |
No | Use @electron/windows-sign for advanced codesigning. See documentation for details. |
Sign your installer or else bad things will happen
For development / internal use, creating installers without a signature is okay, but for a production app you need to sign your application. Internet Explorer’s SmartScreen filter will block your app from being downloaded, and many anti-virus vendors will consider your app as malware unless you obtain a valid cert.
Any certificate valid for «Authenticode Code Signing» will work here, but if you get the right kind of code certificate, you can also opt-in to Windows Error Reporting. This MSDN page has the latest links on where to get a WER-compatible certificate. The «Standard Code Signing» certificate is sufficient for this purpose.
Handling Squirrel Events
Squirrel will spawn your app with command line flags on first run, updates,
and uninstalls. it is very important that your app handle these events as early
as possible, and quit immediately after handling them. Squirrel will give your
app a short amount of time (~15sec) to apply these operations and quit.
The electron-squirrel-startup module will handle
the most common events for you, such as managing desktop shortcuts. Add the following to the top
of your main.js and you’re good to go:
if (require('electron-squirrel-startup')) return;
You should handle these events in your app’s main entry point with something
such as:
const app = require('app');

// this should be placed at top of main.js to handle setup events quickly
if (handleSquirrelEvent()) {
  // squirrel event handled and app will exit in 1000ms, so don't do anything else
  return;
}

function handleSquirrelEvent() {
  if (process.argv.length === 1) {
    return false;
  }

  const ChildProcess = require('child_process');
  const path = require('path');

  const appFolder = path.resolve(process.execPath, '..');
  const rootAtomFolder = path.resolve(appFolder, '..');
  const updateDotExe = path.resolve(path.join(rootAtomFolder, 'Update.exe'));
  const exeName = path.basename(process.execPath);

  const spawn = function(command, args) {
    let spawnedProcess, error;

    try {
      spawnedProcess = ChildProcess.spawn(command, args, {detached: true});
    } catch (error) {}

    return spawnedProcess;
  };

  const spawnUpdate = function(args) {
    return spawn(updateDotExe, args);
  };

  const squirrelEvent = process.argv[1];
  switch (squirrelEvent) {
    case '--squirrel-install':
    case '--squirrel-updated':
      // Optionally do things such as:
      // - Add your .exe to the PATH
      // - Write to the registry for things like file associations and
      //   explorer context menus

      // Install desktop and start menu shortcuts
      spawnUpdate(['--createShortcut', exeName]);

      setTimeout(app.quit, 1000);
      return true;

    case '--squirrel-uninstall':
      // Undo anything you did in the --squirrel-install and
      // --squirrel-updated handlers

      // Remove desktop and start menu shortcuts
      spawnUpdate(['--removeShortcut', exeName]);

      setTimeout(app.quit, 1000);
      return true;

    case '--squirrel-obsolete':
      // This is called on the outgoing version of your app before
      // we update to the new version - it's the opposite of
      // --squirrel-updated

      app.quit();
      return true;
  }
};
Notice that the first time the installer launches your app, your app will see a --squirrel-firstrun flag. This allows you to do things like showing up a splash screen or presenting a settings UI. Another thing to be aware of is that, since the app is spawned by squirrel and squirrel acquires a file lock during installation, you won’t be able to successfully check for app updates till a few seconds later when squirrel releases the lock.
Advanced codesigning with @electron/windows-sign
This package supports two different ways to codesign your application and the installer:
-
Modern: By passing a
windowsSignoption, which will be passed to @electron/windows-sign. This method allows full customization of the code-signing process — and supports more complicated scenarios like cloud-hosted EV certificates, custom sign pipelines, and per-file overrides. It also supports all existing «simple» codesigning scenarios, including just passing a certificate file and password. Please see https://github.com/electron/windows-sign for all possible configuration options.When passing
windowsSign, do not pass any other available parameters at the top level (likecertificateFile,certificatePassword, orsignWithParams). -
Legacy: By passing the top-level settings (
certificateFile,certificatePassword, andsignWithParams). For simple codesigning scenarios, there’s no reason not to use this method — it’ll work just as fine as the modern method.
Debugging this package
You can get debug messages from this package by running with the environment variable DEBUG=electron-windows-installer:main e.g.
DEBUG=electron-windows-installer:main node tasks/electron-winstaller.js
Skip to content
Navigation Menu
Provide feedback
Saved searches
Use saved searches to filter your results more quickly
Sign up
Universal Windows Platform App Deployment Team
Popular repositories
Loading
-
This is an example of how a UWP will a full trust component can communicate with a classic win32 app over named pipes
C#
8
3
-
FaceAnalysis app with optional packages that showcase content and code optional packages
C#
3
2
Repositories
Type
All
Public
Sources
Forks
Archived
Mirrors
Templates
Language
All
C#
C++
Sort
Last updated
Name
Stars
3
results
for
all
repositories
written in C++
sorted by last updated
Clear filter
Showing 3 of 3 repositories
-
AppInstaller/OptionalPackageSample’s past year of commit activity
C++
7
MIT
10
3
1
Updated Oct 24, 2018
-
AppInstaller/Windows-appsample-marble-maze’s past year of commit activity
C++
0
MIT
72
0
0
Updated Jun 8, 2017
-
AppInstaller/FaceDetect’s past year of commit activity
C++
0
0
0
0
Updated Apr 21, 2017
People
This organization has no public members. You must be a member to see who’s a part of this organization.
Most used topics
Loading…
An Android Application Installer for Windows
Language
- 中文
- English
Contents
- APK Installer
- Language
- Contents
- How to install the APK Installer
- Minimum requirements:
- Install the app using the app installation script
- Install the app using the Windows App Installer ⭐
- Update the app
- Screenshots
- Modules used
- Special thanks to
- GitHub repo stars statistics
How to install the APK Installer
Minimum requirements:
- Windows 10 Build 17763 and above
- The device needs to support ARM64/x86/x64
- At least 400MB of free storage space (used to store installation packages and install applications)
Install the app using the app installation script
- Download and unzip the latest installation package
(APKInstaller (Package)_x.x.x.0_Test.rar) - If you do not have the app installation script, you can download [
Install.ps1] into the target directory.
- Right click on
Install.ps1, and select ‘Open with Powershell’. - The installation script will guide you through the rest of the process.

Install the app using the Windows App Installer ⭐
Update the app
- Download and unzip the latest installation package
(APKInstaller (Package)_x.x.x.0_x86_x64_arm_arm64.appxbundle) - Double click
*.appxbundle, click Update, sit and relax
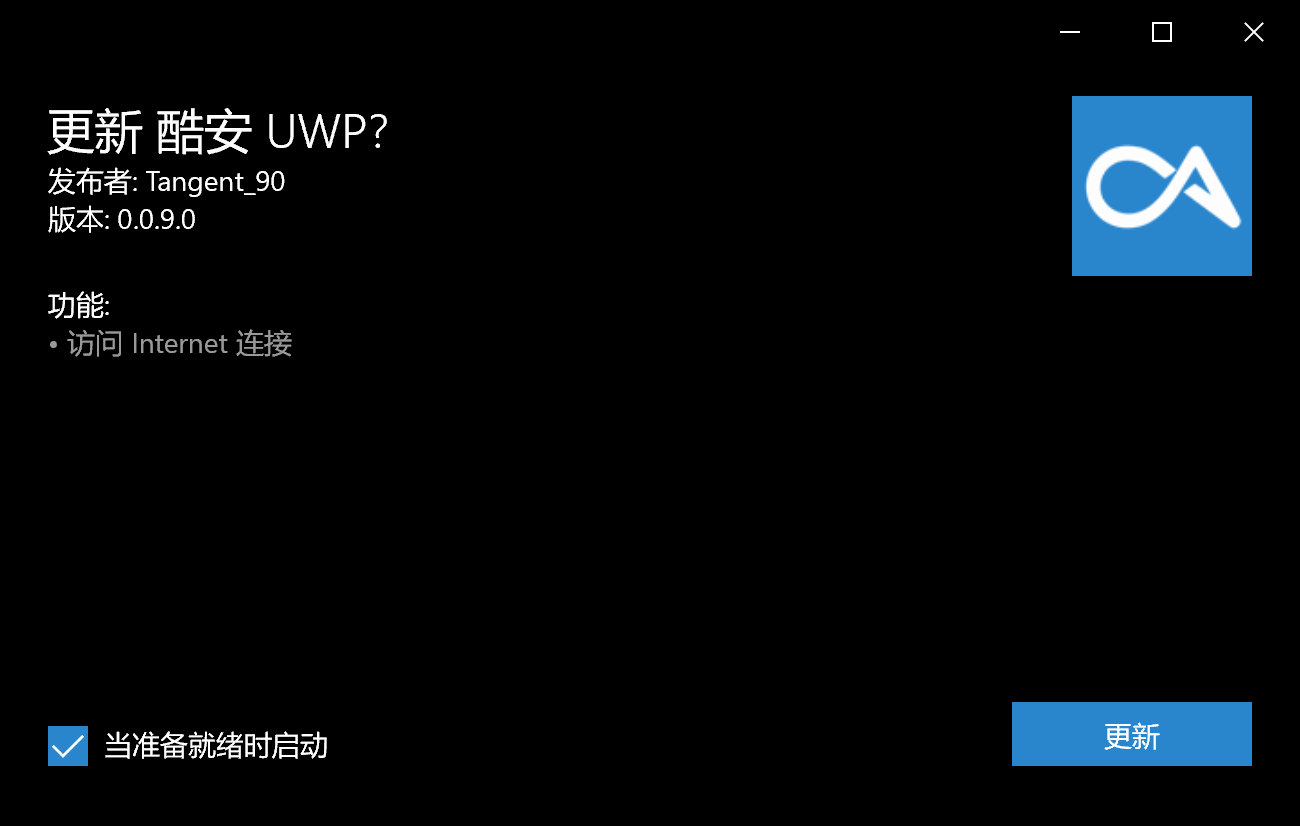
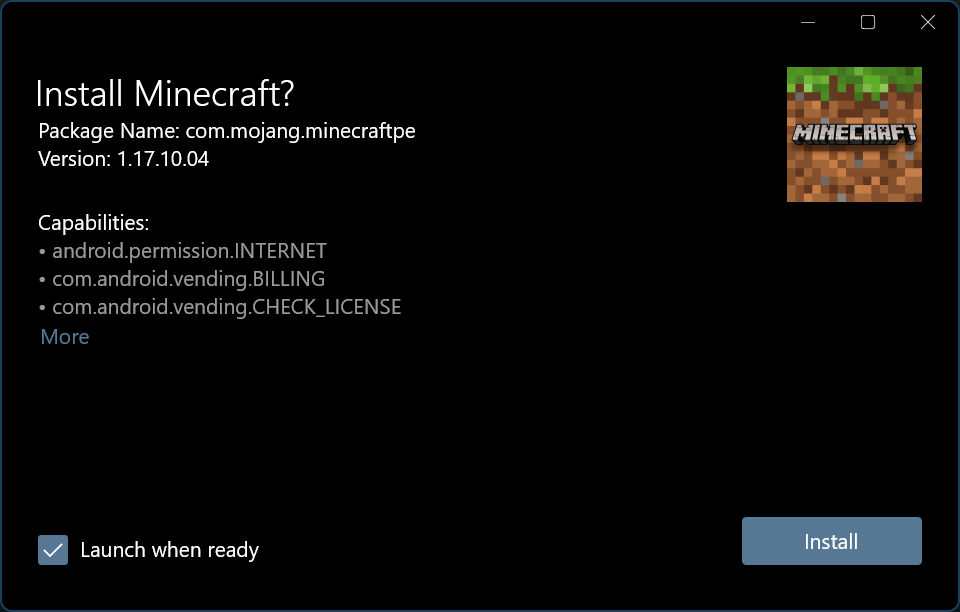
Screenshots
- Install popup
Modules used
- MetroLog
- Zeroconf
- Windows UI
- Downloader
- AAPTForNet
- Sharp Compress
- Advanced Sharp Adb Client
- Windows Community Toolkit
Special thanks to
- All people who contributed to the APK Installer project ❤️
- Paving the road has not been successful, comrades still need to work hard!
GitHub repo stars statistics

- To install winget on Windows 11, open the “App Installer” page in the Microsoft Store and click the Update button.
- Alternatively, open the winget page on GitHub, download the “appxbundle” file, and double-click it to install it.
On Windows 11 (and 10), you can install the “Windows Package Manager” (winget) in multiple ways, including from the Microsoft Store and GitHub, or wait until the support arrives automatically. The “Windows Package Manager” is a command-line tool designed to make it easier and automate the process of searching, downloading, installing, upgrading, and configuring apps on your device.
If you have ever had to install one or multiple apps, you know how time-consuming it is to find the links, download, and reinstall all your apps. Using the winget client, you can use a simple command to specify which apps you want to get. Then, the tool will find and install the latest version automatically.
Microsoft makes the tool available through the Microsoft Store on devices running a supported version of Windows 10 and 11. However, you can get it manually without waiting for the update by installing the latest version of the “App Installer.”
The command-line tool is likely already available if you are already running Windows 10 22H2 or Windows 11 22H2. You can check by invoking the “winget” command in Command Prompt or PowerShell. Otherwise, check for updates first and then continue with the steps below.
This guide will teach you how to install the winget-CLI client on Windows 10.
- Install winget on Windows 11 from Microsoft Store
- Install winget on Windows 11 from GitHub
Install winget on Windows 11 from Microsoft Store
To install the Windows Package Manager on Windows 11 or 10, use these steps:
-
Open the App Installer page.
-
Click the Get button.
-
Click the Open Microsoft Store button.
-
Click the Update button.

-
Open Start.
-
Search for Command Prompt and click the top result to open the terminal.
-
Type the following command to confirm the Windows Package Manager is already installed and press Enter:
winget


Once you complete the steps, the winget-CLI will install on the device, and you can begin searching and installing apps using commands.
Install winget on Windows 11 from GitHub
To install winget with the offline installer without the Microsoft Store, use these steps:
-
Open the winget GitHub page.
-
Under the “Latest” section, click the “Microsoft.DesktopAppInstaller_8wekyb3d8bbwe.appxbundle” download link.

-
Double-click the file to launch the winget installer.
-
Click the Update button.

After completing the steps, the Windows Package Manager will apply to Windows 11 or 10, and you can start using Command Prompt and PowerShell to install apps.
If you get an error on an older version of Windows 10, you may need to install the VC++ v14 Desktop Framework Package.
Alternatively, you can also create your private client application. You can find more details on how to do this process on GitHub.
Why You Can Trust Pureinfotech
The author combines expert insights with user-centric guidance, rigorously researching and testing to ensure you receive trustworthy, easy-to-follow tech guides. Review the publishing process.